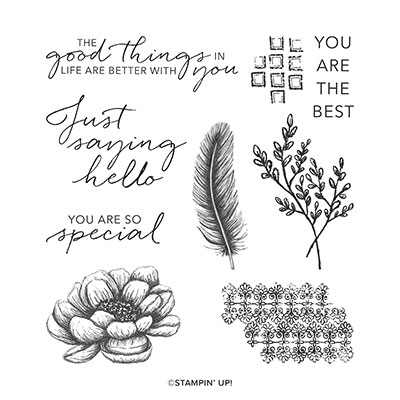
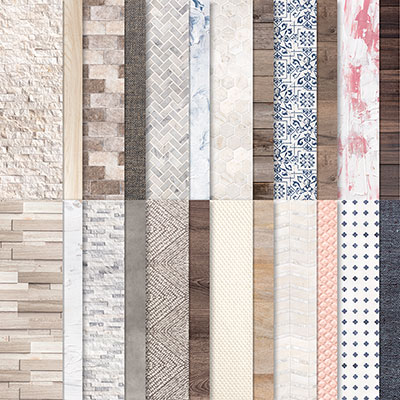
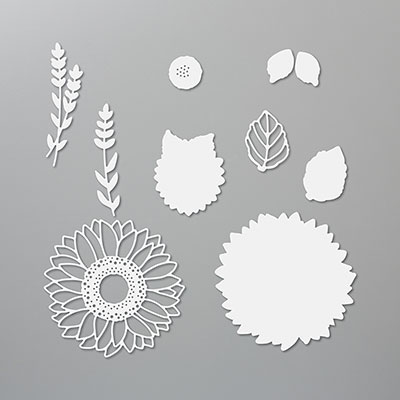
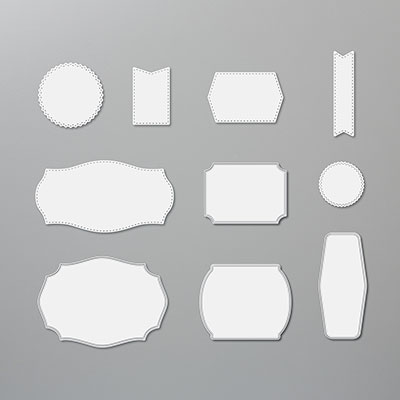
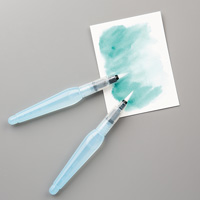
This my first card made with this new set called Tasteful Touches. I love the new In Good Taste DSP that I used for the background. I inked up the flowers in Night of Navy on Whisper White cardstock and then colored them in with an Aqua Painter. I used the Paper Snips to cut them out. Sorry, no dies for this one but it does have the Tasteful Labels Dies to make it a bundle. I used one of the labels for the sentiment. The sprigs were from the Sunflower Dies.
Here is my instructions:
Stamp Set: Tasteful Touches #152562
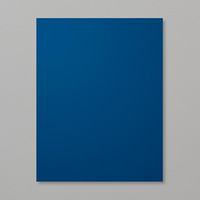
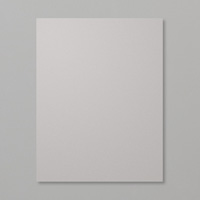
Cardstock: Night of Navy #100867, Gray Granite #146983,
In Good Taste DSP #152494
Ink: Night of Navy #126970, Misty Moonlight
Stampin’ Spot from PP (or ink pad #153118
Other: Die Cutting Machine, Sunflower Dies 152704,
Tasteful Labels Dies #152886, Aqua Painter, Paper Snips 103579, Multipurpose
Glue #110755, Dimensionals #104430, Metallic Pearls #146282
1. The base of the card is Night of Navy
cardstock cut at 5-1/2” x 8-1/2” and scored at 4-1/4” in the middle.
2. The second layer is Gray Granite cut at 4”
x 5-1/4” and adhered to the base with Multipurpose Glue.
3. The third layer is the In Good Taste DSP
cut 3-3/4” x 5” and adhered to the second layer with Multipurpose Glue.
4. Ink up the sentiment “You are so special”
with the Stampin’ Spot Misty Moonlight on Gray Granite cardstock and die cut
with the Tasteful Labels Dies in the Die Cutting Machine. Also, die cut two sprigs from the Sunflower
Dies. Adhere the label and the two
sprigs to the card with Multipurpose Glue.
5. I also added ¼” x 2” of trim to the label at the top and bottom
of the label.
6. Ink up the flower with Night of Navy ink
and stamp two of them on Whisper White cardstock. Then use the Aqua Painter to
color the flowers with the Misty Moonlight Stampin’ Spot. Let dry!
Trim the flowers out with the Paper Snips.
7. Add Dimensional to the back and add to the
front of the card.
8. Add three silver Metallic Pearls.