Showing posts with label Stitched Nested Labels. Show all posts

Friday, November 15, 2019

Free Skate in Night of Navy

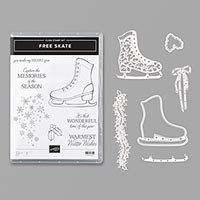
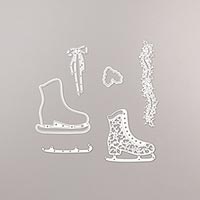
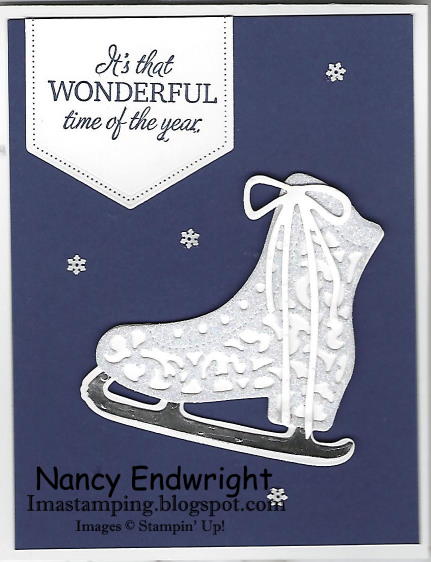
When I was a little girl, I learned to skate with hand-me down black boy skates.  I am the youngest of four siblings (two boys and two girls), so I got a lot of hand-me downs.  Those were fun and fond memories, but my skating days are over.  I'm at an age where I think it would be fun, but I'm more apt to break a bone or something.  So this is a reason I purchased this Free Skate set because it reminded me of those fun memories.  I eventually got my very own white skates.  This is such a beautiful set and I love the Detailed Skate Dies that can be purchased with this set in a bundle to save 10%.
Here are my instructions:


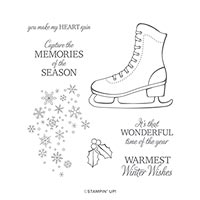
Stamp Set:  Free Skate (Page 44 of the Holiday Catalog)

Cardstock:  Thick Whisper White, Night of Navy, Whisper White, Silver Foil, Sparkle Glimmer Paper

Ink:  Night of Navy

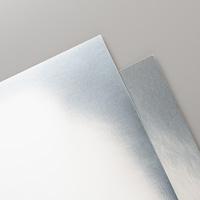
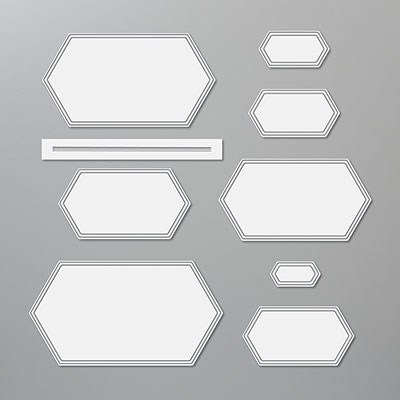
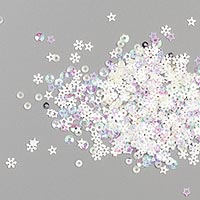
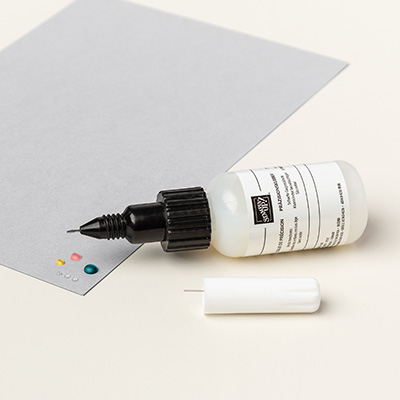
Other:  Big Shot, Detailed Skate Dies, Stitched Nested Labels, Snowflake Sequins, Shimmery Crystal Effects, Paper Snips, Dimensionals, Multipurpose Glue, Glue Dots


1.     The base of the card is Thick Whisper White cardstock cut at 4-1/4” x 11” and scored at 5-1/2” in the middle.

2.    The second layer is Night of Navy cardstock cut at 4” x 5-1/4”.

3.    The third layer is Whisper White half banner die cut from the Stitched Nested Labels and stamped with the sentiment “It’s that Wonderful Time of Year” with Night of Navy ink.

4.    The skate die is from Detailed Skate Dies.  The first die is cut from Whisper White cardstock.  The second die is cut from the Sparkle Glimmer Paper and attached with Multipurpose Glue.  Die cut the silver foil skate blade and be careful not to get glue on it when attaching.  Add the die cut bow at the top with a Glue Dot.  Adhere the skate to the card with Dimensionals.

5.    Add the Snowflake Sequins using the Shimmery Crystal Effects sparingly.  Let dry!

Products I used: 


Thursday, August 29, 2019

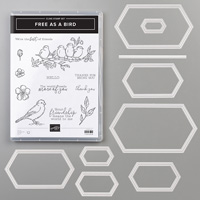
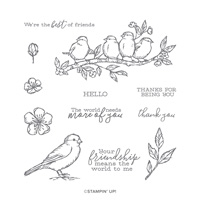
Free as a Bird - Mirror Image

How did I reverse the stamp of the Free as a Bird stamp you might wonder.  I taught how to do this technique at my last club workshop.  Here is how I did it:


Stamp set:  Free as a Bird

Cardstock:  Old Olive, Crumb Cake, Whisper White

Ink:  Memento Black

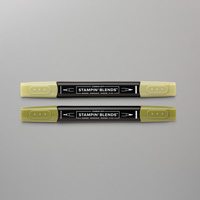
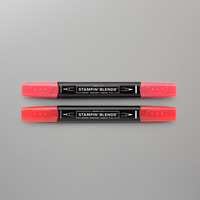
Stampin’ Blends:  Poppy Parade Dark & Light, Crumb Cake Dark & light, Soft Suede Dark & Light, Old Olive Dark & Light, Daffodil Delight Dark & Light

Other:  Big Shot, 3D Brick & Mortar, 3D Embossing Folder Plate #149658 for $10, Stamparatus, Silicone Craft Sheet, Stitched Nested Labels, Multipurpose Glue, Dimensionals

1.     The base of the card is Old Olive cardstock cut at 5-1/2” x 8-1/2” and scored at 4-1/4” in the middle.

2.    The second layer is Crumb Cake cardstock cut at 4” x 5-1/4”.  First ink up the leaf stamp with Memento Black ink and randomly stamp at the top of the Crumb Cake cardstock.  Color the leaves in with the Old Olive Blends.

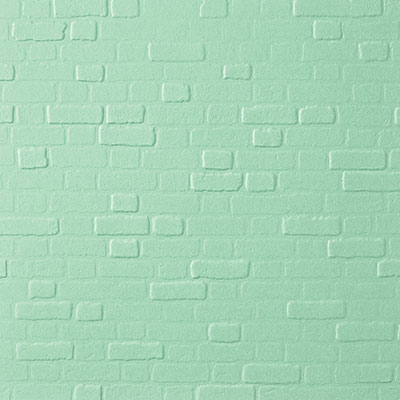
3.    After you color the leaves, insert into the 3D Brick & Mortar Embossing Folder and use the NEW Blue 3D Embossing Folder Plate on top and run it through the Big Shot.  (Any of the new 3D Embossing Folders will require this plate or about 6 stacks of cardstock.)  Attach to the front of the card with Multipurpose Glue.

4.    Insert the Silicone Craft Sheet into the Stamparatus.  Ink up the bird stamp with Memento Black Ink and stamp it right onto the Silicone Sheet.  Very carefully, lay the 4” x 5-1/4” Whisper White cardstock on top of the inked Silicone Sheet so that it is in the left corner of the Stamparatus. Be careful not to smear the ink. Without re-inking the stamp, bring the plate back down onto the cardstock pushing down where the bird is attached to the plate. Carefully remove the paper and turn it over and ink up the bird again and stamp on the opposite side so that they are facing each other.  Clean off the silicone sheet when done.

5.    Color the birds in with the Stampin’ Blends.  I made them look like cardinals. Stamp the sentiment “We’re the best of Friends” below the birds with Memento Black ink.  Use the Stitched Nested Label to die cut the birds out.  Put Dimensionals on the back and adhere on the front of the card.

6.    Stamp the inside with leaves and sentiment “Your friendship means the world to me.”

Products I used:


Fern & Flora - "You Make the World a Better Place"

Here is another card that I made using the Moonlit Flora Designer Series Paper.  It is so beautiful that it really makes the card without pu...