Showing posts with label Silicone Craft Sheet. Show all posts

Thursday, August 29, 2019

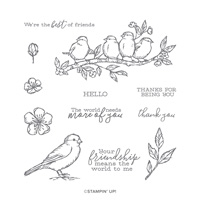
Free as a Bird - Mirror Image

How did I reverse the stamp of the Free as a Bird stamp you might wonder.  I taught how to do this technique at my last club workshop.  Here is how I did it:


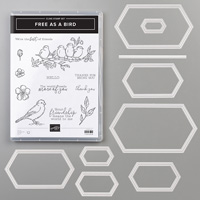
Stamp set:  Free as a Bird

Cardstock:  Old Olive, Crumb Cake, Whisper White

Ink:  Memento Black

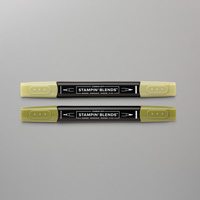
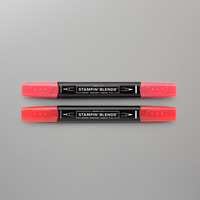
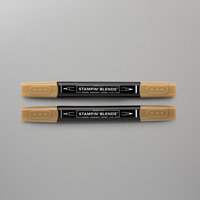
Stampin’ Blends:  Poppy Parade Dark & Light, Crumb Cake Dark & light, Soft Suede Dark & Light, Old Olive Dark & Light, Daffodil Delight Dark & Light

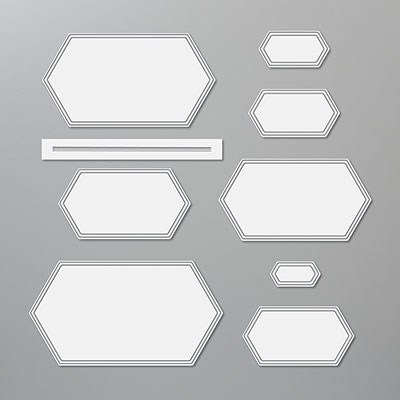
Other:  Big Shot, 3D Brick & Mortar, 3D Embossing Folder Plate #149658 for $10, Stamparatus, Silicone Craft Sheet, Stitched Nested Labels, Multipurpose Glue, Dimensionals

1.     The base of the card is Old Olive cardstock cut at 5-1/2” x 8-1/2” and scored at 4-1/4” in the middle.

2.    The second layer is Crumb Cake cardstock cut at 4” x 5-1/4”.  First ink up the leaf stamp with Memento Black ink and randomly stamp at the top of the Crumb Cake cardstock.  Color the leaves in with the Old Olive Blends.

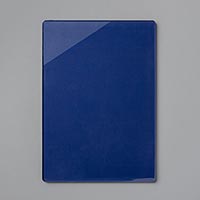
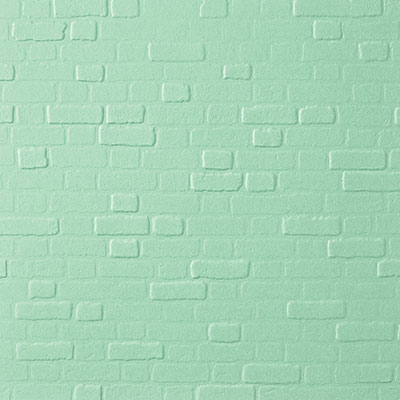
3.    After you color the leaves, insert into the 3D Brick & Mortar Embossing Folder and use the NEW Blue 3D Embossing Folder Plate on top and run it through the Big Shot.  (Any of the new 3D Embossing Folders will require this plate or about 6 stacks of cardstock.)  Attach to the front of the card with Multipurpose Glue.

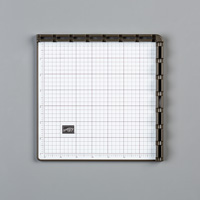
4.    Insert the Silicone Craft Sheet into the Stamparatus.  Ink up the bird stamp with Memento Black Ink and stamp it right onto the Silicone Sheet.  Very carefully, lay the 4” x 5-1/4” Whisper White cardstock on top of the inked Silicone Sheet so that it is in the left corner of the Stamparatus. Be careful not to smear the ink. Without re-inking the stamp, bring the plate back down onto the cardstock pushing down where the bird is attached to the plate. Carefully remove the paper and turn it over and ink up the bird again and stamp on the opposite side so that they are facing each other.  Clean off the silicone sheet when done.

5.    Color the birds in with the Stampin’ Blends.  I made them look like cardinals. Stamp the sentiment “We’re the best of Friends” below the birds with Memento Black ink.  Use the Stitched Nested Label to die cut the birds out.  Put Dimensionals on the back and adhere on the front of the card.

6.    Stamp the inside with leaves and sentiment “Your friendship means the world to me.”

Products I used:


Thursday, July 17, 2014

Snowflakie Soiree Resist Technique

 
This is the other card that my customers made at the "Christmas in July" workshop which they thought would be difficult, but it wasn't at all and they really liked the effect.  The original technique was from Sandi MacIver

Stamp Set:  Snowflake Soiree

Cardstock:  Whisper White, Bermuda Bay

Ink:  Versarmark, Pool Party and Bermuda Bay

Other: Circles Framelit Collections, Versamark Pad, Embossing Buddy, Whisper White Embossing Powder, Heat Tool, Sponges, Stampin’ Spritzer #126185 with water, Vanilla Shimmer Smooch Spritz #118772, Jewels Basic Rhinestones, Silicone Craft Sheet #127853 and a paintbrush, post-its, Snail Adhesives and Dimensionals, Stamp-a-ma-jig


1.     Base of card is Bermuda Bay cardstock cut at 4¼” x 11” and folded in half.

2.    Cut another piece of Bermuda Bay cardstock at 3 14/16 by 3 14/16”.

3.    Cut Whisper White cardstock at 5¼” X 4” and two pieces at  3-10/16” x 3 10/16”.

4.    Use the Embossing Buddy on one of them before using the Versamark Ink Pad and stamp one large snowflake and three smaller snowflakes.  Sprinkle Whisper White Embossing Powder over the snowflakes and shake off excess.  Heat with Tool Gun.

5.    On the other piece, use the Circle Framelit Collections to cut a circle in the center using the 6th circle frame from center and the Big Shot.  Lay it on top of the stamped image so you can see it through the hole and use post it notes to hold them in place.

6.    Take a sponge and ink it up with Pool Party ink and start in a circular motion on the outside of the circle and gradually sponge over the snowflakes until the appear.

7.    Do the same with Bermuda Bay but only on the outside edges of the circle and not toward the center of the snowflakes, but do use use it on the biggest snowflake.

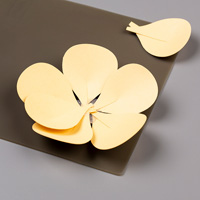
8.    Now, take the Silicone Craft Sheet and spray 3 sprays of Shimmer Smooch and 3 sprays of water and mix it together with the paintbrush.  Then flick it onto your design to make it look as though it is snowing or maybe it is stars in the night.  You may to heat set with Heat Tool.

9.    Now take the little snowflake and ink it with Burmuda Bay and stamp in any bare spots you want.

10.  Remove the mask and put your stamped image on layer of Bermuda Bay cardstock.

11.  At the bottom of your card, ink up “Believe” with Bermuda Bay ink and stamp it on the lower right hand corner.  May use Stamp-a-ma-jig, if you wish.

12.  Ink up the smallest star with Pool Party ink and keep stamping without reinking toward the left of the first snowflake.

13.  Layer snowflakes layers onto card with Snail Adhesive and Dimensionals. 

14.  Add Jewels Basic Rhinestones to the snowflakes.


Fern & Flora - "You Make the World a Better Place"

Here is another card that I made using the Moonlit Flora Designer Series Paper.  It is so beautiful that it really makes the card without pu...