1. The base of the card is Night of Navy
cardstock cut at 4-1/4” x 11” and scored at 5-1/2” in the middle.
2. The second layer is Marina Mist cardstock
cut at 4” x 5-1/4” and adhered to the front of the card with adhesive.
3. The third layer is Whisper White cardstock
cut at 3-3/4” x 5” and randomly stamped with the snowflakes from Colorful Seasons
with Night of Navy ink, Marina Mist, and Soft Sky inks.
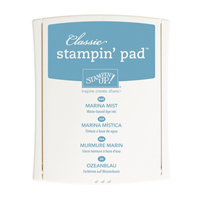
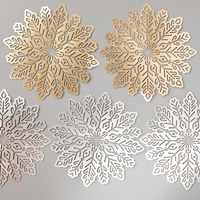
4. The Foil Snowflakes is inked up on the
white side with Marina Mist ink pad. Let
dry before attaching to the Whisper White snowflakes layer.
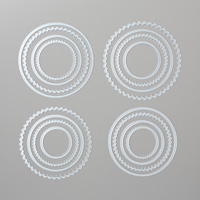
5. Die cut a scalloped Whisper White circle
with the Layering Circles Framelits in the Big Shot.
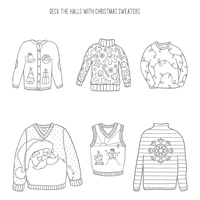
6. Ink up the sweater from Christmas Sweaters
with the Memento Black ink. Color in
with Marina Mist and Soft Sky markers.
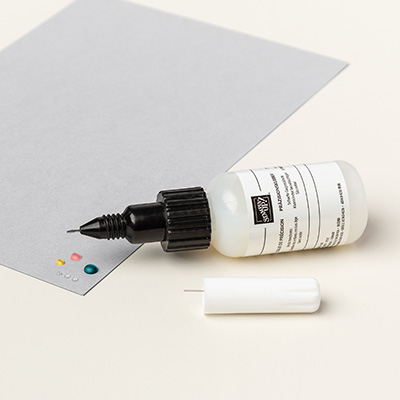
7. Take the Fine Tip Glue Pen or Multipurpose
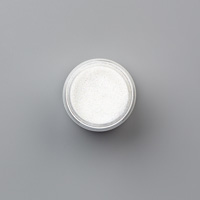
Glue to add glue to the snowflake on the front of the sweater. Add Dazzling Diamonds Glitter. Let Dry!
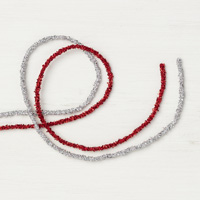
8. Attach Mini Tinsel Trim to the back of the
sweater and attach Dimensionals to the back to adhere to the Whisper White
Scalloped Circle.
9. Then add more Dimensionals to the back of
the Whisper White scalloped circle. Add
it to the Marina Mist Foil Snowflake on the front.
Products I used:









No comments:
Post a Comment
Thanks for taking the time to comment on my blog. You have made my day!