Showing posts with label Marina Mist. Show all posts

Friday, January 12, 2018

Beautiful Day Butterfly

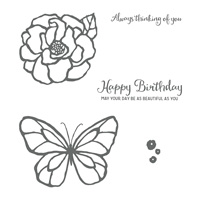
This is another card I made using the Brusho Crystals.  Although, the colors are not as vibrant as the cards I've made so far.  It's a different technique.  First I embossed the butterfly with Gold Embossing Powder and this time used Whisper White cardstock.  I used a palette to paint with the Aqua Painter, so my crystals were watered down but yet I didn't spritz the card with water.  I wanted to keep the colors inside the lines of the butterfly.  So here my instructions on how I made this card:


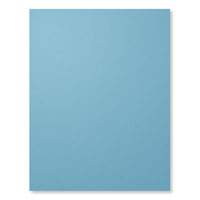
1.     The base of the card is Marina Mist cardstock cut 4-1/4” x 11 and scored at 5-1/2” in the middle.
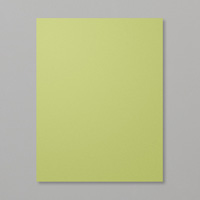
2.    The second layer is Pear Pizzazz cut at 4-1/4” x 5-1/4” and the third layer is Whisper White cut at 3-3/4” x 5”.
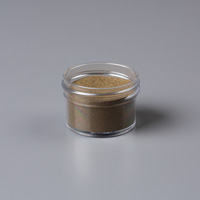
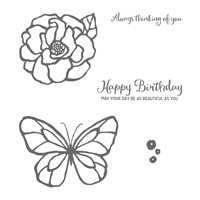
3.    Ink up the butterfly stamp with Versamark ink and stamp onto the Whisper White cardstock towards the top.  Sprinkle with Gold Embossing Powder and heat set with Heat Tool.
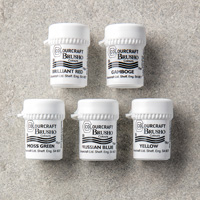
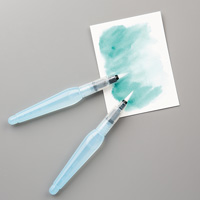
4.    Sprinkle Brusho Crystal in each section of the paint palette.  Add water from the Aqua Painter to each section.  Paint the butterfly sections as you wish with the Aqua Painter, cleaning it off between colors.  I used the Moss Green and Prussia Blue for my butterfly.
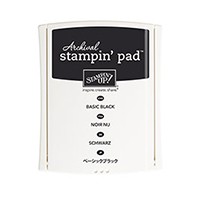
5.    For the sentiment, ink it up with Archival Basic Black and stamp onto scrap of Pear Pizzazz cardstock.  Use the Paper Snips to create a banner and attach to the bottom of the Whisper White cardstock.

Products I used:
Tuesday, January 9, 2018

Waterfront cards


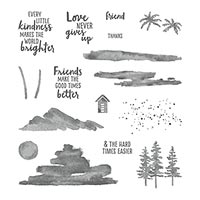
My cards are made from the new set from the 2018 Occasions catalog on page 48 called Waterfront.  It's a beautiful set that lets you create beautiful scenes.  It is Photopolymer with 16 stamps.  It even has palm trees.  I love this set!  Here are my instructions on how I made each card.  I used an Aqua Painter on the bottom card to make the colors pop!  The cards were inspired by watching Jackie Bolhuis' video.


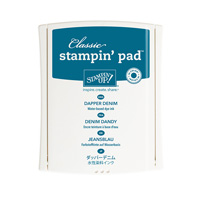
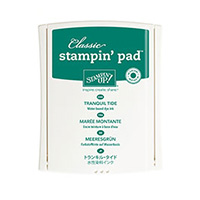
1.     The base of the cards {1 and 2) are 4-1/4” x 11”of Dapper Denim and of Tranquil Tide and they are both scored at 5-1/2” in the middle.
2.    The Shimmery White cardstock is 4” x 5-1/4”.
3.    Ink up the mountain image stamp with Soft Suede ink and stamp three mountains across the topof the Shimmery White Cardstock.  Then without reinking, stamp three more mountains to make them appear off in the distance. {2} For the second card, use the Aqua Painter brushing without squeezing to blend the Soft Suede mountains.  Let dry before adding new colors so that they won’t bleed into each other.
4.    Ink up the land/grass stamp image with Garden Green ink. {2} For the second card, use the Aqua Painter again as before on the land/grass.  Clean stamp and use the same stamp inked up with Soft Suede and fill in some blank areas.  Use the Aqua Painter and let dry.
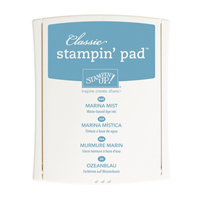
5.    For the water image stamp, use Marina Mist first and then Dapper Denim with the land/grass stamp image.  {2} Use Aqua Painter with each and let dry in between.
6.    Use the speckled stamp image with Dapper Denim over the water.
7.    Ink up the trees with Tranquil Tide ink.  {2} Use the Aqua Painter to blend each tree.
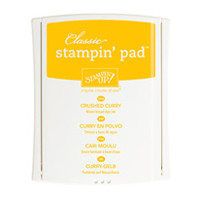
8.    Ink up the sun with Crushed Curry ink and stamp above the mountains.  {2} Use the Aqua Painter to the sun.
9.    Ink up the sentiment of choice with Basic Black ink and stamp at the bottom of the card.

Products I used:

Monday, October 30, 2017

Christmas Sweaters

We had a few snowflakes yesterday morning!  Too early for snow, but at least it did not accumulate. Then, we had a hard frost last night.  Time to start making snowflake cards and get out those long-sleeve tops and start cleaning out my closets. Here are the directions to my card:


1.     The base of the card is Night of Navy cardstock cut at 4-1/4” x 11” and scored at 5-1/2” in the middle.
2.    The second layer is Marina Mist cardstock cut at 4” x 5-1/4” and adhered to the front of the card with adhesive.
3.    The third layer is Whisper White cardstock cut at 3-3/4” x 5” and randomly stamped with the snowflakes from Colorful Seasons with Night of Navy ink, Marina Mist, and Soft Sky inks.
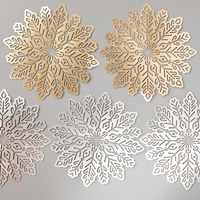
4.    The Foil Snowflakes is inked up on the white side with Marina Mist ink pad.  Let dry before attaching to the Whisper White snowflakes layer.
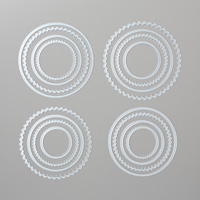
5.    Die cut a scalloped Whisper White circle with the Layering Circles Framelits in the Big Shot.
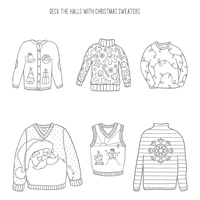
6.    Ink up the sweater from Christmas Sweaters with the Memento Black ink.  Color in with Marina Mist and Soft Sky markers.
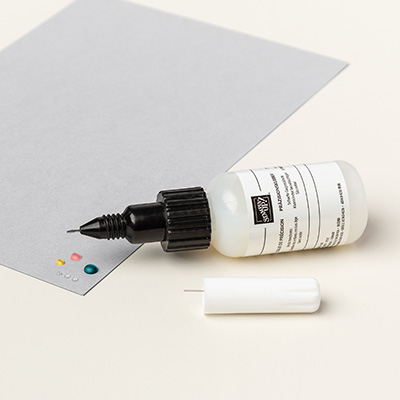
7.    Take the Fine Tip Glue Pen or Multipurpose Glue to add glue to the snowflake on the front of the sweater.  Add Dazzling Diamonds Glitter.  Let Dry!
8.    Attach Mini Tinsel Trim to the back of the sweater and attach Dimensionals to the back to adhere to the Whisper White Scalloped Circle.
9.    Then add more Dimensionals to the back of the Whisper White scalloped circle.  Add it to the Marina Mist Foil Snowflake on the front.

Products I used:
Fern & Flora - "You Make the World a Better Place"

Here is another card that I made using the Moonlit Flora Designer Series Paper.  It is so beautiful that it really makes the card without pu...