Stampin' Up! had a previous doily stamp set back in 2011 (see photo below) that I just loved but long retired, so I was glad to see the new doily set in the Occasions Catalog called "Dear Doily" and so I wanted to try to recreate the card I did back in 2011 but with different colors. Here are the instructions for my current card:
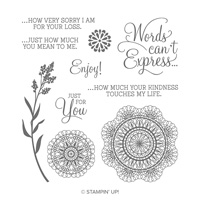
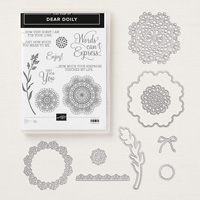
Stamp Set: Dear Doily (2019 Occasions) Page 47
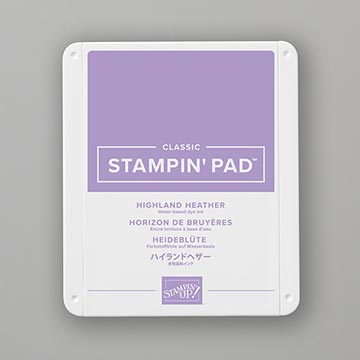
Cardstock: Thick Whisper White, Gorgeous Grape, Highland
Heather
Ink: Gorgeous Grape, Versamark Ink Pad, White
Embossing Powder
Other: Big Shot, Heat Tool, Quilt Top TIEF, Doily
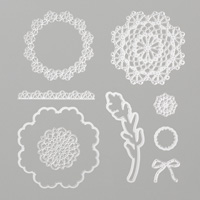
Builder Thinlets Dies, Rectangle Stitched Framelit Dies, Decorative Ribbon
Border Punch, Multipurpose Glue, Embossing Buddy, Snail Adhesive, Glue Dots,
Dimensionals
1. The base of the card is Thick Whisper White
cardstock cut at 4-1/4” x 11” and scored at 5-1/2” in the middle.
2. The second layer is Highland Heather
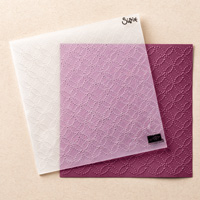
cardstock cut at 4” x 5-1/4” and inserted into the Quilt Top TIEF and run
through the Big Shot.
3. The third layer is Gorgeous Grape cardstock
at 4” x 2-3/4” with the Embossing Buddy rubbed over it before inking up the
doily with Versamark ink before embossing with White Embossing Powder with the
Heat Tool.
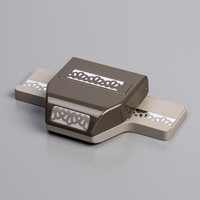
4. Use the Decorative Ribbon Border Punch on
Whisper White cardstock and add lengths to the top and bottom of the Gorgeous
Grape cardstock with Snail Adhesive.
5. Use Multipurpose Glue to attach to the
front of the card.
6. Die cut bows in the Big Shot using the
Doily Builder Thinlets Dies and attach to the center of each doily with a Glue
Dot.
7. Use the Rectangle Stitched Framelit Die for
the sentiment “Just For You” inked up with Gorgeous Grape ink. Attach in the upper right-hand corner of
Gorgeous Grape with Dimensionals.
Products I used:
Products I used:






No comments:
Post a Comment
Thanks for taking the time to comment on my blog. You have made my day!