Saturday, June 29, 2024

Sophisticated Sled - Pretty in Pink and Gray Granite

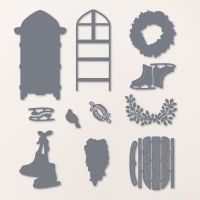
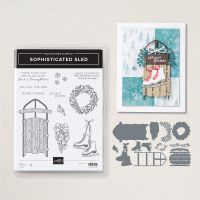
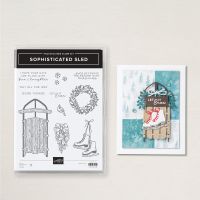
I love this stamp "Sophisticated Sled" and it will be available July 3 to my customers.  I've been playing around with it in different layouts and colors.  The layout and colors on this card was Cased by StampwithDr.Robin. com but I changed mine a little differently. I had Pretty in Pink foliage, I changed the DSP, the label and the pearls.  I also embossed the sentiment with White Embossing Powder to pick up the Basic White in the card.

Here are my instructions:

Stamp Set:  Sophisticated Sled

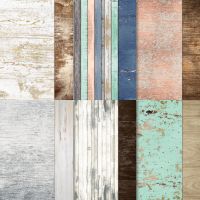
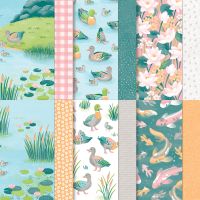
Cardstock:  Gray Granite, Pretty in Pink, Basic White, Country Woods DSP (Gray Granite wood for sled), and Lily Pond Lane DSP (pink gingham), Silver Foil (optional)

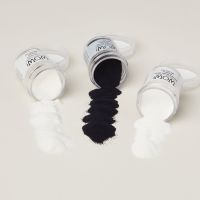
Ink:  Versamark, White Embossing Powder

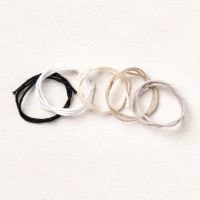
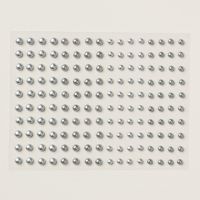
Other:  Stampin’ Cut and Emboss Machine, Snowflake Sky Embossing Folder, Sophisticated Sled Dies, Labeled with Love Dies, Multipurpose Liquid Glue, Mini Glue Dots, Basic White Twine, and Stampin’ Dimensionals, Heat Tool, Basic Gray & Smoky Slate Pearls


1.     The base of the card Gray Granite cardstock cut at 5-1/2” x 8-1/2” and scored at 4-1/4” in the middle.

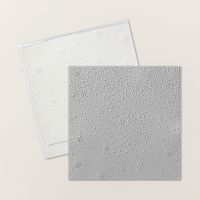
2.    The second layer is Pretty in Pink cardstock cut at 4” x 5-1/4” and inserted into the Snowflake Sky Embossing Folder and run through the Stampin’ Cut and Emboss Machine.  Adhere to the base of Multipurpose Liquid Glue.

3.    The third layer is Gray Granite cut at 3-1/8” x 5-1/4” and adhered to the middle of the card with Multipurpose Liquid Glue.  Then cut the pink gingham DSP from the Lily Pond Lake DSP at 3” x 5-1/4” and adhere to the Gray Granite layer.

4.    Die-cut the sled from the Country Woods DSP and the frame from Gray Granite. 

5.    Die-cut the skates from Basic White cardstock, the blades from Gray Granite or Silver Foil, and skates laces from Pretty in Pink cardstock. 

6.    Glue the sled frame to the card at an angle.  Attach the Country Woods Frame to the sled with Mini Stampin’ Dimensionals to pop it up.  Die cut the sprig from Pretty in Pink cardstock and attach to the sled.

7.    Adhere the skates together being sure to insert the laces through the slit in the skates and adhere to the back. Pop them up with Stampin’ Dimensionals by hanging from the bow tied at the top with the

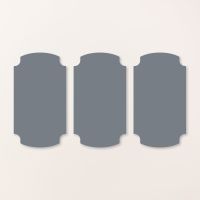
8.    Ink up the sentiment with Versamark on a label die-cut from the Labeled with Love Dies.  Add White Embossing Powder and heat set with the Heat Tool.  Attach the label to the bottom below the sled.  Add 3 Smoky Slate Pearls.

Products I used:

Product List
Saturday, June 22, 2024

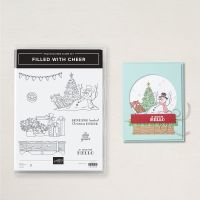
Filled with Cheer

This is a card I made using the Filled with Cheer stamp set that will be available to customers on July 3 as Online Exclusive, so you won't find it in any of the Stampin' Up! catalogs.  I love snowmen stamps, so I knew I had to get this one.  The other stamps are gifts, lights and a wagon, and three sentiments.  The snowflakes came from the Sophisticated Sled stamp set that will also be available July 3rd.

This is how I made my card:

Stamp Set:  Filled with Cheer and Sophisticated Sled (snowflakes)

Cardstock:  Pool Party, Basic White

Ink:  Tuxedo Black Memento

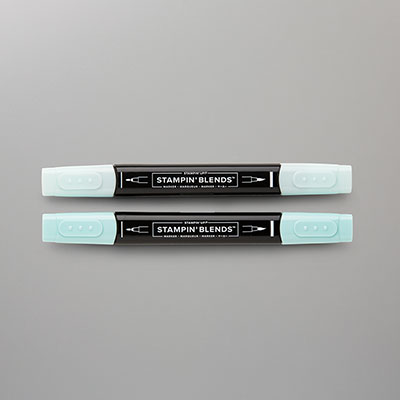
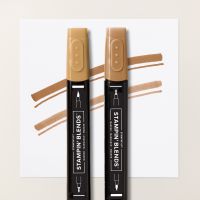
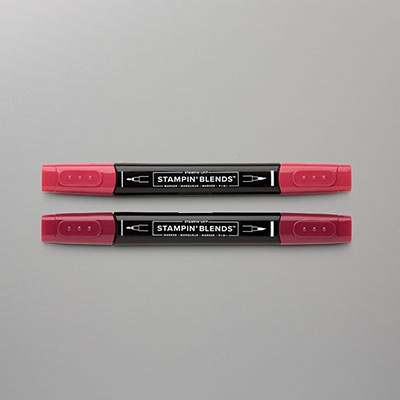
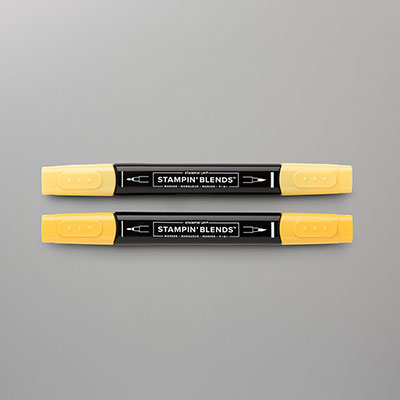
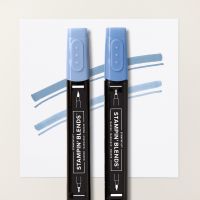
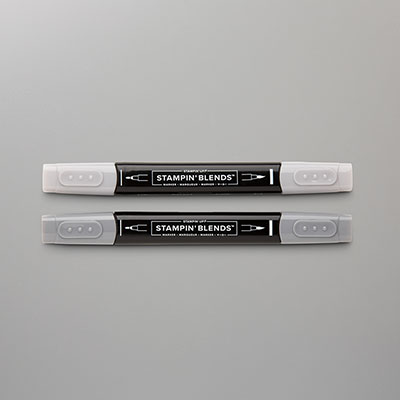
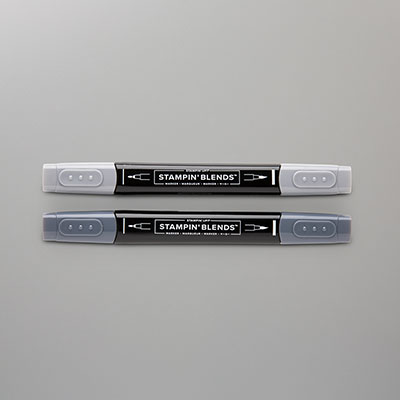
Stampin’ Blends:  Pool Party, Cherry Cobbler, Pecan Pie, Daffodil Delight, Boho Blue, Smoky Slate, Basic Black

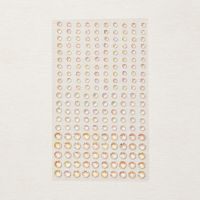
Other:  Stampin’ Cut and Emboss Machine, Snowflake Sky EF, Spotlight on Nature Dies, Rhinestone Basic Jewels, Multipurpose Liquid Glue, Stampin’ Dimensionals


1.      The base of the card is Pool Party cardstock cut at 5-1/2” x 8-1/2” and scored at 4-1/4” in the middle.

2.    The second layer is Pool Party cardstock cut at 4” x 5-1/4” and inserted into the Snowflake Sky Embossing Folder and run through the Stampin’ Cut and Emboss Machine.  Adhere to the base of the card with Stampin’ Dimensionals/

3.    Die-cut a Basic White circle using the largest Spotlight on Natures Dies.

4.    Ink up the snowman stamp with Tuxedo Black Memento and stamp on the center of the circle.

5.    Color in with the Stampin’ Blends.  The Boho Blue was used to highlight the snow and snowman to give it more depth.

6.    Use Multipurpose Glue to add to the front.

7.    Add 3 Rhinestones.

Products I used:

Product List
Saturday, June 15, 2024

Sophisticated Sled with Timber 3D EF

This is another card that I made using the Sophisticated Sled.  The stamp set and dies will be available July 3 as an Online Exclusive, so you won't see this Bundle in any catalog.  As a demonstrator, I was able to preorder it a month earlier.  It is similar to a card that I made back in 2015 using Winter Wishes stamp set.  I used a button on the side with Baker's Twine.  Stampin' Up! doesn't sell buttons anymore, but I had used a button from my sewing supplies.


Stamp Set:  Sophisticated Sled, Paper Pumpkin (November 2023)

Cardstock:  Beige, Early Espresso, Pecan Pie, Crumb Cake

Ink:  Early Espresso

Other:  Stampin’ Cut and Emboss Machine, Paper Trimmer, Stylish Shapes Dies, Timber 3D Embossing Folder, Dashing Designs 3D Embossing Folder, Baker’s Twine or Linen Thread, button, Multipurpose Liquid Glue, Stampin’ Dimensionals, Mini Glue Dots


1.     The base of the card is Beige cardstock cut at 4-1/4” x 11” and scored at 5-1/2” in the middle.

2.    The second layer is Early Espresso cardstock cut at 4” x 5-1/4” and adhered to the base with Multipurpose Liquid Glue.

3.    The third layer is 3-3/4” x 5” and inserted into the Timber 3D Embossing Folder and run through the Stampin’ Cut and Emboss Machine.  Adhere to the second layer with Multipurpose Liquid Glue.

4.    Cut a strip of Crumb Cake cardstock at 1-1.4: x 3-3/4” and inserted into the Dashing Designs 3D Embossing Folder.  Adhere to the lower part of the third layer,

5.    Cut Beige cardstock at 2-3/8” x 4-1/4” and stamp the sled on it with Early Espresso ink.  Layer onto 2-5/8” x 4-1/2” of Early Espresso cardstock with Multipurpose Liquid Glue.  Pop the layer up with Stampin’ Dimensionals towards the right side of the card.

6.    Ink up the sentiment “Warm Wishes” from the Paper Pumpkin Kit 2023 with Early Espresso ink.  Use the Stylish Shapes Dies banner to create the size you need by running it through the Stampin’ Cut and Emboss Machine more than once.  Adhere to the middle of the sled with Stampin’ Dimensionals.

7.    Take a brownish button from your sewing supplies and insert Baker’s Twine or Linen Thread and tie a square know.  Fray the ends.  Attach to the left side of the strip with Mini Glue Dots.

Products I used:

Product List

Documenting the Day

This is a 2025 Sale-a-Bration card I made with Documenting the Day and the 12" x 12" Bloom Impressions DSP which is also a SAB fre...