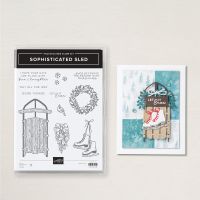
Stamp Set: Sophisticated Sled, Paper Pumpkin (November
2023)
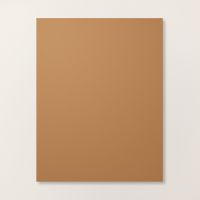
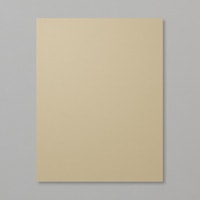
Cardstock: Beige, Early Espresso, Pecan Pie, Crumb Cake
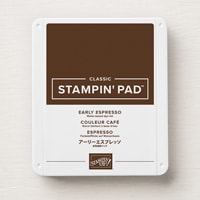
Ink: Early Espresso
Other: Stampin’ Cut and Emboss Machine, Paper
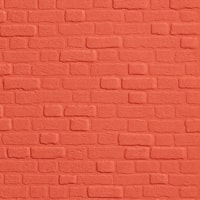
Trimmer, Stylish Shapes Dies, Timber 3D Embossing Folder, Dashing Designs 3D
Embossing Folder, Baker’s Twine or Linen Thread, button, Multipurpose Liquid
Glue, Stampin’ Dimensionals, Mini Glue Dots
1. The base of the card is Beige cardstock cut
at 4-1/4” x 11” and scored at 5-1/2” in the middle.
2. The second layer is Early Espresso
cardstock cut at 4” x 5-1/4” and adhered to the base with Multipurpose Liquid
Glue.
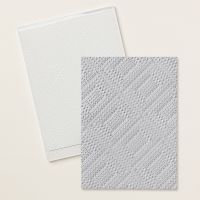
3. The third layer is 3-3/4” x 5” and inserted
into the Timber 3D Embossing Folder and run through the Stampin’ Cut and Emboss
Machine. Adhere to the second layer with
Multipurpose Liquid Glue.
4. Cut a strip of Crumb Cake cardstock at
1-1.4: x 3-3/4” and inserted into the Dashing Designs 3D Embossing Folder. Adhere to the lower part of the third layer,
5. Cut Beige cardstock at 2-3/8” x 4-1/4” and
stamp the sled on it with Early Espresso ink.
Layer onto 2-5/8” x 4-1/2” of Early Espresso cardstock with Multipurpose
Liquid Glue. Pop the layer up with
Stampin’ Dimensionals towards the right side of the card.
6. Ink up the sentiment “Warm Wishes” from the
Paper Pumpkin Kit 2023 with Early Espresso ink.
Use the Stylish Shapes Dies banner to create the size you need by
running it through the Stampin’ Cut and Emboss Machine more than once. Adhere to the middle of the sled with Stampin’
Dimensionals.
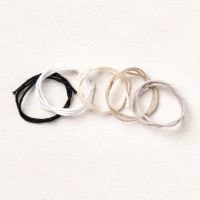
7. Take a brownish button from your sewing
supplies and insert Baker’s Twine or Linen Thread and tie a square know. Fray the ends. Attach to the left side of the strip with
Mini Glue Dots.





No comments:
Post a Comment
Thanks for taking the time to comment on my blog. You have made my day!