Showing posts with label Happy Birthday To You. Show all posts

Tuesday, February 18, 2020

Happy Birthday to You in Flirty Flamingo

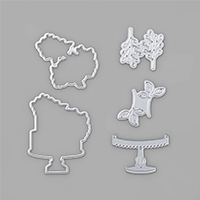
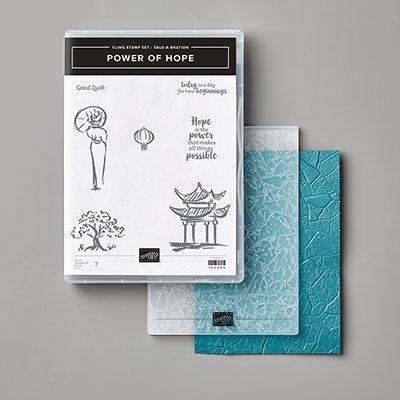
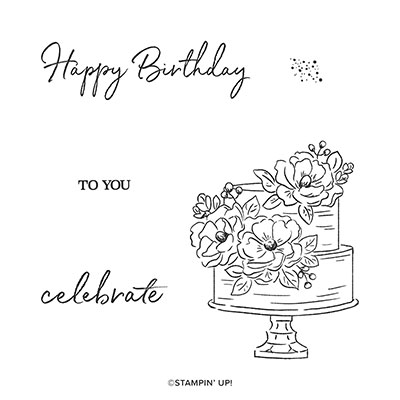
This beautiful stamp cake is a new Sale-a-Bration stamp set that can be earned FREE with a $50 order.  It now also has a die-cut called Birthday Dies that can be purchased so not only can you die cut the cake, but you can also die-cut the flowers and leaves.  I also used the 3D Stone Embossing Folder that is with the SAB set Power of Hope which can be earned FREE with a $100 order.  Here are the instructions for my card:


Stamp Set:  Happy Birthday to You

Cardstock:  Flirty Flamingo, Vellum Cardstock, Whisper White, Old Olive

Ink:  Memento Black

Stampin’ Blends:  Flirty Flamingo, Old Olive

Other:  Big Shot, Birthday Dies, Stone 3D Embossing Folder, Rhinestones, Dimensionals, Multipurpose Glue, Sponge, Silicone Mat


1.     The base of the card is Flirty Flamingo cardstock cut at 5-1/2” x 8-1/2” and scored at 4-1/4” in the middle.

2.    The second layer is Vellum cardstock cut at 4” x 5-1/4” and inserted in the Stone 3D Embossing Folder and run through the Big Shot.  To apply the vellum, use Multipurpose Glue Dab on the Silicone Sheet and use a Sponge to pick up the glue and rub on the back of the Vellum.

3.    Ink up the cake stamp with Memento Black ink and stamp on the Flirty Flamingo cardstock.  Die-cut with the cake Birthday Dies and attach to the Vellum.

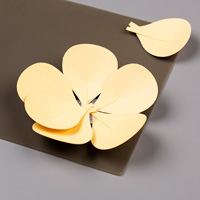
4.    Ink up the cake stamp with Memento Black ink again and stamp on a scrap of Whisper White cardstock. Die-cut with the flowers Birthday Dies.

5.    Color the flowers with the Stampin’ Blends. 

6.    Die-cut Old Olive Leaves to attach to the back of the flowers.  Attach flowers to the cake over the other flowers with Dimensionals

7.    Add three Rhinestones to the centers of the flowers and two more to the Vellum.

Products I used:

Thursday, February 6, 2020

Lovely Lily Pad Watercolor

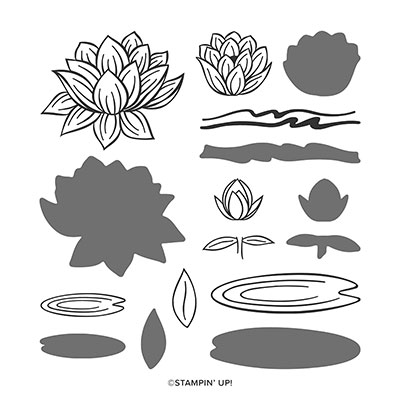
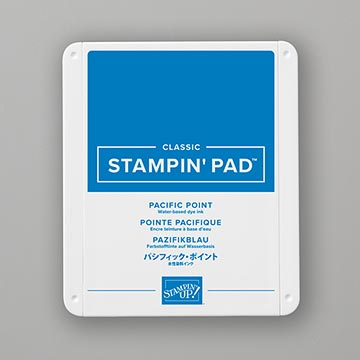
My first post for February is a card that was inspired by Alisa Tilsner from Australia.  She has a video on how to use makeup brushes for the background instead of using a brayer.  I really liked the look so I bought a few of them on Amazon.  The colors I used in the background were the Pacific Point and Pool Party ink pads.  The set I used is called Lovely Lily Pad which I earned FREE from the Sale-a-Bration catalog.  I stamped the lotus flower on watercolor paper using Stazon ink and Melon Mambo and Blushing Bride Stampin' Write Markers as well as the Aqua Painter.  I used Old Olive and Pear Pizzazz for the lily pad.  The sentiment is from the Happy Birthday To You set also earned FREE from SAB catalog.
Here are my instructions:


Stamp Sets:  Lovely Lily Pad, Happy Birthday To You (both 2020 SAB)

Cardstock:  Pacific Point, Pool Party, Watercolor Paper

Ink:  Stazon Black, Pacific Point, Pool Party,

Markers: Blushing Bride, Melon Mambo, Old Olive, Pear Pizzazz

Other:  Aqua Painter, Makeup Brush by Yoseng (Amazon). Multipurpose Glue, Dimensionals


1.     The base of the card is Pacific Point cardstock cut at 5-1/2” x 8-1/2” and scored at 4-1/4” in the middle.

2.    The second layer is Pool Party cardstock cut at 4” x 5-1/4”

3.    The third layer is Watercolor Paper cut at 3-3/4” x 5”.

4.    Ink up the makeup brush with Pool Party ink and brush back and forth across the watercolor paper.

5.    Ink up the makeup brush with Pacific Point ink and brush back forth across the watercolor paper.

6.    Ink up the lily pad and lotus flower with Stazon ink and stamp on the Watercolor Paper.

7.    Color the flower in with the Melon Mambo marker and then the Blushing Bride marker.  Then use the Aqua Painter to blend the colors pulling them to the point of the flower.  Do each petal individually.

8.    Color the Lily Pad with the Old Olive and Pear Pizzazz and blend with the Aqua Painter.

9.    Adhere the lily pad to the card front with Multipurpose Glue.  Attach Dimensionals on the back of the lotus flower and attach above the lily pad.

Products I used:

Christmas Mice

  This is a card I made for a recent swap.  I love the Christmas Mice bundle.  It is so adorable.  Stamp Set:   Christmas Mice Cardstock: ...