Showing posts with label Markers. Show all posts

Thursday, February 6, 2020

Lovely Lily Pad Watercolor

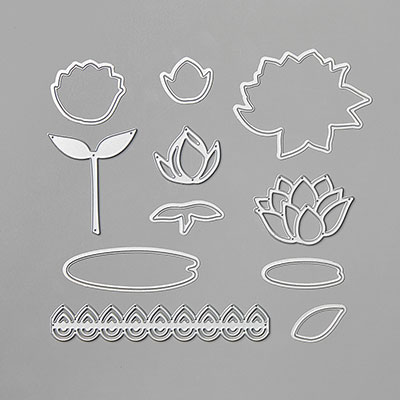
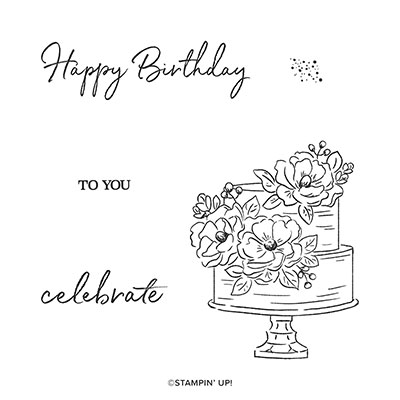
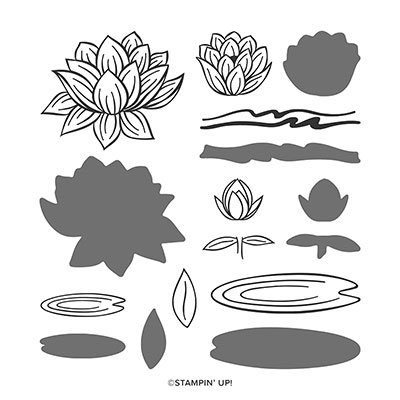
My first post for February is a card that was inspired by Alisa Tilsner from Australia.  She has a video on how to use makeup brushes for the background instead of using a brayer.  I really liked the look so I bought a few of them on Amazon.  The colors I used in the background were the Pacific Point and Pool Party ink pads.  The set I used is called Lovely Lily Pad which I earned FREE from the Sale-a-Bration catalog.  I stamped the lotus flower on watercolor paper using Stazon ink and Melon Mambo and Blushing Bride Stampin' Write Markers as well as the Aqua Painter.  I used Old Olive and Pear Pizzazz for the lily pad.  The sentiment is from the Happy Birthday To You set also earned FREE from SAB catalog.
Here are my instructions:


Stamp Sets:  Lovely Lily Pad, Happy Birthday To You (both 2020 SAB)

Cardstock:  Pacific Point, Pool Party, Watercolor Paper

Ink:  Stazon Black, Pacific Point, Pool Party,

Markers: Blushing Bride, Melon Mambo, Old Olive, Pear Pizzazz

Other:  Aqua Painter, Makeup Brush by Yoseng (Amazon). Multipurpose Glue, Dimensionals


1.     The base of the card is Pacific Point cardstock cut at 5-1/2” x 8-1/2” and scored at 4-1/4” in the middle.

2.    The second layer is Pool Party cardstock cut at 4” x 5-1/4”

3.    The third layer is Watercolor Paper cut at 3-3/4” x 5”.

4.    Ink up the makeup brush with Pool Party ink and brush back and forth across the watercolor paper.

5.    Ink up the makeup brush with Pacific Point ink and brush back forth across the watercolor paper.

6.    Ink up the lily pad and lotus flower with Stazon ink and stamp on the Watercolor Paper.

7.    Color the flower in with the Melon Mambo marker and then the Blushing Bride marker.  Then use the Aqua Painter to blend the colors pulling them to the point of the flower.  Do each petal individually.

8.    Color the Lily Pad with the Old Olive and Pear Pizzazz and blend with the Aqua Painter.

9.    Adhere the lily pad to the card front with Multipurpose Glue.  Attach Dimensionals on the back of the lotus flower and attach above the lily pad.

Products I used:

Thursday, November 2, 2017

Christmas Sweaters

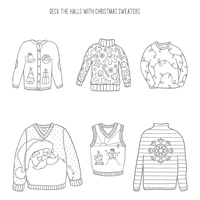
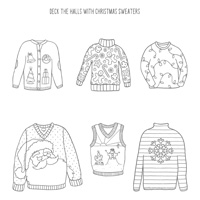
This is a card inspired by Brandy's Cards but I used her ideas to make it my own.  The stamp set is the Christmas Sweaters set from the 2017 Holiday Catalog.  Santa's beard is made by using Multipurpose Glue and Dazzling Diamonds.  Here is the rest of my instructions:


1.     The base of the card is Cherry Cobbler cut at 5-1/2” x 8-1/2” and scored at 4-1/4” in the middle.
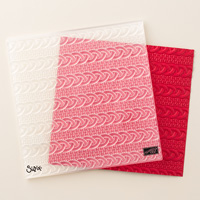
2.    The second layer is Garden Green and cut at 4” x 5-1/4” and inserted into the Cable Knit 3-D Dynamic Textured Embossing Folder and run through the Big Shot.
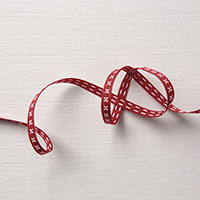
3.    Wrap the ribbon around the Garden Green Cable Knit cardstock and put a Glue Dot on the back to hold it in place.
4.    Ink up the Santa sweater with the Memento Black ink and stamp it on the 2-1/2” x 3” Whisper White cardstock.  Color in the Santa with markers: Sahara Sand for his glasses, Blushing Bride for his face, Cherry Cobbler for his hat.  The sweater is Old Olive and Pool Party.
5.    Use Multipurpose Glue on all the white parts of Santa (beard, mustache, eyebrows, the brim of hat and pompom), but make sure the black lines will show through and then sprinkle Dazzling Diamonds over the glue. Shake off excess and let dry.
6.    Once dry, adhere to the 2-3/4” x 3-1/4” Cherry Cobbler layer and put Dimensionals on the back and adhere to the front of the card over the ribbon.

Products Used:

Wednesday, March 8, 2017

Swan Lake

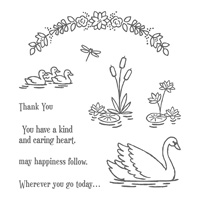
This card was made with the set Swan Lake which I think is absolutely a beautiful set. The technique is called mirror image and it is a little different than the usual way I've done this technique in the past because both swans were cut out.  This technique was inspired by Michelle Zindorf's tutorial that I purchased.  The base of my card is Whisper White cut at 5-1/2" x 8-1/2" but then I used Island Indigo cardstock and the Seaside TIEF cut at 4-1/4" x 5-1/2" and ran it through the Big Shot before adhering to the front of my card base.  The other colors include Soft Sky, Tempting Turquoise, and markers for shading.

Products I used:


Tuesday, November 8, 2016

Merry Mice Z-Fold


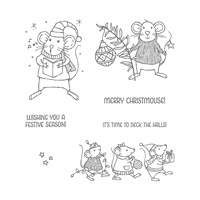
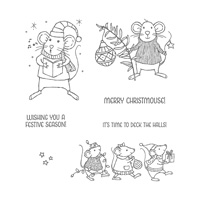
This is a Z-fold card I made using the Merry Mice stamp set.  Just love those little mice! I also think it is so much fun to make Z-fold cards.  The base of my card is Crumb Cake, cut at 4-1/4" x 11" and scored at 2-3/4" and 5-1/2".  Then I cut Real Red cardstock at 4" x 5-1/4" and two at 2-1/2" x 4".  Then the Whisper White was cut at 3-3/4" x 5" and two at 2-1/4" x 3-3/4".  The Whisper White layers were inserted into the new Cable Knit Dynamic Textured Embossing Folder in the Big Shot.  I then layered them each onto the Real Red layers and glued them in each section of my card.  I wrapped the 3/8" Stitched Real Red Ribbon on the left section.  I stamped the mouse on Whisper White with Black Stazon and colored him with Stampin' Markers.  Then I cut him out with the Layering Circles Framelit Dies in the Big Shot and then a Real Red Scalloped Circle to layer together.  I put the left part of the layered circles on the front of the card.  I then cut out 3 Emerald Envy trees using the dies from Santa's Sleigh Thinlets and the Big Shot.  I attached them with adhesive.  I inked up the sentiment "Merry Christmouse" in Real Red ink onto Whisper White cardstock and punched it out with the Classic Label Punch and put Dimensionals on the back to attach between two of the trees.

Products I used:


Fern & Flora - "You Make the World a Better Place"

Here is another card that I made using the Moonlit Flora Designer Series Paper.  It is so beautiful that it really makes the card without pu...