Showing posts with label Pine Tree Punch. Show all posts

Friday, November 15, 2019

Perfectly Plaid Banner Card

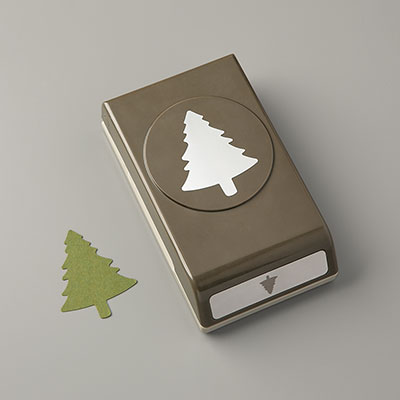
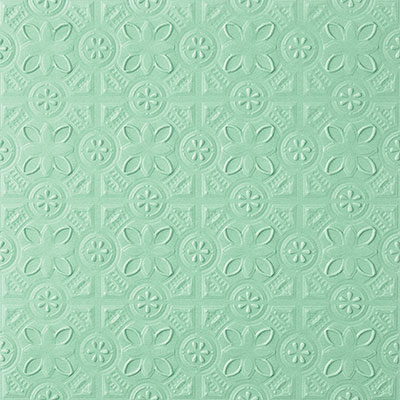
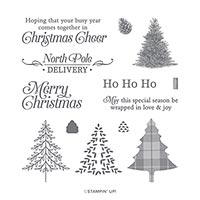
Another Perfectly Plaid card but I used the Tin Tile 3D Embossing Folder for the background.  I love the Shaded Spruce and Cherry Cobblers colors together.  The Pine Tree Punch is a must with the Perfectly Plaid set.  The Gold Foil scallop circle really adds glitz to the card.

Here is the instructions for my card:


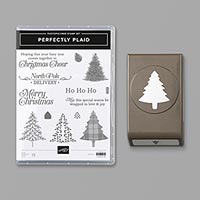
Stamp Sets:  Perfectly Plaid

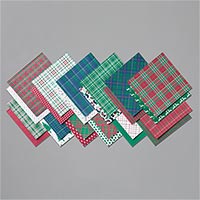
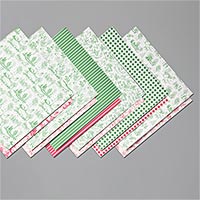
Cardstock:  Cherry Cobbler, Shaded Spruce, Gold Foil, Whisper White, Wrapped in Plaid DSP

Ink:  Shaded Spruce, Cherry Cobbler

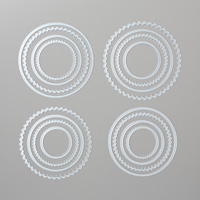
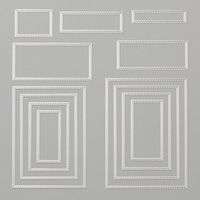
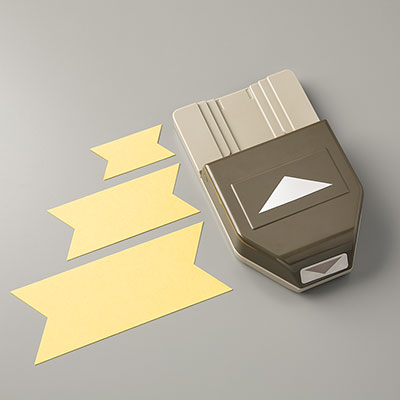
Other:  Big Shot, Pine Tree Punch, Tin Tile Dynamic TIEF, Layering Circles Dies, Triple Banner Punch, Rectangles Stitched Framelit Dies, Multipurpose Glue, Snail Adhesive, Dimensionals


1.     The base of the card is Cherry Cobbler cardstock cut at 5-1/2” x 8-1/2” and scored at 4-1/4” in the middle.

2.    The second layer is Shaded Spruce cardstock cut at 4” x 5-1/4” and inserted into the Tin Tile Dynamic TIEF and adhered to the front of the card with Multipurpose Glue.

3.    The third layer is 2” x 5” of Wrapped in Plaid DSP and inserted into the Triple Banner Punch to create a banner for the middle of the card.  Attach with Multipurpose Glue.

4.    Next, die cut a Whisper White circle (3rd largest)  and a Gold Foil Scalloped circle with the Layering Circles Dies in the Big Shot to layer them together.  Attach with Snail Adhesive.

5.    Die cut a rectangle from Whisper White using the Rectangles Stitched Framelit Dies in the Big Shot.  Ink up “Merry Christmas” sentiment in Cherry Cobbler.  Add Dimensionals to the back and adhere below the layered circles.

6.    Ink up the Christmas tree stamp with Shaded Spruce on Whisper White scrap paper.  Punch out with the Pine Tree Punch and attach to the Whisper White circle with Dimensionals.

7.    Add 3 to 5 Real Red Rhinestones to the card.

Products I used:

Perfectly Plaid - Old Olive

Plaid is in!  This plaid Christmas tree stamp from Perfectly Plaid goes great with the Old Olive Toile Tidings DPS,  I love to use the Subtle Embossing Folder in the background which it makes it look like linen.  Here are my instructions for this card.


Stamp Set:  Perfectly Plaid

Cardstock:  Old Olive, Thick Very Vanilla, Very Vanilla, Toile Tidings DSP.

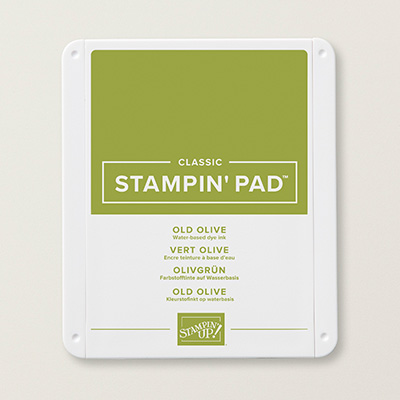
Ink:  Old Olive

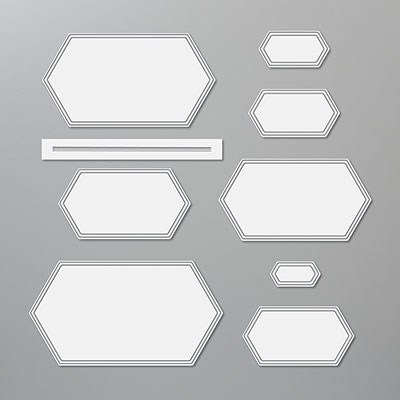
Other:  Big Shot, Subtle Embossing Folder, Stitched Nested Labels Dies, Pine Tree Punch, Linen Thread, Star Designer Elements, Multipurpose Glue, Dimensionals, Glue Dot


1.     The base of the card is Thick Very Vanilla cardstock cut at 4-1/4” x 11” and scored at 5-1/2” in the middle.

2.    The second layer is Old Olive cardstock cut at 4”x 5-1/4” and inserted into the Subtle Embossing Folder and run through the Big Shot.

3.    The third layer is Toile Tidings DSP cut at 4” x 2-1/2” and adhered to the middle of the Old Olive cardstock with Multipurpose Glue.

4.    Use Very Vanilla cardstock to die cut using the second largest die from the Stitched Nested Labels Dies.  Ink up the “Merry Christmas” with Old Olive ink and stamp at the bottom of the Very Vanilla Die.  Use Dimensional to pop up on the card front.

5.    Ink up the plaid Christmas tree stamp with Old Olive and stamp on a scrap of Very Vanilla cardstock.  Use the Pine Tree Punch to punch it out.  Attach Dimensionals on the back and adhere above the Merry Christmas sentiment.  Attach a bow made from Linen Thread with a Glue Dot at the bottom of the tree and add a gold star at  the top using the Star Designer Elements.


Products I used:


Fern & Flora - "You Make the World a Better Place"

Here is another card that I made using the Moonlit Flora Designer Series Paper.  It is so beautiful that it really makes the card without pu...