Showing posts with label Vellum. Show all posts

Monday, June 17, 2019

Good Morning Magnolia

This was a cased card of Sage Kimble's.  I loved the colors and wanted to re-create it for myself.
Her directions were easy to follow and I've written out instructions on how I made this card.

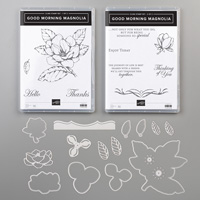
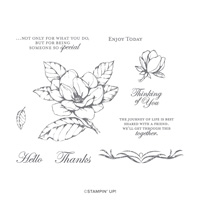
Stamp Set:  Good Morning Magnolia

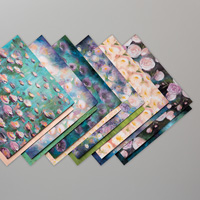
Cardstock:  Blueberry Bushel, Seaside Spray, Vellum, Perennial Essence DSP

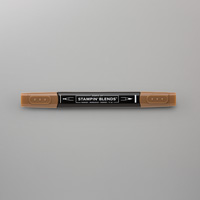
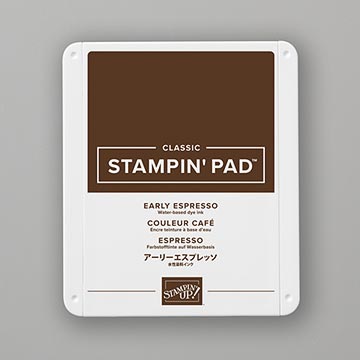
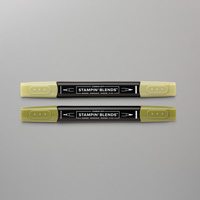
Ink:  Early Espresso, Clear Embossing Powder; Stampin’ Blends:  Light Night of Navy, Bronze

Other:  Big Shot or Die-Cutting Machine, Magnolia Memory Die, Heat Tool, Stamparatus, Bone Folder, Embossing Buddy, Snail Adhesive, Dimensionals


1.     The base of the card is Blueberry Bushel cardstock cut at 4-1/4” x 11” and scored at 5-1/2” in the middle.

2.    The second layer is Perennial Essence DSP cut at 4” x 5-1/4” and using the Magnolia Memory Die with the curved edge, cut the bottom of one end of the DSP with the Die-Cutting Machine.  Adhere to the front of the card base.  Optional:  I also stamped a sentiment at the bottom “Enjoy Today” with Memento Black ink before adhering the DSP.

3.    Cut Vellum at 4” x 4-1/2” and use the Embossing Buddy on it before inserting into the Stamparatus.  Use the Magnolia flower stamp in the Stamparatus and ink it up with Early Espresso to stamp on the Vellum.  You might need to re-ink the stamp several times especially in the center of the flower.  As soon as you have inked it up, use Clear Embossing Powder and heat set with the Heat Tool.

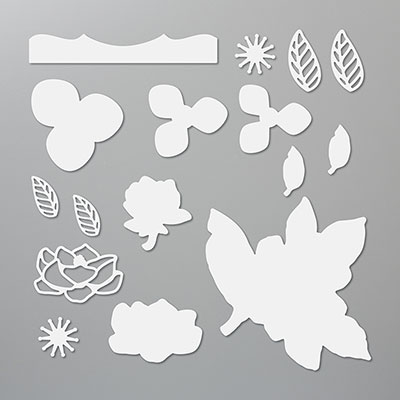
4.    Use a 4” x 4-1/2” Adhesive Sheet (Sizzix Brand) on the back of the Vellum.  Remove backing and adhere to 4” x 4-1/2” Seaside Spray cardstock.  Use the die for the flower in the Die Cutting Machine to die cut the flower layers out.  Attach Dimensionals to the back and adhere to the front of the card over the DSP.

Products I used from Stampin' 'Up!:


Saturday, February 23, 2019

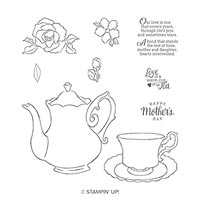
Tea Together - Crackle Paint

This is a card I designed with the Tea Together stamp set and Crackle Paint Background stamp, both in the 2019 Occasions Catalog as well as the Lace Dynamic Textured Impressions Embossing Folder.  The Tea Time Framelit goes with the Tea Together but not as a bundle.  However, it can be earned FREE with a $100 order.  I also used the Layering Ovals in the Annual Catalog.  Although, Mother's Day is not until May, this stamp set includes the sentiment so it would make a lovely card for a mother.

Here are my instructions for my card:



1.     The card base is Highland Heather cardstock cut at 4-1/4” x 11” and scored at 5-1/2” in the middle.

2.    The second layer is Whisper White cardstock cut at 4” x 5-1/4” and layered onto the front of card.

3.    The third layer is Old Olive cardstock cut at 3-3/4” x 5” and layered onto the front of the card.

4.    The fourth layer is Vellum cardstock cut at 3-1/2” x 4-3/4” and attached with Glue Dots to the front of the card.

5.    The tea pitcher stamp is inked up with Gorgeous Grape on Whisper White cardstock and then ink up the Crackle Paint stamp with Gorgeous Grape ink and ink up the pitcher.

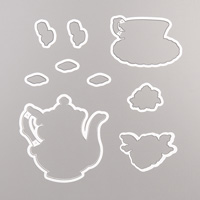
6.    Ink up the rose with Memento Black and die cut both pitcher and rose with the Tea Time Framelit Dies.

7.    Use the Stamping Blends to color in the Pitcher and the rose.

8.    Attach the rose to the pitcher with Dimensionals.

9.    Put Dimensionals on the back of the pitcher and attach to the upper center of the card.

10.  Ink up “Happy Mother’s Day” sentiment with Gorgeous Grape ink on Whisper White cardstock.  Die cut it out with an oval from the Layering Ovals Framelits and a Highland Heather oval the next size up so the two can be layered together and attached with a Dimensional at the bottom of the card.

Products I used:


Thursday, May 17, 2018

Detailed Dragonfly Closure Card

I've been stamping a lot, but I'm sorry to say, I've been neglecting to post to my blog recently.  This is a card I made recently for my swaps using the new preorder "Share What You Love" that you can preorder the month of May HERE

Below are my instructions for making this card and I give credit to Rachel Tessman for designing it.


1.     The base of the card is Thick Whisper White cardstock cut at 5-1/2” x 8-1/2” and folded in half.

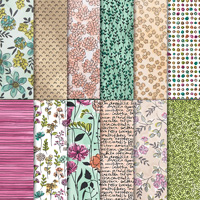
2.    The second layer is Share What You Love DSP cut at 2” x 4-1/4” for the strip outside and for the inside 4” x 5-1/4”.

3.    Use the Leaf Punch to punch out two (2) leaves from the Vellum cardstock and color with Mint Macaron ink.  Let dry!

4.    Adhere the first leaf in the left-hand corner of the card with Snail Adhesive and other on the other side of the DSP strip.

5.    Now measure 5/8” from the left side of the card for placement of the DSP strip. (Use the paper grid for measurement – 5/8” is just one mark over from 1/2” inch mark).  Adhere with Snail Adhesive/or Multipurpose Glue.

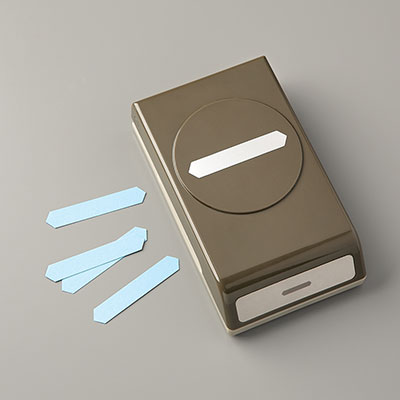
6.    Insert the Classic Label Punch to punch on the left side of the card until it stops and punch out through both layers of the DSP and Thick WW cardstock.

Then bring the punch down and line it up with the first punch and punch about ½” more.

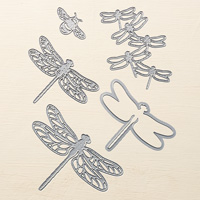
7.    Use the Detailed Dragonfly Thinlets to make a detailed Basic Black dragonfly and a solid vellum dragonfly in the Big Shot.  Always run the Thinlets through the Big Shot at an angle (or at least not head first, so as not to cause them to bend when done.

8.    Align the detailed black dragonfly on top of the vellum dragonfly using Glue Dots or Multipurpose Glue.  Then add Glue Dots to the bottom of the vellum dragonfly to attach through the punched classic hole in the card.  Fold his wings ups slightly so that when you open the card, his wings will go through the punched hole.

9.    You can add two Rhinestones and attach as his eyes or onto his body.

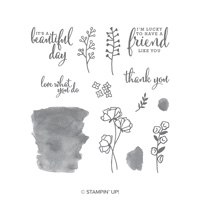
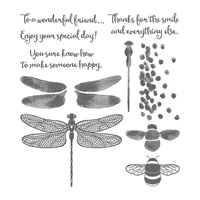
10.  Add sentiment to the right side and then another sentiment on the inside up at the top.  I used the new sentiment "I'm Lucky to have a Friend Like You" from the new preorder stamp set "Love What You Do" and for the inside of the card, I used the Dragonfly Dreams sets for the sentiment "You Sure Know How to Make Someone Happy."

Products I used:

Wednesday, January 3, 2018

Sure Do Love You Suite

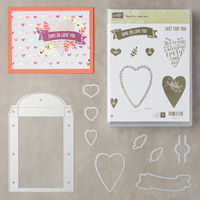
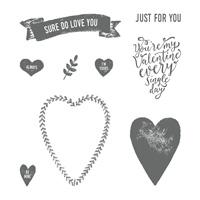
Happy New Year!  This is my first post for the New Year and although it's January, I'm already thinking ahead of February with valentines, etc.  This is a box I made using the Just For You Bundle.
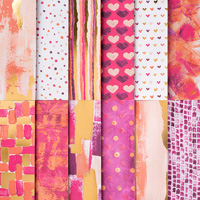
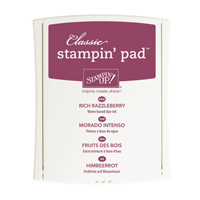
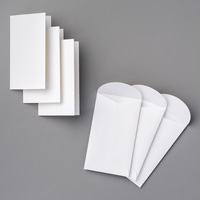
The name of the set is Sure Do Love you, but I also used the "Happy Anniversary" stamp from Teeny Tiny Wishes.  I wanted to show that this valentine set can also be used as an anniversary or wedding set.  The Lots to Love Box Framelits Dies made into a box will also hold the new Whisper White Narrow Note Cards & Envelopes on page 19 of the Occasions Catalog.  The Designer Series Paper on the front is called Painted with Love Specialty DSP which has lots of gold foil accents on one side.  My box was made with Rich Razzleberry cardstock and I used the Tear and Tape adhesive to hold it together.

Products I used: 

Glow of Harvest with Painted Pumpkins

This is a card using the Designer Series Paper Glow of Harvest, which was $5 with an order of $75 or more.   Then, I used the masks to make ...