Showing posts with label Layering Ovals. Show all posts

Thursday, April 4, 2019

Best Bunny Suspension Card


This is a card we made at the last workshop called a suspension card.  I learned how to make this card from a video from Barb Mullikin.  Here are my instructions:

1.     The base of the card is Thick Whisper White cardstock cut at 4-1/4” x 11” and scored at 5-1/2” in the middle.

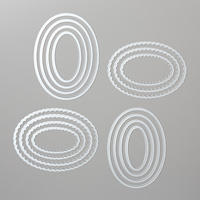
2.    The second layer is Botanical Butterfly DSP cut at 4” x 5-1/4”. Layer onto the front of the card for placement.  Put a small dap of Snail Adhesive in the middle.  Place oval die over center and die cut out in the Big Shot.

3.    Take the scallop oval and the oval you used in 2. to create a nest together on a scrap of Highland Heather cardstock.

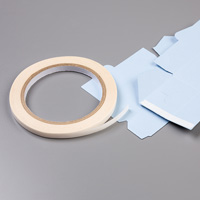
4.    On the front of the card place two strips of Tear and Tape at the top of the oval and two at the bottom of the oval.

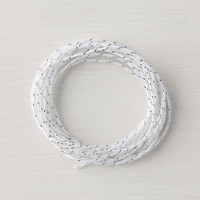
5.    Lay a strip of Baker’s over the center of the oval.  Then put more Tear and Tape over the other Tear and Tape to hold in place.

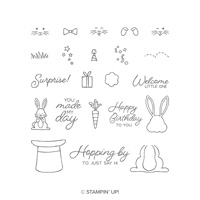
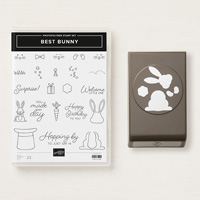
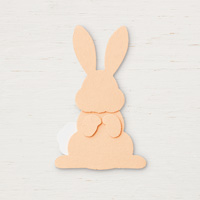
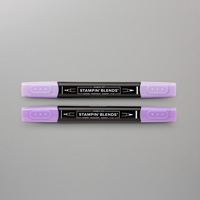
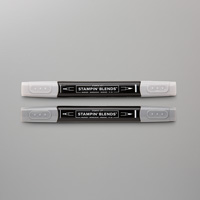
6.    Ink up the bunny pieces with Memento Black ink and punch out with the Bunny Builder Punch.  Color in with the Smoky Slake Stampin’ Blends. 

7.    Stamp the birthday package and fussy cut it out with the Paper Snips.  Color it in with Highland Heather Stampin’ Blends.  The front paws should be attached as though holding the present in front.  Put the tail in the back.

8.    Put the bunny back in the center of the opening with the Baker’s twine down the middle of the bunny.  Add Glue Dots..

9.    Take the front bunny on top of the bunny back.

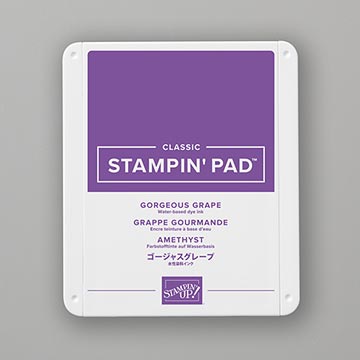
10.  Ink up the “Surprise” sentiment with Gorgeous Grape on Whisper White 5/8” strip.  Flag it with the Paper Snips to create a banner.

11.   On the inside down at the right bottom, ink up the sentiment “Happy Birthday”.

12.  Optional:  Add sequins to the front.  Spin twine around so when card is opened it spins around.

Products I used:

Saturday, February 23, 2019

Tea Together - Crackle Paint

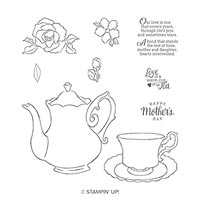
This is a card I designed with the Tea Together stamp set and Crackle Paint Background stamp, both in the 2019 Occasions Catalog as well as the Lace Dynamic Textured Impressions Embossing Folder.  The Tea Time Framelit goes with the Tea Together but not as a bundle.  However, it can be earned FREE with a $100 order.  I also used the Layering Ovals in the Annual Catalog.  Although, Mother's Day is not until May, this stamp set includes the sentiment so it would make a lovely card for a mother.

Here are my instructions for my card:


1.     The card base is Highland Heather cardstock cut at 4-1/4” x 11” and scored at 5-1/2” in the middle.

2.    The second layer is Whisper White cardstock cut at 4” x 5-1/4” and layered onto the front of card.

3.    The third layer is Old Olive cardstock cut at 3-3/4” x 5” and layered onto the front of the card.

4.    The fourth layer is Vellum cardstock cut at 3-1/2” x 4-3/4” and attached with Glue Dots to the front of the card.

5.    The tea pitcher stamp is inked up with Gorgeous Grape on Whisper White cardstock and then ink up the Crackle Paint stamp with Gorgeous Grape ink and ink up the pitcher.

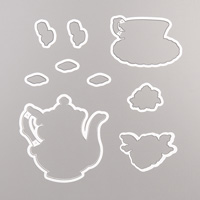
6.    Ink up the rose with Memento Black and die cut both pitcher and rose with the Tea Time Framelit Dies.

7.    Use the Stamping Blends to color in the Pitcher and the rose.

8.    Attach the rose to the pitcher with Dimensionals.

9.    Put Dimensionals on the back of the pitcher and attach to the upper center of the card.

10.  Ink up “Happy Mother’s Day” sentiment with Gorgeous Grape ink on Whisper White cardstock.  Die cut it out with an oval from the Layering Ovals Framelits and a Highland Heather oval the next size up so the two can be layered together and attached with a Dimensional at the bottom of the card.

Products I used:

Fern & Flora - "You Make the World a Better Place"

Here is another card that I made using the Moonlit Flora Designer Series Paper.  It is so beautiful that it really makes the card without pu...