
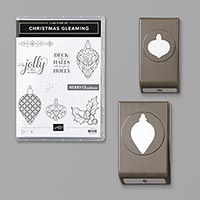
Stamp Set: Christmas Gleaming
Cardstock: Call Me Clover, Whisper White
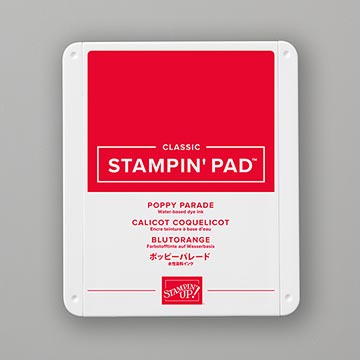
Ink: Delicata Metallic Copper Ink (Now retired), Memento Tuxedo Black, Poppy Parade
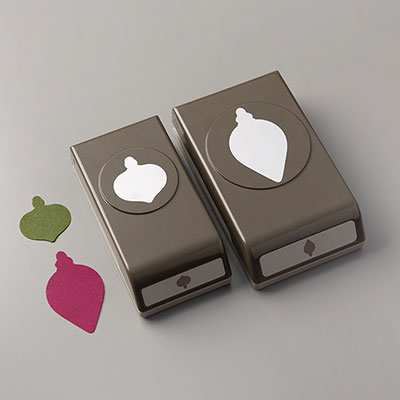
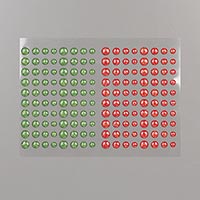
Other: Big Shot, Stitched Rectangles Dies, Gleaming Ornaments Punch Pack, Dimensionals, Snail Adhesive, White Baker’s Twine, Glue Dot. Toile Tiding Glitter Enamel Dots
1. The card base is Call Me Clover cardstock
cut at 5-1/2” x 8-1/2” and scored at 4-1/4” in the middle.
2. The second layer is Whisper White cardstock
die cut in the Big Shot using the largest Stitched Rectangle Die
3. Ink up the holly stamp with the Copper ink or for an alternative, use Crumb Cake ink, and stamp on the Whisper White Rectangle.
4. Ink up the largest ornament stamp with the
Memento Black ink and stamp on Call Me Clover scrap. Punch out with the largest ornament
punch. Attach a Dimensional to the back
and attach to the card. Tie a White
Baker’s Twine Bow and attach with a Glue Dot.
5. Ink up the sentiment “Merry Christmas” with
Poppy Parade ink on Whisper White scrap and trim out with scissors/Paper Snips
leaving a white edge. Attach over
ornament with Snail Adhesive.
6. Add 3 Toile Tiding Glitter Enamel Dots.
7. For the inside, ink up the sentiment “Deck
the Halls….” With Call Me Clover ink.
Products I used:


No comments:
Post a Comment
Thanks for taking the time to comment on my blog. You have made my day!