Showing posts with label Glitter Enamel Dots. Show all posts

Friday, November 15, 2019

Christmas Gleaming

It's been quite a busy month since I last posted.  I created 10 cards for my Christmas Class that I had on November 3, so it's time to post them to my blog.  Let me know which is your favorites.  Here is my first card which was inspired by the sample card on page 62 of the Holiday Catalog, but I used the Delicata Metallic Copper ink.  Here are the instructions for my first card.


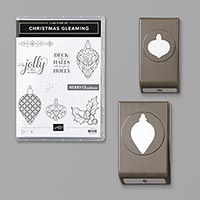
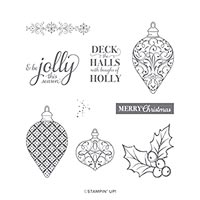
Stamp Set:  Christmas Gleaming

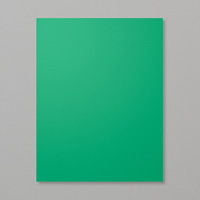
Cardstock:  Call Me Clover, Whisper White

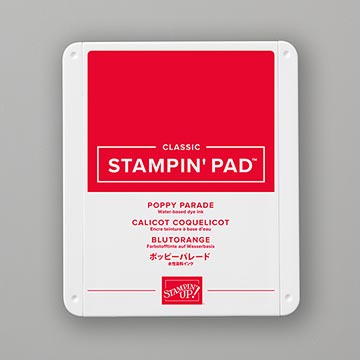
Ink: Delicata Metallic Copper Ink (Now retired), Memento Tuxedo Black, Poppy Parade

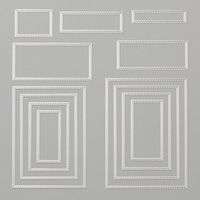
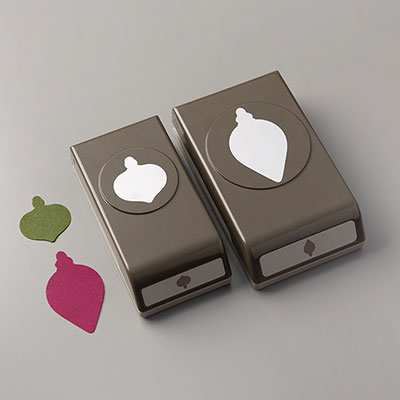
Other:  Big Shot, Stitched Rectangles Dies, Gleaming Ornaments Punch Pack, Dimensionals, Snail Adhesive, White Baker’s Twine, Glue Dot. Toile Tiding Glitter Enamel Dots


1.     The card base is Call Me Clover cardstock cut at 5-1/2” x 8-1/2” and scored at 4-1/4” in the middle.

2.    The second layer is Whisper White cardstock die cut in the Big Shot using the largest Stitched Rectangle Die

3.    Ink up the holly stamp with the Copper ink or for an alternative, use Crumb Cake ink, and stamp on the Whisper White Rectangle.

4.    Ink up the largest ornament stamp with the Memento Black ink and stamp on Call Me Clover scrap.  Punch out with the largest ornament punch.  Attach a Dimensional to the back and attach to the card.  Tie a White Baker’s Twine Bow and attach with a Glue Dot.

5.    Ink up the sentiment “Merry Christmas” with Poppy Parade ink on Whisper White scrap and trim out with scissors/Paper Snips leaving a white edge.  Attach over ornament with Snail Adhesive.

6.    Add 3 Toile Tiding Glitter Enamel Dots.

7.    For the inside, ink up the sentiment “Deck the Halls….” With Call Me Clover ink.

Products I used:


Thursday, April 11, 2019

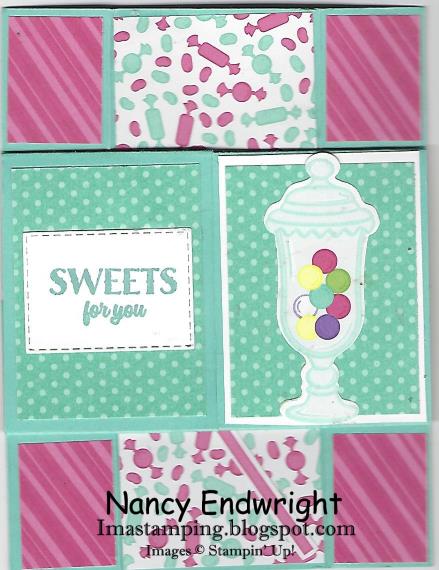
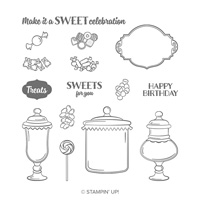
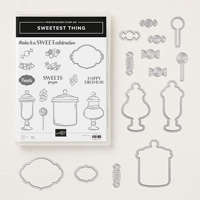
Sweetest Thing - Never Ending Card


It's been a while since I've made a Never Ending Card and I thought the Sweetest Thing stamp set and the How Sweet It Is DSP would be perfect for making one as a birthday card.  Here are my written instructions after following a video of Diane Hutchison on Crafts by the Bow:

1.     Cut two pieces of Coastal Cabana cardstock at 4-1/4” x 5-1/2”.  Score one of them at 1-3/8” on each side of the 5-1/2” side using the Simply Scored Scoring Tool.  Turn to the 4-1/4” side and cut in half at 2-1/8” on the Stampin’ Trimmer.  These will be marked 1 and 2.
2.    On the other piece of Coastal Cabana, on the 4-1/4” side, score 1-1/16” on each side.  Turn on the 5-1/2” side and cut at 2-3/4” on the Stampin’ Trimmer.  These will be marked 3 and 4

                                                                   
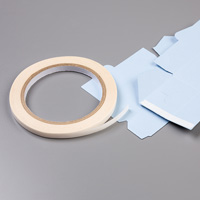
3.    Use two rows of about 1” each of tear and tape at the top left of 3 and top right of 4.  Repeat at the bottom left of 3 and bottom right of 4 with two rows of Tear and Tape.


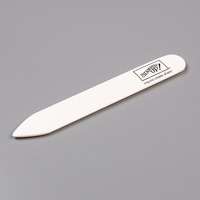
4.    Remove the tape backing.  Make sure that 3 and 4 are even before placing 1 at the top of 3 and 4.  Once it’s in place, 2 should be next at the bottom.  You may need to trim on the edge if not even.  Use the Bone Folder to crease each score line as you fold and unfold.
5.    Now you are ready to add Designer Paper cut at the following dimensions:
You need (8) of 2” x 2-5/8” DSP of different designs.
You need (4) of 2” x 1-1/4” DSP of the same design. 
You need (4) of 7/8” x 2-5/8” of the same design.
You need (8) of 7/8” x 1-1/4” of two different designs.
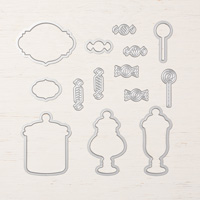
6.    Now using the Jar of Sweets Framelit Dies and the How Sweet It Is DSP, die cut the candy jars in the Big Shot.  Use Paper Snips to cut out candy and attach with Adhesive.
7.    Die cut the small Rectangle Framelits and ink up the sentiment “Sweets for You” and another one with “Happy Birthday” in Coastal Cabana ink.
8.    Add three Glitter Enamel Dots to the front of the card.

Products I used:


Monday, January 15, 2018

Heartfelt Blooms with Watercolor Pencils

This card was made with the Sale-a-Bration set "Heartfelt Blooms" which  I earned with a $50 order.  When I first saw this set, I wasn't thrilled with it but the more I played with it, the more I liked it. It is on page 4 of the SAB catalog and it comes in wood or clear mount.  This set when stamped gives a photographic finish, and it also has a patent pending.  I stamped it in Basic Gray and then colored it in with Watercolor Pencils.  Then I used my Wink of Stella Glitter Brush, but a Blender Pen will also work.

Here are the products I used:


Fern & Flora - "You Make the World a Better Place"

Here is another card that I made using the Moonlit Flora Designer Series Paper.  It is so beautiful that it really makes the card without pu...