Saturday, July 27, 2024

Filled with Cheer - Watercolor Pencils/Blender Pens

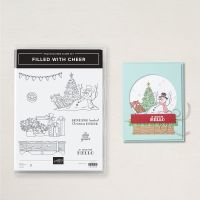
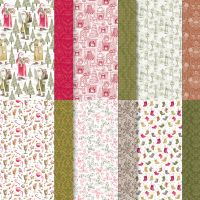
This is a card I created using Crumb Cake cardstock for the base cut at 5-1/2" x 8-1/2" and scored at 4-1/4" and I used Traditions of St. Nick DSP that was carried over and I still had some, luckily.  Although, you'd usually use Stazon Black ink to stamp the snowman, etc.  I didn't, I used the Tuxedo Black Memento and it seemed to work okay with the Watercolor Pencils and Blender Pens.  I also used Craft White ink to color in the snowman and let it dry.

Stamp Set:  Filled With Cheer

Cardstock:  Crumb Cake, 12” x 12” Traditions of St. Nick DSP

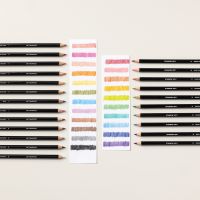
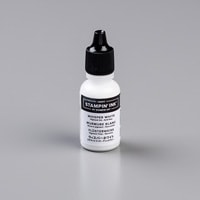
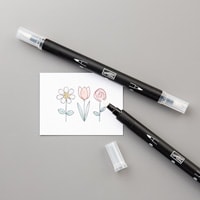
Ink: Tuxedo Black Memento, Watercolor Pencils, White Craft ink Refill, Blender Pens

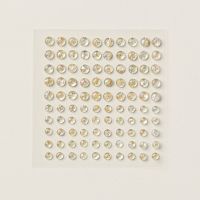
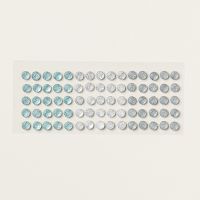
Other:  Stampin’ Cut and Emboss Machine, Paper Trimmer, Spotlight on Nature Dies, and Iridescent Foil Gems


1.     The base of the card is Crumb Cake cardstock cut at 5-1/2” x 8-1/2” and scored at 4-1/4” in the middle.

2.    The second layer is St. Nick DSP cut at 4” x 5-1/4” and adhered to the front of the card base.

3.    Die-cut the large circle from Crumb Cake cardstock with the Spotlight on Nature Dies.

4.    Ink up the stamp with Tuxedo Black Memento ink (or Stazon Black ink) and stamp on the center of the Crumb Cake circle (from the Spotlight in Nature Dies).  Stamp the sentiment below the snowman.

5.    Color it in with the Watercolor Pencils and a Blender Pen. Clean off Blender Pen on the grid or paper towel between colors so you don't muddy up your design.

6.    Use White Craft ink refill on a clear block and use an old Blender pen to color in the melting snowman lightly at first.  You can always add more.  Let Dry.

7.    Adhere the circle to the front of the card with Multipurpose Liquid Glue or Stampin' Dimensionals.

8.    Add three Iridescent Foil Gems.  I usually put on them on a card so that they would form a triangle from gem to gem.


Products I used: 


Product List

Friday, July 26, 2024

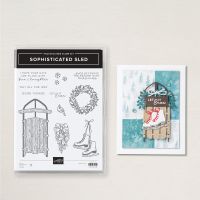
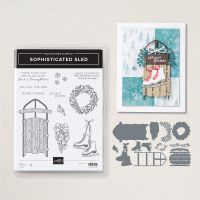
Sophisticated Sled with Season of Green and Gold DSP

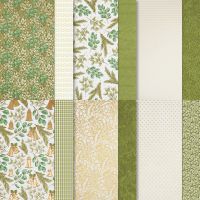
On Sunday at my card club, my customers made this card, but I precut all the dies for them.  They just had to stamp and put their cards together.  They loved the card so much that several of them ordered this bundle.  They fell in love with the Season of Green and Gold DSP.  Everything was from the Online Exclusives.  The original was inspired by Dawn's Stamping Thoughts video, but I changed it by using more Gold Foil.  Our theme was Christmas in July, so I have another card that I will post tomorrow.


Stamp Set:  Sophisticated Sled

Cardstock:  Garden Green, Very Vanilla, Pecan Pie, Cherry Cobbler, Gold Foil, Season of Green & Gold Specialty DSP

Ink:  Cherry Cobbler

Other:  Stampin’ Cut and Emboss Machine, Paper Trimmer, Silicone Craft Sheet, Sophisticated Sled Dies, Paper Snips, Multipurpose Liquid Glue, Mini and Stampin’ Dimensionals, Glue Dots


1.     The base of the card is Garden Green cardstock cut at 5-1/2” x 8-1/2” and scored at 2-1/8” and 4-1/4”.

2.     Cut the Pecan Pie cardstock at 2” x 5-3/8” and the Season of Green & Gold Specialty Paper at 1-7/8” x 5-1/4” and layer together with Multipurpose Liquid Glue and adhere to the left-side card front.

3.     Cut Very Vanilla cardstock at 2-1/4” x 3-3/4” and adhere to Garden Green cardstock cut at 2-1/2” x 4” with Multipurpose Liquid Glue.  Attach to the front but only the left side with Multipurpose Liquid Glue.

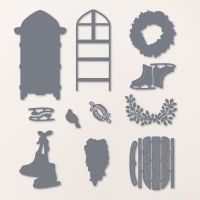
4.     Die-cut wooden sled from Pecan Pie cardstock, the frame from Gold Foil, the skate blades from Gold Foil, the skates from Very Vanilla cardstock, the laces from Cheery Cobbler cardstock.  Ink up the bow stamp (leaving off most of the skates) with Cherry Cobbler ink on Very Vanilla cardstock.

5.     Using a Silicone Craft Sheet: Adhere the Pecan Pie wood frame to the Gold Foil frame using Multipurpose Liquid Glue and matching the holes on the side to each side frame so the gold frame peaks through without getting glue where the holes are.  Do the same with the steering frame.  Let dry on the Silicone Craft Sheet before adhering to the front with Stampin’ Dimensionals to pop it up.

6.     Die-cut the sprig from Garden Green cardstock and adhere at the top of the sled with Multipurpose Glue or a Glue Dot.

7.     The skates have a slit on them where you insert the Cherry Cobbler laces and once inserted just add a Stampin’ Dimensional or two to hold them in place. Adhere the gold blades to the Very Vanilla skates with Multipurpose Liquid Glue being careful not to get the glue on the Gold Foil.

8.     Trim the bottom of the bow and attach the skates to the bow.  Pop them up on the sled with Mini and Stampin’ Dimensionals.

9.     For the inside:  Cut Very Vanilla cardstock at 2-1/2” x 4”.  Ink up sentiment with Cherry Cobbler ink and stamp it in the middle.  Layer onto Pecan Pie cardstock at 3” x 4-1/2” and adhere to the inside of the card so the front layer aligns with the inside, so it won’t show through on the front.

Products I used:

Product List
 

Thursday, July 18, 2024

Sophisticated Sled - Stain glass Window

Here is another Sophisticated Sled card using the wreath, but this time, I made the sled look like a window with stained glass.  I was inspired by a card that Create with Christy made using this idea only I changed some of the colors.

Here are my written instructions:


Stamp Set:  Sophisticated Sled - Stained Glass Window

Cardstock:  Blueberry Bushel, Basic White, Pebbled Path, Winter Meadow DSP

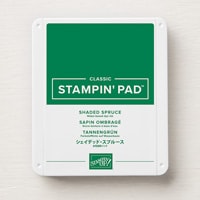
Ink:  Blueberry Bushel, Shaded Spruce

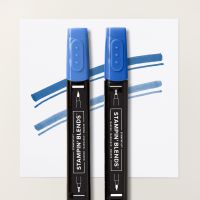
Stampin’ Blends:  Blueberry Bushel, Shaded Spruce

Other:  Stampin’ Cut and Emboss Machine, Sophisticated Sled Dies, Exposed Brick 3D EF, Faceted Gems Trio Pack, Multipurpose Liquid Glue, and Stampin’ Dimensionals, ½” Silver and White Sheer Ribbon, Glue Dots, Paper Snips, Trimmer


1.     The base of the card is Blueberry Bushel cardstock cut at 5-1/2” x 8-1/2” and scored at 4-1/4” in the middle.

2.    The second layer is the Winter Meadow DSP first cut at 4” x 5-1/4” and then cut in half at 2”.  On the left, adhere the flowered dsp with Multipurpose Glue.  Flip over the other side and randomly stamp the snowflake stamp with Blueberry Bushel and adhere to the right side.

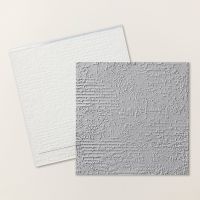
3.    Cut Blueberry Bushel cardstock at 2-7/8” x 4-3/8” and the Basic White is cut at 2-3/4” x 4-1/4”.  Insert the Basic White into the Exposed Brick 3D EF and run through the Stampin’ Cut and Emboss Machine.  Layer onto the Blueberry Bushel layer with Multipurpose Liquid Glue.  Adhere to the center of the card with Multipurpose Liquid Glue.

4.    Die-cut a Pebbled Path sled frame but cut off the ends to form a window frame.

5.    Take another sheet of the Winter Meadow DSP and stamp randomly with the snowflakes in Blueberry Bushel ink.  Die-cut another sled frame but this time save the insides of the sled frame.  Add the “window frame” to the front of the card.  Adhere the insides to the frame with Multipurpose Liquid Glue.  Cut a ¾” x 2” Pebbled Path for the windowsill and stamp it with “Let it Snow” in Blueberry Bushel ink and attach with Stampin’ Dimensionals.

6.    Ink up the wreath stamp with Shaded Spruce on Basic White cardstock.  Color in the leaves with Light Shaded Spruce and the berries with Light Blueberry Bushel.  Die-cut with the Sophisticated Dies.  Put Stampin’ Dimensionals on the back of the wreath and hand on the window.

7.    Tie a bow with the ribbon and attach with a Glue Dot.

8.    Add 3 gems.

Products I used:


Product List
 

Wednesday, July 10, 2024

Sophisticated Sled - Bubble Bath and Petunia Pop


This is another Sophisticated Sled card that I cased from Julie Gilson's by watching her video.  One of my customers saw it and wanted me to duplicate it because she loves the pink colors.  I had to wait to get the 1/8" Silver Trim before I could finish it.  It uses Bubble Bath and Petunia Pop cardstock as well as Basic White and Silver Foil.  I embossed it with the Snowflake Sky 3D Embossing Folder.   The sled is Crumb Cake and Silver Foil. The skates are Basic White, the laces are Bubble Bath and the blades are Silver Foil.

Products I used:  


Product List

Yuletide Village with Frosted Forest trees in an arch
This is the card that I used for my monthly November swap.  The theme was "Christmas Card" but although there is no message on the...