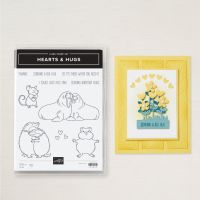
Stamp Set: Hearts & Hugs
Cardstock: Thick Basic White, Basic Gray, Pretty in Pink/Balmy Blue
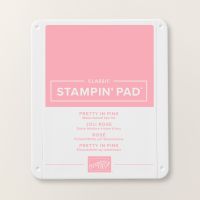
Ink: Tuxedo Black Memento, Basic Gray
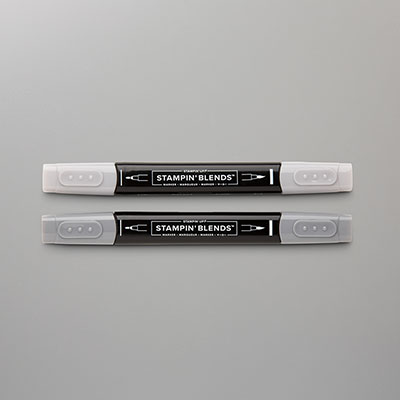
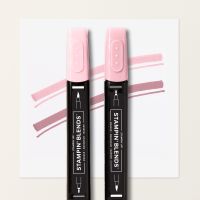
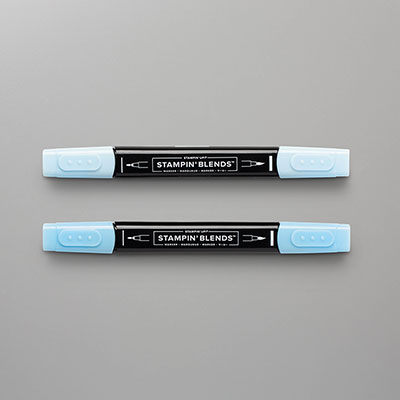
Stampin’ Blends: Smoky Slate, Pretty in Pink, Balmy Blue
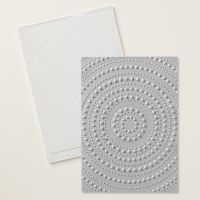
Other: Stampin’ Cut and Emboss Machine, Dotted Circles
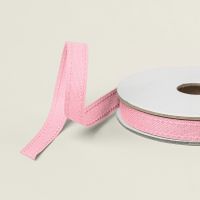
Embossing Folder, Spotlight on Nature Dies, Hearts & Hugs Dies, 3/8” Pretty
in Pink Bordered Ribbon or the 1/4" White (white was colored with Balmy Blue Blends), Happy Little Things Dies, Basic Gray & Smoky Slate
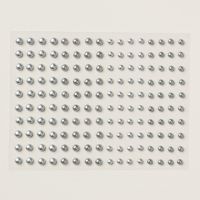
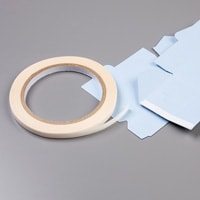
Pearls, Tear and Tape, Multipurpose Liquid Glue, Stampin’ Dimensionals
1. The
base of the card is Thick Basic White cardstock cut at 4-1/4” x 11” and scored
at 5-1/2” in the middle.
2. The second layer is Basic Gray cardstock
cut at 4” x 5-1/4” and adhered to the base front with Multipurpose Liquid Glue.
3. The third layer is Pretty in Pink or Balmy Blue cardstock
cut at 3-3/4” x 5” and inserted into the Dotted Circles Embossing Folder and
run through the Stampin’ Cut and Emboss Machine.
4. Wrap ribbon around the Pretty in Pink layer/Balmy Blue layers and secure in back with strong adhesive (like Tear and Tape). Then take another
piece of ribbon and tie in a knot on the left side. Adhere the Pretty in Pink/Balmy Blue layer to the Basic
Gray layer with adhesive.
5. Die-cut a Basic Gray Spotlight on Nature
Dies (circle).
6. Ink up the mouse stamp on Basic White
cardstock scrap and color in with the Stampin’ Blends. Use the Hearts & Hugs die to die-cut the
mouse. Adhere to the circle with
Multipurpose and Liquid Glue and pop up the circle with Stampin’ Dimensionals
over the ribbon to the right side of the card center.
7. Add 3 Pearls.
8. Ink up the sentiment “Sending a Big Hug” or "Congratulations" with
Tuxedo Black Memento ink or Basic Gray on Basic White cardstock and die-cut with the Happy
Little Things Dies to make it fit.










No comments:
Post a Comment
Thanks for taking the time to comment on my blog. You have made my day!