Stamp
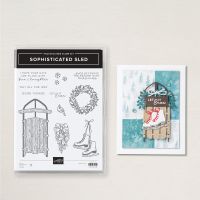
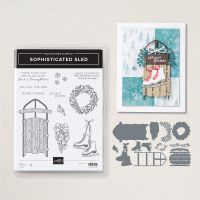
Set: Sophisticated Sled
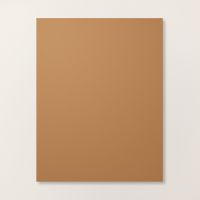
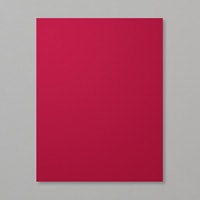
Cardstock: Garden Green, Very Vanilla, Pecan Pie, Cherry
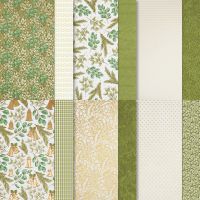
Cobbler, Gold Foil, Season of Green & Gold Specialty DSP
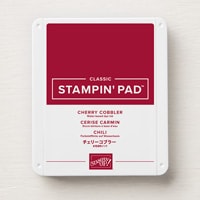
Ink: Cherry Cobbler
Other: Stampin’ Cut and Emboss Machine, Paper Trimmer,
Silicone Craft Sheet, Sophisticated Sled Dies, Paper Snips, Multipurpose Liquid
Glue, Mini and Stampin’ Dimensionals, Glue Dots
1. The base of the card is
Garden Green cardstock cut at 5-1/2” x 8-1/2” and scored at 2-1/8” and 4-1/4”.
2. Cut the Pecan Pie cardstock
at 2” x 5-3/8” and the Season of Green & Gold Specialty Paper at 1-7/8” x
5-1/4” and layer together with Multipurpose Liquid Glue and adhere to the
left-side card front.
3. Cut Very Vanilla cardstock
at 2-1/4” x 3-3/4” and adhere to Garden Green cardstock cut at 2-1/2” x 4” with
Multipurpose Liquid Glue. Attach to the
front but only the left side with Multipurpose Liquid Glue.
4. Die-cut wooden sled from
Pecan Pie cardstock, the frame from Gold Foil, the skate blades from Gold Foil,
the skates from Very Vanilla cardstock, the laces from Cheery Cobbler
cardstock. Ink up the bow stamp (leaving
off most of the skates) with Cherry Cobbler ink on Very Vanilla cardstock.
5. Using a Silicone Craft
Sheet: Adhere the Pecan Pie wood frame to the Gold Foil frame using
Multipurpose Liquid Glue and matching the holes on the side to each side frame
so the gold frame peaks through without getting glue where the holes are. Do the same with the steering frame. Let dry on the Silicone Craft Sheet before
adhering to the front with Stampin’ Dimensionals to pop it up.
6. Die-cut the sprig from
Garden Green cardstock and adhere at the top of the sled with Multipurpose Glue
or a Glue Dot.
7. The skates have a slit on
them where you insert the Cherry Cobbler laces and once inserted just add a
Stampin’ Dimensional or two to hold them in place. Adhere the gold blades to
the Very Vanilla skates with Multipurpose Liquid Glue being careful not to get
the glue on the Gold Foil.
8. Trim the bottom of the bow
and attach the skates to the bow. Pop
them up on the sled with Mini and Stampin’ Dimensionals.
9. For the inside: Cut Very Vanilla cardstock at 2-1/2” x
4”. Ink up sentiment with Cherry Cobbler
ink and stamp it in the middle. Layer
onto Pecan Pie cardstock at 3” x 4-1/2” and adhere to the inside of the card so
the front layer aligns with the inside, so it won’t show through on the front.
Products I used:
Product List





No comments:
Post a Comment
Thanks for taking the time to comment on my blog. You have made my day!