Stamp
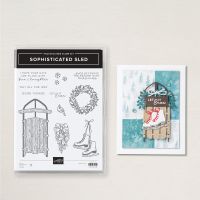
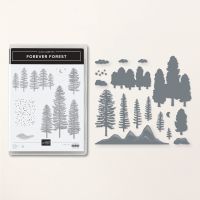
Sets: Sophisticated Sled (Online Exclusive - July 3, Forever Forest - Annual catalog
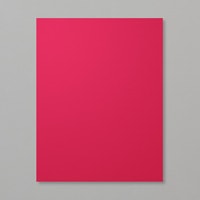
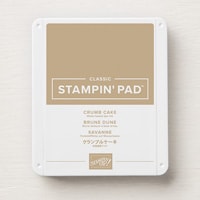
Cardstock: Real Red, Basic White, and Crumb Cake
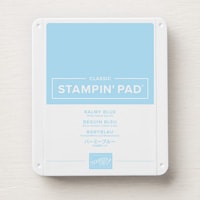
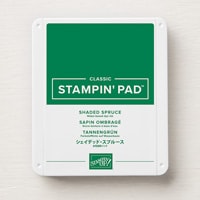
Ink: Tuxedo Black Memento, Balmy Blue, Shaded
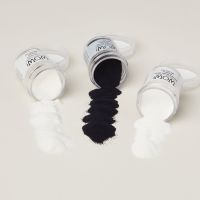
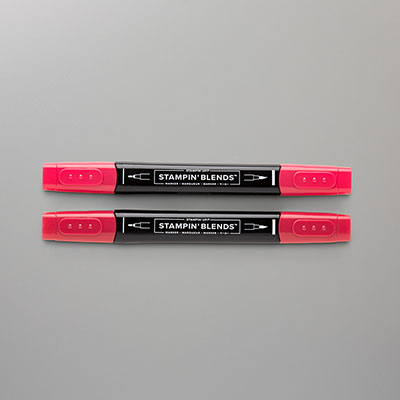
Spruce, Crumb Cake, Versamark, Wow Opaque White Regular Embossing Powder, Real
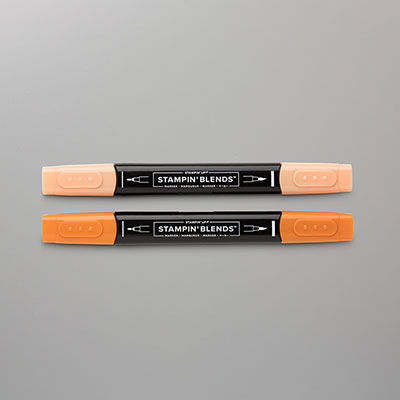
Red and Pumpkin Pie Stampin’ Blends
Other: Stampin’ Cut and Emboss Machine,
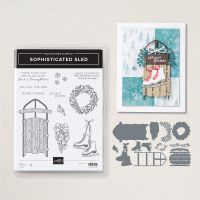
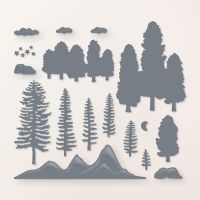
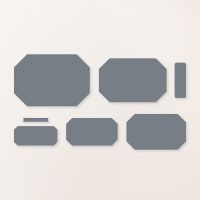
Sophisticated Sled Dies, Forever Forest Dies, Countryside Corner Dies, Snowflake
Sky EF. Swirly EF, Heat Tool, Blending Brush, Paper Snips, Multipurpose Liquid
Glue, Stampin’ Dimensionals
1. The base of the card is
Real Red cardstock cut at 4-1/4” x 11” and scored at 5-1/2” in the middle.
2. The second layer is Basic
White cardstock cut at 4” x 5-1/4”. Use
the Blending Brush with Balmy Blue ink for the sky.
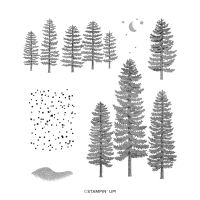
3. Add a row of Forever
Forest with Shaded Spruce ink approximately in the middle of the card.
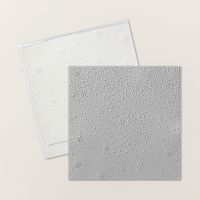
4. Insert the card into the
Snowflake Sky Embossing Folder.
5. Stamp the larger tree on
Basic White cardstock and die-cut but only use two by using the Paper Snips to
trim off the right one. Adhere to the
left with Multipurpose Liquid Glue.
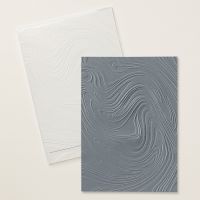
6. Cut a 4” x 5-1/4” Basic
White and insert into the Swirly Embossing Folder. Tear across the top edge to create a snow
drift. Use the Blending Brush and Balmy
Blue ink. Adhere to the card with
Multipurpose Liquid Glue.
7. Tear another piece for the
lower snow drift. Use the Blending Brush
and Balmy Blue ink. Adhere with Stampin’
Dimensionals. Cut off the bottom excess.
8. Die-cut the Real Red
cardstock for the frame. Use a Blending
Brush and Crumb Cake ink on the Crumb Cake cardstock before die-cutting the wooden
sled. Attach with Multipurpose Liquid
Glue. Insert the sled into the snow
drift using Mini Stampin’ Dimensionals.
9. Ink up the bird with
Tuxedo Black Memento and color with the Real Red Stampin’ Blends and Pumpkin
Pie for his beak. Adhere with a Stampin’
Dimensional on the right of the snow drift.
10. Ink up the sentiment “Let
it Snow” with Versamark ink and the Wow Embossing White Powder on Real Red cardstock. Heat set with Heat Tool and die-cut with the Countryside Corner Dies so that it smaller than the die, and adhere to the
snow drift on the left with Multipurpose Liquid Glue.







No comments:
Post a Comment
Thanks for taking the time to comment on my blog. You have made my day!