Stamp
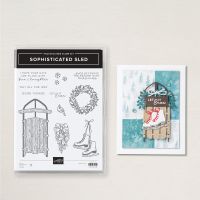
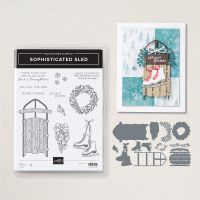
Set: Sophisticated Sled - Stained Glass Window
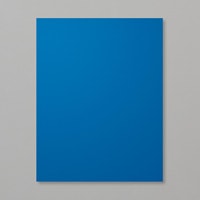
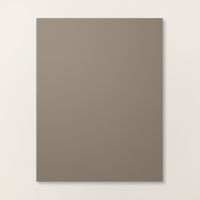
Cardstock: Blueberry Bushel, Basic White, Pebbled Path, Winter
Meadow DSP
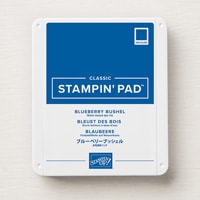
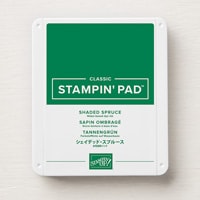
Ink: Blueberry Bushel, Shaded Spruce
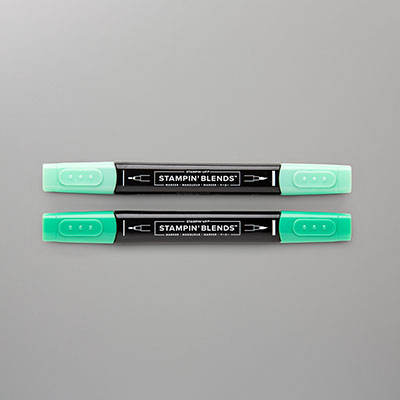
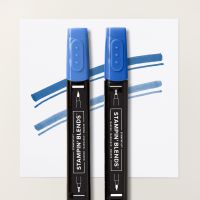
Stampin’
Blends: Blueberry Bushel, Shaded Spruce
Other: Stampin’ Cut and Emboss Machine,
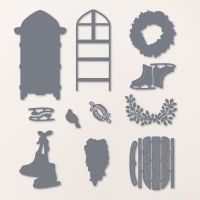
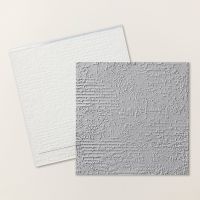
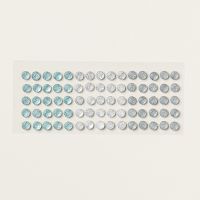
Sophisticated Sled Dies, Exposed Brick 3D EF, Faceted Gems Trio Pack,
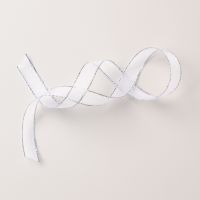
Multipurpose Liquid Glue, and Stampin’ Dimensionals, ½” Silver and White Sheer Ribbon,
Glue Dots, Paper Snips, Trimmer
1. The base of the card is Blueberry
Bushel cardstock cut at 5-1/2” x 8-1/2” and scored at 4-1/4” in the middle.
2. The second layer is the
Winter Meadow DSP first cut at 4” x 5-1/4” and then cut in half at 2”. On the left, adhere the flowered dsp with
Multipurpose Glue. Flip over the other
side and randomly stamp the snowflake stamp with Blueberry Bushel and adhere to
the right side.
3. Cut Blueberry Bushel
cardstock at 2-7/8” x 4-3/8” and the Basic White is cut at 2-3/4” x 4-1/4”. Insert the Basic White into the Exposed Brick
3D EF and run through the Stampin’ Cut and Emboss Machine. Layer onto the Blueberry Bushel layer with
Multipurpose Liquid Glue. Adhere to the
center of the card with Multipurpose Liquid Glue.
4. Die-cut a Pebbled Path
sled frame but cut off the ends to form a window frame.
5. Take another sheet of the
Winter Meadow DSP and stamp randomly with the snowflakes in Blueberry Bushel
ink. Die-cut another sled frame but this
time save the insides of the sled frame.
Add the “window frame” to the front of the card. Adhere the insides to the frame with Multipurpose
Liquid Glue. Cut a ¾” x 2” Pebbled Path
for the windowsill and stamp it with “Let it Snow” in Blueberry Bushel ink and
attach with Stampin’ Dimensionals.
6. Ink up the wreath stamp
with Shaded Spruce on Basic White cardstock.
Color in the leaves with Light Shaded Spruce and the berries with Light
Blueberry Bushel. Die-cut with the
Sophisticated Dies. Put Stampin’
Dimensionals on the back of the wreath and hand on the window.
7. Tie a bow with the ribbon
and attach with a Glue Dot.
8. Add 3 gems.
Products I used:








No comments:
Post a Comment
Thanks for taking the time to comment on my blog. You have made my day!