My Instructions for making this card:
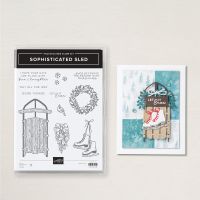
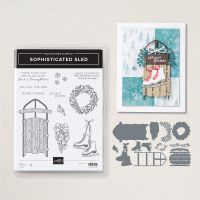
Stamp Set: Sophisticated Sled
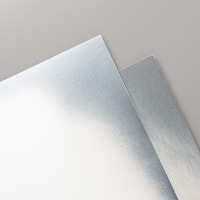
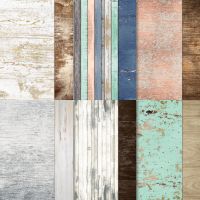
Cardstock: Misty Moonlight, Basic White, Silver Foil, Country
Woods DSP
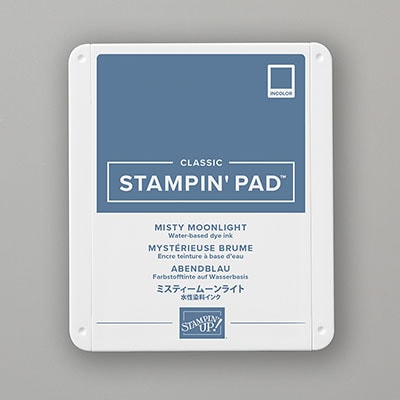
Ink: Tuxedo Black Memento, Misty Moonlight
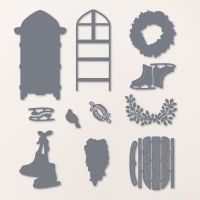
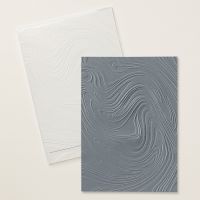
Other: Stampin’ Cut and Emboss Machine, So Swirly
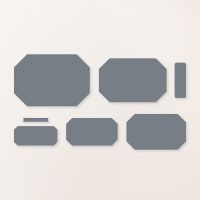
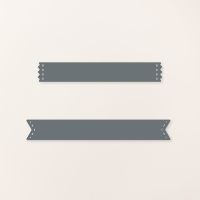
Embossing Folder, Sophisticated Sled Dies, Happy Little Things Dies, Countryside
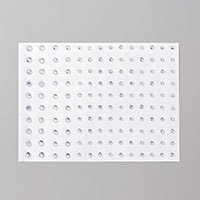
Corners Dies, Rhinestone Basic Jewels, Multipurpose Liquid Glue, Stampin’
Dimensionals, Mini Stampin’ Dimensionals
1. The base of the card is Misty Moonlight
cardstock cut at 4-1/4” x 11” and scored at 5-1/2” in the middle.
2. The second layer is Basic White cardstock
cut at 4” x 5-1/4” and adhered to the base with Multipurpose Liquid Glue.
3. Die-cut the sled using Misty Moonlight for
the frame and laces, Country Woods DSP for the wood, Basic White for the
skates, Silver foil for the blades. Put
the sled together using adhesives and attach to the lower center of the card.
4. Ink up the sentiment “Let it Snow” with
Misty Moonlight ink on Basic White cardstock.
Die-cut with the Countryside Corners dies. Add Misty Moonlight snowflakes on either
side.
5. Die-cut a Misty Moonlight Happy Little
Things Dies and cut in half and attach to each side of the Countryside Corners
Dies.
6. Attach to the top of the card front and add
Rhinestone Basic Jewels on either side.
Product List





No comments:
Post a Comment
Thanks for taking the time to comment on my blog. You have made my day!