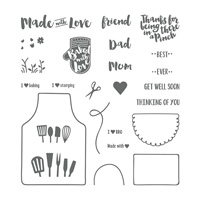
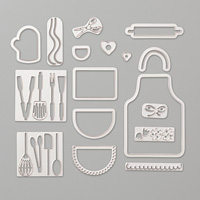
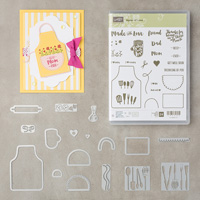
This card was not my original idea, but Cindy Budden made a card using the Apron of Love set and the Best Decision Ever set. The Best Decision Ever set is a stamp set that demos only can order on their supply list #135815. The Apron of Love is from the 2018 Occasions Catalog and it is so adorable to make lots of apron cards. It could be a chef's apron, a Mother's Day apron, one for your friends, so many ideas. Here are the instructions on how I made my card:
1. The base of my card is
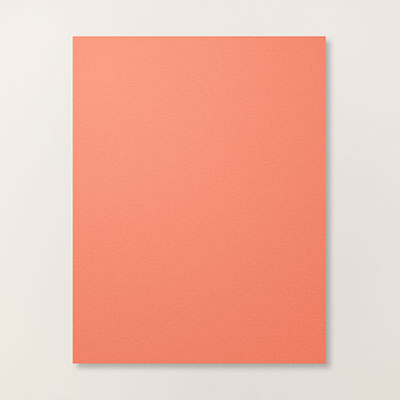
Bermuda Bay cardstock cut at 5-1/2” x 8-1/2” and scored at 4-1/4” in the
middle.
2. The second layer is Basic
Black cardstock cut at 4” x 5-1/4” and adhered to the front with Multipurpose
Glue.
3. The third layer is from
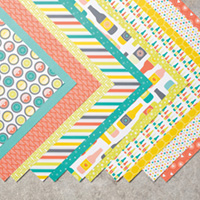
the Bubbles and Fizz DSP which is a FREE SAB item. Cut at 3-3/4” x 5” and
adhered to the front with adhesive with the stripes going vertical.
4. The apron is die cut from
Basic Black cardstock plus the pocket and neck pieces in the Big Shot. Use Versamark ink on the “Stampin’ Up!” stamp
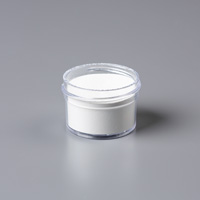
from Best Decision Ever and stamp onto the upper part of the apron. Sprinkle white Embossing Powder on it and
heat set with the Heat Tool. Attach the
pocket with Dimensionals.
5. Die cut the scissors with
the Apron Builder Framelit Dies and Silver Foil. Attach inside the pocket with a Glue Dot.
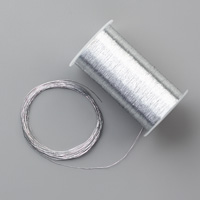
6. Take the Metallic Silver
Thread and wrap it around your fingers several times and attach to the back of
the apron with a Dimensional. Fan it out
on the back.
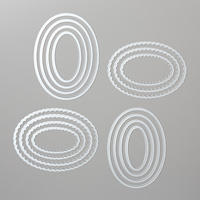
7. Die a scallop Basic Black
oval using the Layering Oval Framelits.
Use the Stitched Die Oval from the Bubbles and Fizz DSP with the stripes
going horizontal. Adhere together with
Multipurpose Glue and then put Dimensionals on the back. Add the apron to the ovals with Dimensionals
and attach to the upper part of the card.
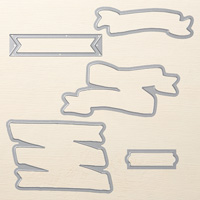
8. Ink up the sentiment “Made
with Love” on Whisper White cardstock and die cut using the Bunch of Banners
Framelits Die. Glue at the bottom of the
card with Multipurpose Glue.
Products I used: