Showing posts with label Dies. Show all posts

Friday, June 26, 2020

Silhouette Scenes

I used to love walking in the rain when I was younger.  As a matter of fact, one night when my date brought me home, it started to sprinkle.  On a whim, I asked him if he wanted to go for a walk in the rain.  We went clear around the block in the softly, falling rain. Of course, we didn't have an umbrella, but this card reminded me of that night many years ago,   It was the only time I remember walking in the rain with a date.

This is actually a case from last year's catalog that I intended to do, but time gets away from me too quickly.  I still have the retired DSP but it is no longer available to purchase from Stampin' Up!.  I think I want to try using a new DSP with this set as any of them would work such as Whale of a Time DSP as soon as I order it #152460 for $11.50.  The set "Silhouette Scenes" is still available in the new annual catalog, so hopefully I can create some more cards with this gorgeous set.

Products I used to make this card:
Product List

Tuesday, May 12, 2020

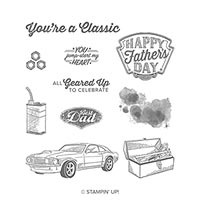
Geared Up Garage

This is a masculine card that I need for a birthday for a friend.  I've not made any cards with it yet, so decided it was time I used it especially since he collects classic cars.  
Here are the instructions for my card:

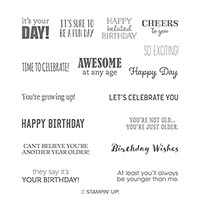
Stamp Sets:  Geared Up Garage, Itty Bitty Birthdays (inside)
Cardstock:  Real Red, Gray Granite, Whisper White, Silver Foil
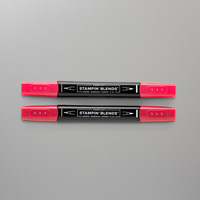
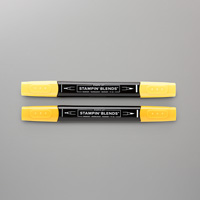
Ink:  Memento, Stampin’ Blends Real Red Combo and Mango Melody Combo
Other:  Big Shot, Garage Gears Dies, Paper Snips, Dimensionals, Multipurpose Glue

1.     The base of the card is Real Red cardstock cut at 5-1/2” x 8-1/2” and scored at 4-1/4” in the middle.
2.    The second layer is Gray Granite cardstock cut at 4” x 5-1/4” and inked up with Gray Granite ink using several of the stamps.
3.    Ink up the car stamp with Memento Black ink on Whisper White cardstock.  Color it in with the Stampin’ Blends.  Die cut with the Garage Gears Dies in the Big Shot.
4.    Using the Silver Foil and gears die, die cut in the Big Shot.  Adhere to the card with Multipurpose Glue.
5.    Ink up the sentiment “You’re a Classic” with Memento Black ink on Whisper White cardstock strip.  Use the Paper Snips to make a banner on both ends and attach with Multipurpose Glue.
6.    Attach Dimensionals on the car and attach to the card over the gears.

Products I used: 


Thursday, January 11, 2018

Apron of Love

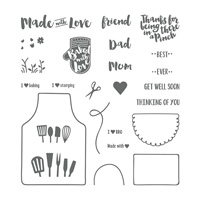
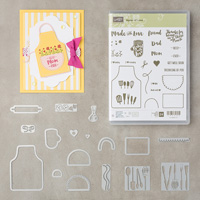
This card was not my original idea, but Cindy Budden made a card using the Apron of Love set and the Best Decision Ever set.  The Best Decision Ever set is a stamp set that demos only can order on their supply list #135815.  The Apron of Love is from the 2018 Occasions Catalog and it is so adorable to make lots of apron cards.  It could be a chef's apron, a Mother's Day apron, one for your friends, so many ideas.  Here are the instructions on how I made my card:


1.     The base of my card is Bermuda Bay cardstock cut at 5-1/2” x 8-1/2” and scored at 4-1/4” in the middle.
2.    The second layer is Basic Black cardstock cut at 4” x 5-1/4” and adhered to the front with Multipurpose Glue.
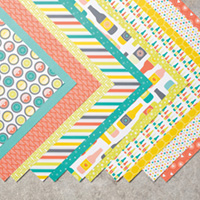
3.    The third layer is from the Bubbles and Fizz DSP which is a FREE SAB item. Cut at 3-3/4” x 5” and adhered to the front with adhesive with the stripes going vertical.
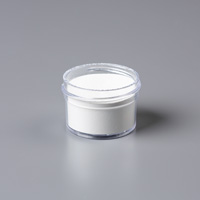
4.    The apron is die cut from Basic Black cardstock plus the pocket and neck pieces in the Big Shot.  Use Versamark ink on the “Stampin’ Up!” stamp from Best Decision Ever and stamp onto the upper part of the apron.  Sprinkle white Embossing Powder on it and heat set with the Heat Tool.  Attach the pocket with Dimensionals.
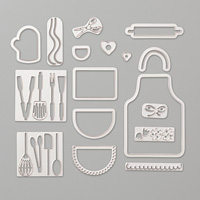
5.    Die cut the scissors with the Apron Builder Framelit Dies and Silver Foil.  Attach inside the pocket with a Glue Dot.
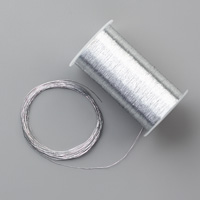
6.    Take the Metallic Silver Thread and wrap it around your fingers several times and attach to the back of the apron with a Dimensional.  Fan it out on the back.
7.    Die a scallop Basic Black oval using the Layering Oval Framelits.  Use the Stitched Die Oval from the Bubbles and Fizz DSP with the stripes going horizontal.  Adhere together with Multipurpose Glue and then put Dimensionals on the back.  Add the apron to the ovals with Dimensionals and attach to the upper part of the card.
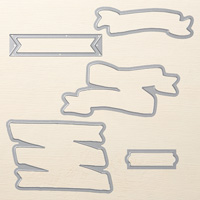
8.    Ink up the sentiment “Made with Love” on Whisper White cardstock and die cut using the Bunch of Banners Framelits Die.  Glue at the bottom of the card with Multipurpose Glue.

Products I used:  

Fall Pumpkins and Sunflowers card

Fall is in the air!  Yes, it is finally sweater weather here in Indiana.  It has been a hot summer, so it's nice to have cooler weather....