Showing posts with label Bermuda Bay. Show all posts

Friday, October 9, 2020

Rooted in Nature - Thank you Card

We all need "Thank You" cards to show our appreciation for something we receive from others.  I needed to make one for a customer in another state and this is the card I made which is similar to one I made a couple years ago with the Rooted in Nature set.   The colors are different as well as the sentiment and label.  Sometimes, I refer back to some of the original artwork for ideas.  I just change it up a bit which you can do with other cards you might see on Pinterest, Blogs, or Websites.  Sometimes, I just Case the card exactly as it is if I really like it and don't change a thing, but always give credit to the artist.  Also, this card can be used for any occasion by just changing the sentiment to a birthday, Get Well, etc.

Products I used:  


Product List

Tuesday, July 2, 2019

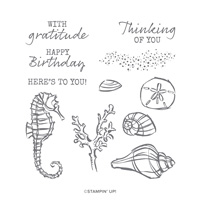
Seaside Notions - Seahorse

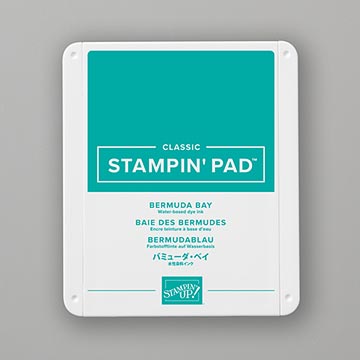
Bermuda Bay is one of my favorite colors so I decided to use it for the base of my card.
The seahorse stamp is from Seaside Notions which is a new set in the catalog this year.  I thought it was so pretty by itself, I decided not to put a sentiment on the front of my card, but on the inside I used "Happy Birthday" embossed with Gold Embossing Powder.  Here are the instructions for my card:
1.     The base of the card is Bermuda Bay cardstock cut at 5-1/2” x 8-1/2” and scored at 4-1/4” in the middle.
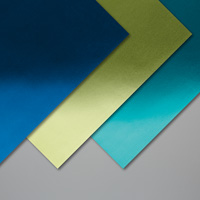
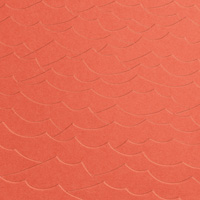
2.    The second layer is Noble Peacock Foil (Pretty Peacock) cut at 4” x 5-1/4” and inserted into the High Seas 3D Embossing Folder and run through the Big Shot using the 3D Embossing Folder Plate on top.  Attach to the front of the card with Multipurpose Liquid Glue.
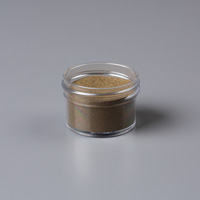
3.    On the Shimmery White cardstock, use the Embossing Buddy, and then ink up the seahorse stamp with Versamark ink.  Sprinkle Gold Embossing Powder over the seahorse and shake off the excess.  Heat set with the Heat Tool. 
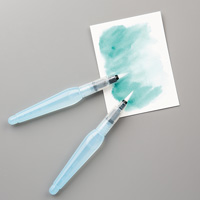
4.    Die cut the seahorse using the oval die.  Use the Aqua Painter with Bermuda Bay ink to color the seahorse. 
5.    Die cut an oval scallop die using Gold Foil.  Layer together with adhesive and put Dimensionals on the back to adhere to the front of the card.
Products I used:


Thursday, July 19, 2018

Enjoy Life - Miss You

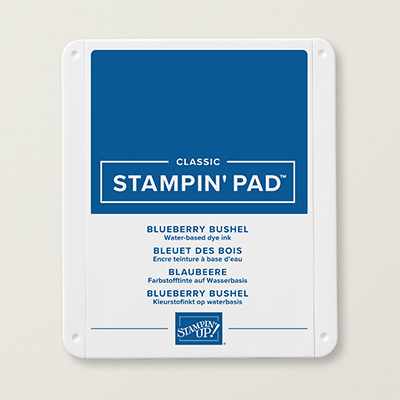
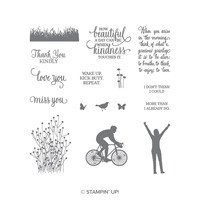
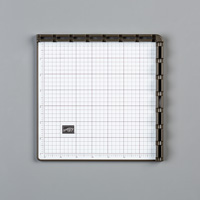
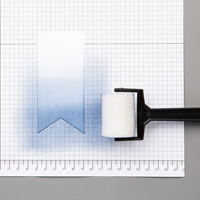
This is another card I stamped using the Enjoy Life stamp set again.  It is cased from Linda Van Wely-Zwille because I just loved the colors she used.  I think the new Blueberry Bushel is a new favorite of mine.  It is a new In-Color that will be around for a couple years at least.  I also Bermuda Bay.  I used the Sponge Brayers to get this effect and sprinkled water on it and blotted it dry with a paper towel.  Once dry, I added the grass with Memento Black and also the bike silhouette stamp using the Stamparatus.  Here are my instructions:


Stamp Set:  Healing Hugs
Cardstock:  Blueberry Bushel, Bermuda Bay, Basic Black, Whisper White
Ink:  Bermuda Bay, Blueberry Bushel, Memento Black and/or Night of Navy
Other:  Stamparatus, Big Shot, Stitched Shapes Framelits (circle) Multipurpose Glue, Dimensionals, Sponge Brayers, water, paper towel

1.     The base of the card is Blueberry Bushel cut at 5-1/2” x 8-1/2” and scored at 4-1/4” in the middle.
2.    The second layer is Bermuda Bay cut at 4” x 5-1/4”.
3.    The third layer is Basic Black cut at 3-15/16” x 4-15/16”.
4.    The fourth layer is Whisper White cut at 3-3/4” x 4-13/16”.
5.    Starting with the lighter color – Bermuda Bay – ink up the Sponge Brayer and brayer it across the Whisper White cardstock horizontally.
6.    The take the darker color – Blueberry Bushel – ink up the Sponge Brayer and brayer it across the opposite side of the card and blend the colors together until satisfied.
7.    Optional:  Get your hand slightly wet with water and sprinkle onto the cardstock and immediately dry with a paper towel.
8.    Ink up the grass with Memento Black ink or Night of Navy ink to stamp the grass along the bottom of the Bermuda Bay side.
9.    Use the Stamparatus and Memento Black ink to stamp the bicycle person.
10.  Ink up the sentiment with Memento Black ink on Whisper White cardstock.  Use the Big Shot and Stitched Shapes Framelit circle to die cut it out.  Add Dimensionals to the back and adhere to the front of the card.

Products I used:


Thursday, February 15, 2018

Bubble Over Calendar

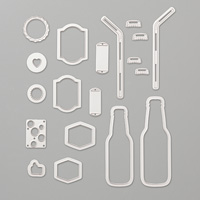
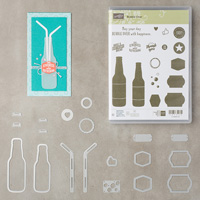
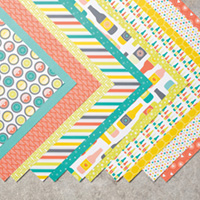
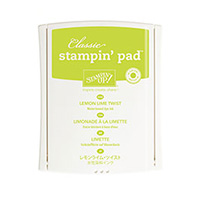
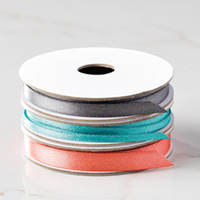
February is half way through, and I haven't posted anything that I've created recently.  However, I have been stamping a lot this month and last.  This calendar was a big hit in January for my club members. It was inspired by Janet Wakeland, but I changed it up a bit.  The stamp set is called Bubble Over and it comes with a Bundle to also get the Bottle and Bubbles Framelit Dies. The colors I used are Bermuda Bay, Lemon Lime Twist, and Calypso Coral which are the colors in the Bottle and Bubbles DSP that can be earned from the Sale-a-Bration catalog if you place a $50 order.  The little bottle cap was die cut out of the Silver Foil cardstock using the die.  The Bermuda Bay Shimmer Ribbon is also from a pack in the SAB catalog that can be earned free.  The self-stick calendars were ordered from www.vippies.com

Products I used:

Fern & Flora - "You Make the World a Better Place"

Here is another card that I made using the Moonlit Flora Designer Series Paper.  It is so beautiful that it really makes the card without pu...