Showing posts with label Layering Circle Framelits. Show all posts

Tuesday, October 31, 2017

Santa's Sleigh Shaker Card

This card was inspired by the card sample on page 119 of the Annual Catalog and my October Paper Pumpkin Kit. Here are my instructions:


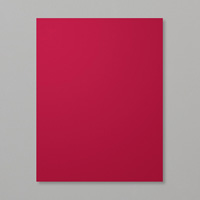
1.     The base of the card is Cherry Cobbler cut at 5-1/2” x 4-1/4” and the second layer is 4”x 5”.
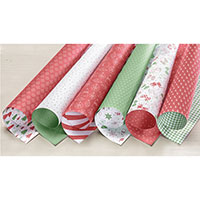
2.    The DSP is cut at 1” x 5”.
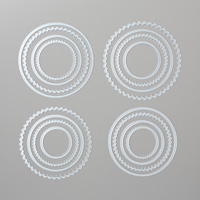
3.    The circle is cut with the Layering Circle Framelits using the second to the largest circle die.
4.    Next, I used the October Paper Pumpkin Kit by putting the largest window sheet over the circle on the inside.  Then, I attach the largest Dimensional Circle from the kit.  Then, I used a pinch each of the sequins for the inside (except for the Pool Party ones).  Then I used the tree printed background from the kit to place over the Dimensional Circle.
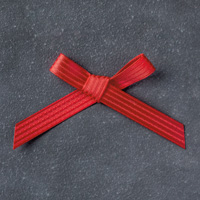
5.    I put the strip of DSP at bottom of the card and wrapped the ribbon around the very top of the DSP and tied an extra piece on to the right side of the card.
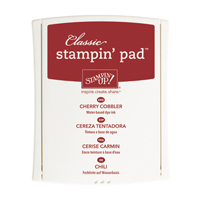
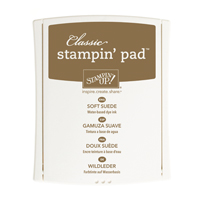
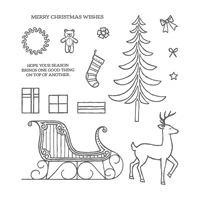
6.    I stamped the deer with Soft Suede ink on Whisper White cardstock and die cut him out with the Thinlet Die.  I stamped the bow on Cherry Cobbler cardstock with Cherry Cobbler ink and die cut it out and attached to the reindeer with a Glue Dot.  I attached a Rhinestone to the center of the bow and used Mini Dimensionals to attach to my card.
7.    I inked up the sentiment “Merry Christmas Wishes” with Cherry Cobbler ink on Whisper White cardstock and trimmed the sides with Paper Snips to create a banner.
8.  I mounted it on Cherry Cobbler cardstock with the Foam Adhesive Strips.

Products I used: 
Tuesday, November 8, 2016

Merry Mice Z-Fold


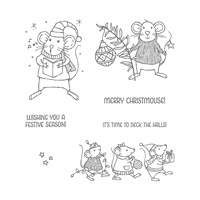
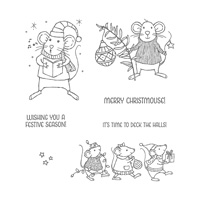
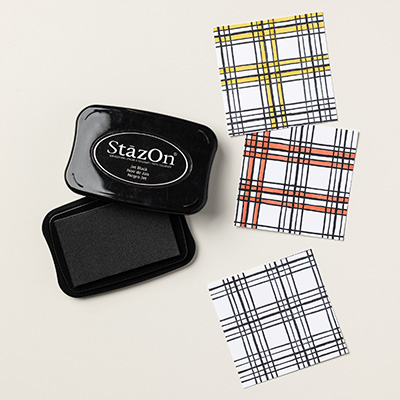
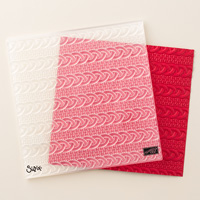
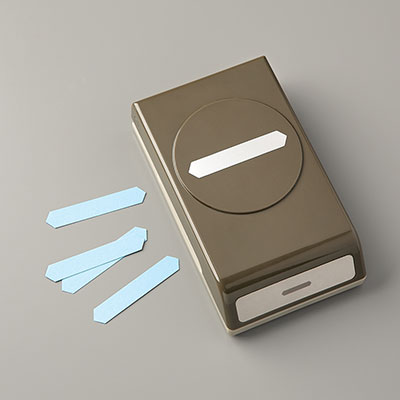
This is a Z-fold card I made using the Merry Mice stamp set.  Just love those little mice! I also think it is so much fun to make Z-fold cards.  The base of my card is Crumb Cake, cut at 4-1/4" x 11" and scored at 2-3/4" and 5-1/2".  Then I cut Real Red cardstock at 4" x 5-1/4" and two at 2-1/2" x 4".  Then the Whisper White was cut at 3-3/4" x 5" and two at 2-1/4" x 3-3/4".  The Whisper White layers were inserted into the new Cable Knit Dynamic Textured Embossing Folder in the Big Shot.  I then layered them each onto the Real Red layers and glued them in each section of my card.  I wrapped the 3/8" Stitched Real Red Ribbon on the left section.  I stamped the mouse on Whisper White with Black Stazon and colored him with Stampin' Markers.  Then I cut him out with the Layering Circles Framelit Dies in the Big Shot and then a Real Red Scalloped Circle to layer together.  I put the left part of the layered circles on the front of the card.  I then cut out 3 Emerald Envy trees using the dies from Santa's Sleigh Thinlets and the Big Shot.  I attached them with adhesive.  I inked up the sentiment "Merry Christmouse" in Real Red ink onto Whisper White cardstock and punched it out with the Classic Label Punch and put Dimensionals on the back to attach between two of the trees.

Products I used:

Glow of Harvest with Painted Pumpkins

This is a card using the Designer Series Paper Glow of Harvest, which was $5 with an order of $75 or more.   Then, I used the masks to make ...