Showing posts with label Mini Dimensionals. Show all posts

Tuesday, March 17, 2020

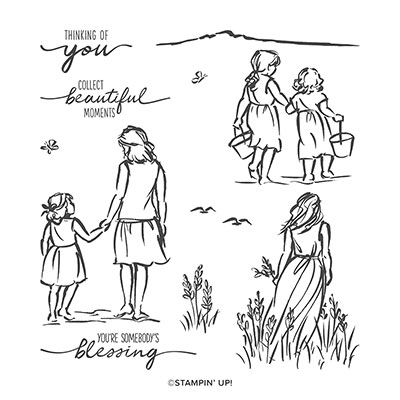
Beautiful Moments - Direct to Paper Method

What a month it has been, but maybe by staying home because of Covid-19, it will give me time to catch up and post some of my creations here.  I'm hoping to learn how to do videos soon.  This card was inspired by Michelle Zindorf's card.  Here are my written instructions:


1.     The base of the card is Blueberry Bushel cardstock cut at 5-1/2” x 8-1/2” and scored at 4-1/4” in the middle.

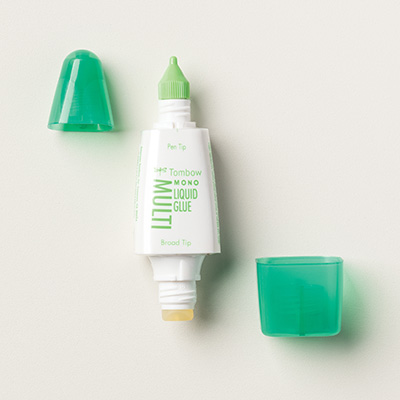
2.    The second layer is Whisper White cardstock cut at 4” x 5-1/4” and adhered to the front of the card with Multipurpose Glue.

3.    The third layer is Whisper White cardstock. 3-3/4” x 5”.

4.    Use the Balmy Blue ink pad short side directly to the top of the 3-3/4” x 5” Whisper White cardstock about 2-1/4" across, and then use Blueberry Bushel over the Balmy Blue ink so that it has streaks in the sky.

5.    Then do the same with the Crumb Cake on the bottom of the cardstock.

6.    Use Post-it Notes between the sky and sand to create the water by sponging Balmy Blue ink between the post-it notes.

7.    Remove post-it notes and create the sea foam using the White Chalk Marker.

8.    Ink up the birds in the sky with Memento Black.  Stamp the sentiment and grass on the left and one on the right leaving space for the woman and girl.

9.    Stamp the woman and girl on the right side of the card with Memento Black.  Then stamp it again on a scrap of Whisper White.  Color the folds of their dresses with Pool Party Stampin’ Blends.  Their skin with Ivory Blend and their hair with Pineapple Punch and then with Crumb Cake.  Cut them out with the Paper Snips.  Color in any white spaces with Balmy Blue or Crumb Cake to match the sky or sand.

10.  Put Mini Dimensionals on the back of them.  Attach them over the stamped image on the card.  Attach to front of the card with Multipurpose Glue.


Tuesday, October 31, 2017

Santa's Sleigh Shaker Card

This card was inspired by the card sample on page 119 of the Annual Catalog and my October Paper Pumpkin Kit. Here are my instructions:


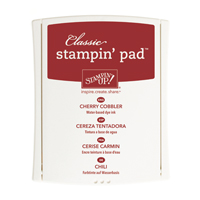
1.     The base of the card is Cherry Cobbler cut at 5-1/2” x 4-1/4” and the second layer is 4”x 5”.
2.    The DSP is cut at 1” x 5”.
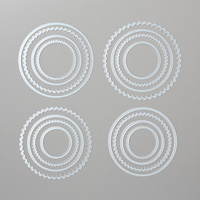
3.    The circle is cut with the Layering Circle Framelits using the second to the largest circle die.
4.    Next, I used the October Paper Pumpkin Kit by putting the largest window sheet over the circle on the inside.  Then, I attach the largest Dimensional Circle from the kit.  Then, I used a pinch each of the sequins for the inside (except for the Pool Party ones).  Then I used the tree printed background from the kit to place over the Dimensional Circle.
5.    I put the strip of DSP at bottom of the card and wrapped the ribbon around the very top of the DSP and tied an extra piece on to the right side of the card.
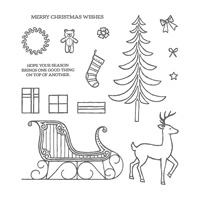
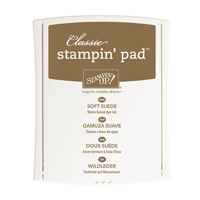
6.    I stamped the deer with Soft Suede ink on Whisper White cardstock and die cut him out with the Thinlet Die.  I stamped the bow on Cherry Cobbler cardstock with Cherry Cobbler ink and die cut it out and attached to the reindeer with a Glue Dot.  I attached a Rhinestone to the center of the bow and used Mini Dimensionals to attach to my card.
7.    I inked up the sentiment “Merry Christmas Wishes” with Cherry Cobbler ink on Whisper White cardstock and trimmed the sides with Paper Snips to create a banner.
8.  I mounted it on Cherry Cobbler cardstock with the Foam Adhesive Strips.

Products I used: 

Thursday, October 12, 2017

Spooky Cat card

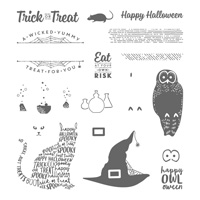
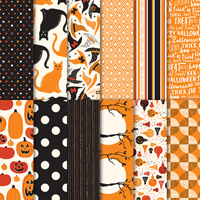
This is a card that I did for a swap last month.  I used the Spooky Night DSP to create this card.  The only stamping that I did was the "Happy Halloween" on the Lemon Lime Twist cardstock which is from the Spooky Cat stamp set in 2017 Holiday Catalog on page 53.  The tree and moon was from the Spooky Night DSP cut 3" x 3" and adhered to 3-1/4" x 3-1/4" Lemon Lime Twist cardstock.
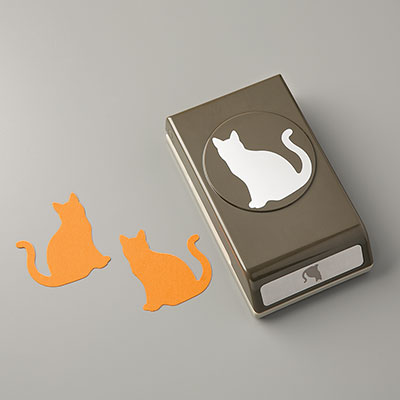
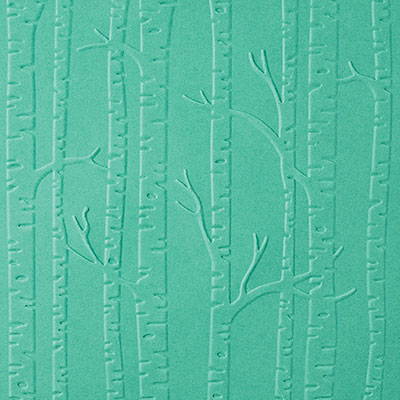
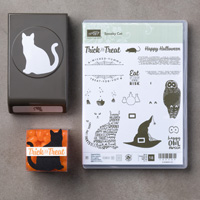
The background was from the Woodland TIEF on the Basic Black cardstock.  I cut the cat out of the DSP with the new cat punch.  I used Paper Snips to cut out the hat and attached it with Mini Dimensionals.


Sunday, October 1, 2017

Spooky Cat Halloween Test Tube Treat Holder

This is a test tube treat holder that my club members made at last month's workshop.  I found the pattern on how to make the treat holder on BJ Peter's blog.  I created mine with the cat punch, of course.  Here are the instructions on how I made mine:


1.     The base of the treat holder is Cajun Craze cut at 4” X 7-7/8” and scored at 3”, 3-5/8”, and 4-1/4” on the horizontal side.  Use Bone Folder on scored lines. Cut between scored lines at 1-5/8” and at 2-3/8” on the vertical side to create a slit for the test tube.  Push the middle of the slit outwards to the left side which makes the front side about 3”.  On the inside, add Tear and Tape on the last scored section on either side of the slit, but not the slit.
2.    The second layer for the front is Basic Black cut at 2-3/4” x 3-3/4” and attach to the front with Multipurpose Glue.
3.    Die cut a Very Vanilla circle with the third largest Layering Circles Framelits for the moon.  Use a Dauber to ink up the edges of the moon with Pumpkin Pie ink.
4.    Use the Cat Punch to punch out a cat from the Spooky Night DSP and attach to the moon.  Use Paper Snips to cut out a hat to put on the cat with Mini Dimensionals.
5.    Stamp the sentiment “Happy Halloween” with Black Memento ink on a strip of Pumpkin Pie card stock and punch it out with the Classic Label Punch and attach to the bottom with Multipurpose Glue.
6.    For the inside:  Cut a 2-3/4” x 3-3/4” Very Vanilla card stock.  Ink up the cat stamp with Memento Black and stamp on the upper part of the card stock.
7.     Ink up the “Trick or Treat” sentiment with Memento Black ink and stamp at the bottom. 
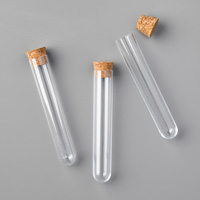
8.    Add the Test Tube with Sixlets wrapped candy inside to the slit on the left.

Products I used: 

Christmas Mice

  This is a card I made for a recent swap.  I love the Christmas Mice bundle.  It is so adorable.  Stamp Set:   Christmas Mice Cardstock: ...