Showing posts with label Beautiful Day. Show all posts

Thursday, January 18, 2018

Beautiful Day

This is another Beautiful Day card that I made but this time using spray starch and saran wrap to try another technique using the Brusho Crystals Colors.  Here are the instructions on how I made this card.


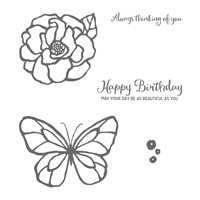
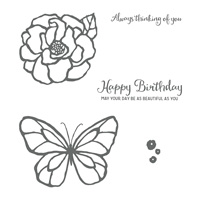
Stamp Set:  Beautiful Day #145912 {w} and #145915 {c}
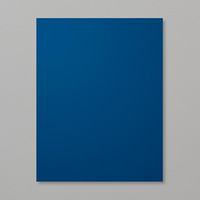
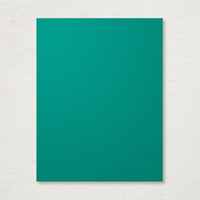
Cardstock:  Night of Navy #100867, Tranquil Tide #144246, Shimmery White #101910, Naturally Eclectic DSP #144185
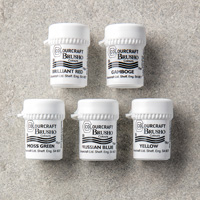
Ink:  Versamark #102283, Archival Basic Black #140931, Brusho Crystals Colors #144101, White Embossing Powder #109132
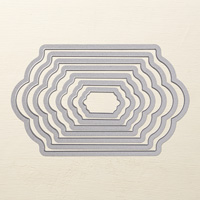
Other:  Big Shot #143263, Heat Tool #129053, Lots of Labels Framelits #138281, Paper Snips #103579, Dimensionals #104430, Starch, Saran Wrap,

1.     The base of the card is Night of Navy cardstock cut at 5-1/2” x 8-1/2” and scored at 4-1/4” in the middle.
2.    The second layer is Tranquil Tide cardstock cut at 4” x 5-1/4” and adhered to the front of the card with Multipurpose Glue. 
3.    Ink up the butterfly with Versamark ink and stamp onto 4” x 5-1/4” of Shimmery White cardstock.  Sprinkle White Embossing Powder over the butterfly.  Shake off excess and heat set with the Heat Tool.
4.    Now, sprinkle the Prussia Blue and Yellow Brusho Crystal Colors onto the butterfly.  Now take a can of starch and spray onto the crystals.  Put Saran Wrap over the entire butterfly and mix with your hands.  Remove the wrap and let dry.  (Tip:  I think I’d emboss the butterfly after the Brusho dries next time.)  Also, depending on the amount of crystals you use, you may want to use different cardstocks to match but these are the colors (Night of Navy and Tranquil Tide) that matched mine
5.    In the meantime, die cut the Lots of Labels Framelits with Whisper White cardstock and the Naturally Eclectic DSP.
6.    Once the butterfly is dry, trim out with the Paper Snips and add Dimensionals to the back and attach to the Lots of Labels Framelits onto the card.
7.    Ink up the sentiment with Archival Basic Black and stamp below the butterfly on the Tranquil Tide cardstock.

Products I used:

Friday, January 12, 2018

Beautiful Day Butterfly

This is another card I made using the Brusho Crystals.  Although, the colors are not as vibrant as the cards I've made so far.  It's a different technique.  First I embossed the butterfly with Gold Embossing Powder and this time used Whisper White cardstock.  I used a palette to paint with the Aqua Painter, so my crystals were watered down but yet I didn't spritz the card with water.  I wanted to keep the colors inside the lines of the butterfly.  So here my instructions on how I made this card:


1.     The base of the card is Marina Mist cardstock cut 4-1/4” x 11 and scored at 5-1/2” in the middle.
2.    The second layer is Pear Pizzazz cut at 4-1/4” x 5-1/4” and the third layer is Whisper White cut at 3-3/4” x 5”.
3.    Ink up the butterfly stamp with Versamark ink and stamp onto the Whisper White cardstock towards the top.  Sprinkle with Gold Embossing Powder and heat set with Heat Tool.
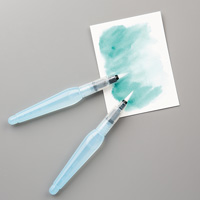
4.    Sprinkle Brusho Crystal in each section of the paint palette.  Add water from the Aqua Painter to each section.  Paint the butterfly sections as you wish with the Aqua Painter, cleaning it off between colors.  I used the Moss Green and Prussia Blue for my butterfly.
5.    For the sentiment, ink it up with Archival Basic Black and stamp onto scrap of Pear Pizzazz cardstock.  Use the Paper Snips to create a banner and attach to the bottom of the Whisper White cardstock.

Products I used:

Wednesday, January 10, 2018

Beautiful Day Birthday

Have you tried playing with the Brusho Crystals yet?  This is one of the cards I made using the red and green crystals on Shimmery White Paper.  The stamp set is called Beautiful Day and you can find it in the 2018 Occasions Catalog as well as the Brusho Crystals on page 26.  Do not open the Brusho containers!  Instead, just poke a hole in the top with a push pin of matching color like I did here and keep the pins in so the crystals do not spill.
I watched a lot of videos on how to use the Brusho Crystals and with this one I used Shimmery White cardstock.  I sprinkled the crystals and then used a spritzer to get the effect I was happy with.  Next I let it dry.  Then I inked up the stamp with Versamark and used White Embossing Powder.  Then I cut it out with the Paper Snips.  I thought the colors matched our Melon Mambo cardstock.
Here are the instructions for my card:
1.     Base of the card is Melon Mambo cardstock cut at 4-1/4” x 11 and scored at 5-1/2” in the middle.
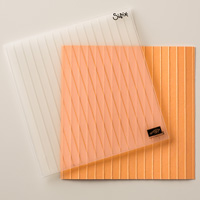
2.    Insert the front of the card into the Simple Stripes TIEF and run it through the Big Shot.
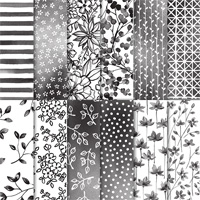
3.    Measure 2” x 5-1/2” of the Petal Passion DSP and insert it into the Banner Triple Punch to create a banner for the front center of the card and adhere with Multipurpose Glue.
4.    Sprinkle the Brilliant Red Brusho Crystal Colour on the Shimmery White Paper.  Mist it with the Spritzer.  Now, sprinkle the Moss Green in the corner where the leaf might be.  Mist it with the Spritzer.  Let dry!
5.    When cardstock is dry, ink up the flower from the Beautiful Day with Versamark and stamp onto the Shimmery White cardstock.  Sprinkle with White Embossing Powder and heat set with the Heal Tool.  Trim it out with the Paper Snips and put Dimensionals on the back.  Adhere to the 3” x” Basic Black cardstock.
6.    Use Dimensional on the back of the 3” x 3” Basic Black cardstock and adhere over the banner to the front of the card.
7.    Ink up sentiment “Happy Birthday” from the Party Pandas set with Basic Black ink and stamp onto strip of Whisper White cardstock.  Let dry and punch out with the Classic Label Punch.  Put Dimensionals on the back and adhere to the front of the card.

Products I used:


Glow of Harvest with Painted Pumpkins

This is a card using the Designer Series Paper Glow of Harvest, which was $5 with an order of $75 or more.   Then, I used the masks to make ...