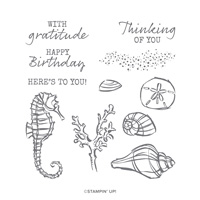
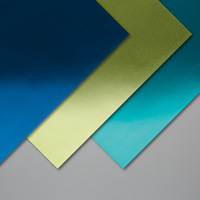
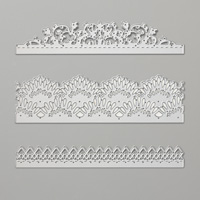
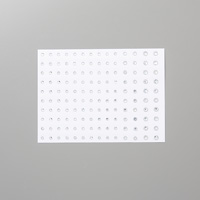
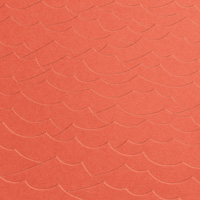
This is another Blueberry Bushel card I made, but also it's made with the Noble Peacock Foil Sheets. I used the Happy Birthday sentiment from the Seaside Notions set. The Delicate Lace Edgelits Dies and Tufted 3D Embossing look great together and adding the Rhinestones to it. I believe the Tufted 3D cannot be ordered at the time of this post. My card was inspired by Gail Ellis' card but a little different. Here are my complete instructions on how I made this card:
Stamp Set: Seaside Notions
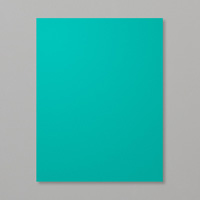
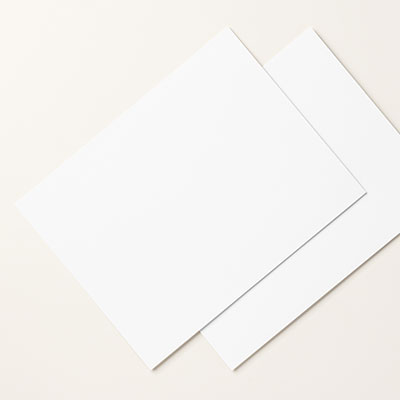
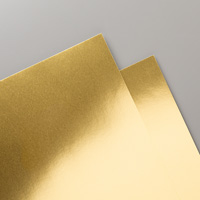
Cardstock: Blueberry Bushel, Whisper White, Noble Peacock Foil Sheets
Ink: Memento Black
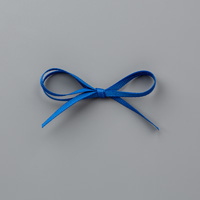
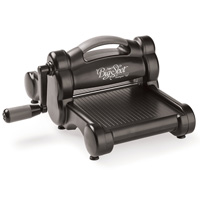
Other: Big Shot, Delicate Lace Edgelits Dies, Layering Ovals Dies, Tufted 3D Embossing Folder, Rhinestone Basic Jewels, 1/8” Grosgrain Blueberry Bushel Ribbon, Snail Adhesive, Dimensionals
1. The base of the card is Blueberry Bushel cardstock cut at 5-1/2” x 8-1/2” and scored at 4-1/4” in the middle.
2. The second layer is Whisper White cut at 4” x 5-1/4” and adhered to the front of the card.
3. The third layer is Noble Peacock Foil Sheet cut at 3-3/4” x 5” and inserted into the Tufted 3D Embossing Folder and run through the Big Shot.
4. The Whisper White is cut at approximately 2-1/4” by 5” and die cut with the Delicate Lace Edgelits in the Big Shot. Adhere to the Tufted 3D Noble Peacock Foil Sheet and adhered to the left side of the card.
5. Wrap the 1/8” Grosgrain Blueberry Ribbon around the left side and tie in a bow.
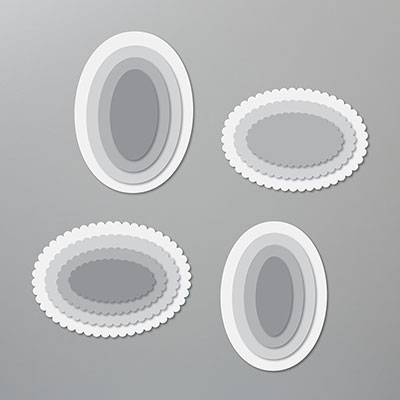
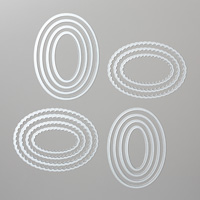
6. Ink up “Happy Birthday” on Whisper White cardstock either in Memento Black or Blueberry Bushel ink. Use the Layering Oval to die it out and die a bigger Blueberry Bushel to layer them together and attach with Dimensionals.
7. Add 3 or 5 Rhinestone on the foil where the ends meet.
Products I used to make this card:
Products I used to make this card: