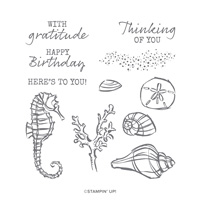
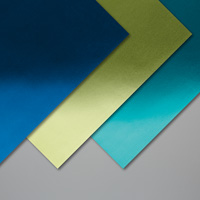
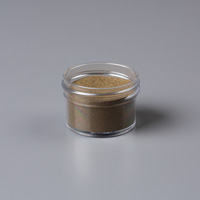
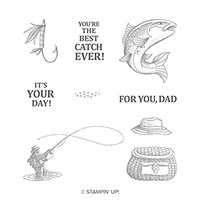
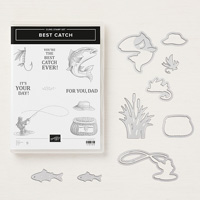
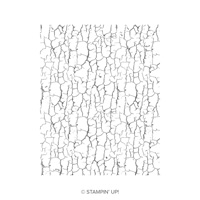
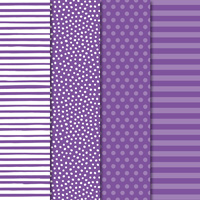
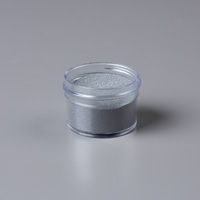
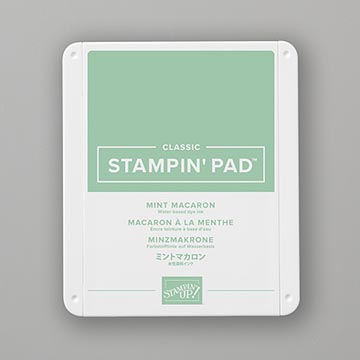
This card was cased from the very talented Julie Gilson, but I changed the Designer Series Paper color. So glad this stamp set (Best Catch) is being carried over to the new annual catalog. The base of the card is Mint Macaron. Then on a 3-3/4" x 5" piece of Shimmer White cardstock, I used Versamark ink and used Silver Embossing Powder as well as on the fish. I heat embossed both and die cut the fish.
Here are more of my written instructions on how I made this card:
Stamp Set: Best Catch,
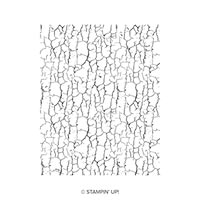
Crackle Paint (Page 44 in Occasions)
Cardstock: Mint
Macaron, Shimmery White, Silver Foil, Bright’s DSP
Ink: Versamark, Silver
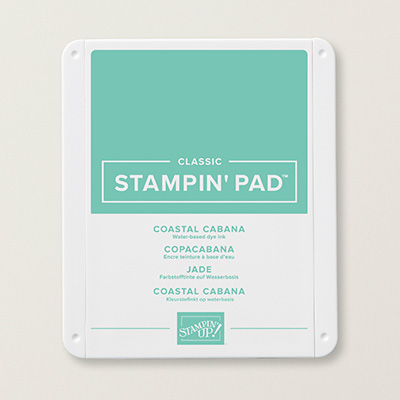
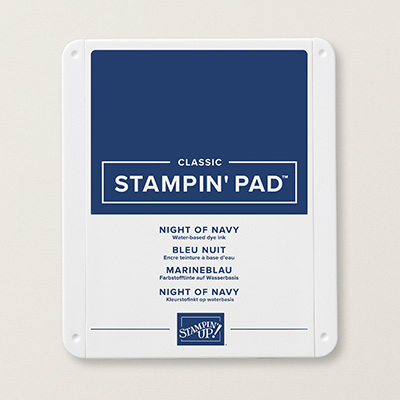
Embossing Powder, Mint Macaron, Coastal Cabana and Night of Navy
Other: Big Shot, Best
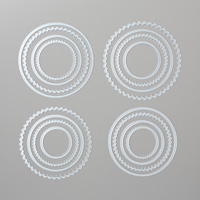
Catch of the Day Thinlets, Heat Tool, Layering Circles Framelits, Stitched
Shapes (Circle) Framelit Dies, Silver Metallic Thread, Aqua Painter, Snail
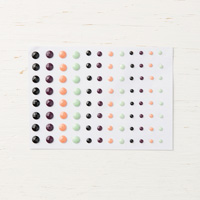
Adhesive, Dimensionals, Faceted Dots
1. The base
of the card is Mint Macaron Cardstock cut at 5-1/2” x 8-1/2” and scored at
4-1/4” in the middle.
2. The
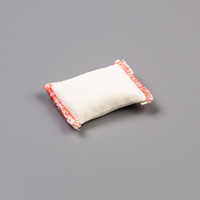
second layer is Shimmery White cardstock cut at 3-3/4” x 5”. Use the Embossing Buddy on the Shimmery White
cardstock. Ink up the Crackle Paint Background stamp with Versamark Ink and
sprinkle it with the Silver Embossing Powder.
Heat set it with the Heat Tool.
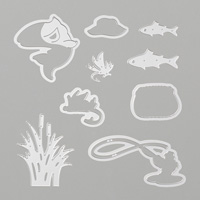
Ink up the fish stamp the same way and die cut with the Best Catch of
the Day Thinlets.
3. Fill the
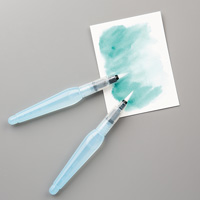
Aqua Painter with water. Now, you will
need to watercolor the embossed Shimmery White cardstock that has been embossed
with Silver Embossing Powder. Use
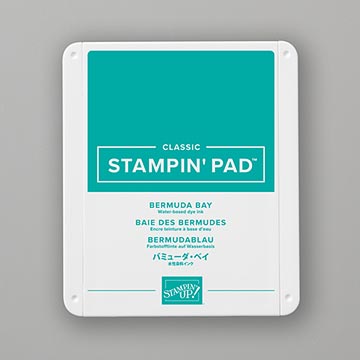
blocks to pick up the color from the ink pads and then use them as your palette
to pick up the colors with the Aqua Painter.
Do the same process with the fish.
Let dry completely! When dry,
attach the fish with Dimensionals to a Whisper White die cut stitched circle
layered onto a Mint Macaron Circle. Set
aside for now.
4. The
Silver Foil is cut at 2-3/4” x 2-3/4” and adhered to the front of the embossed
Shimmery White cardstock that is now dry.
5. Cut a
piece of Mint Macaron cardstock at 2-5/8” x 2-5/8” and layer 2-1/2” x 2-1/2” of
the DSP. Optional: Wrap the Silver Thread around your hand 3 or 4 times and
adhere to the back of layers with Snail Adhesive. Attach Dimensionals to adhere over the Silver
Foil.
6. Add a
strip of DSP cut at ¾” x 3-3/4”. Optional: Add Faceted Dots on either side using the
Paper Piercing Tool.
7. Add the
fish layers with Dimensionals to the center of the card.
Products I used: