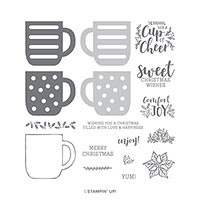
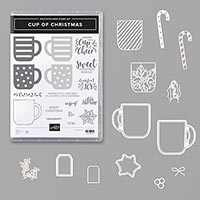
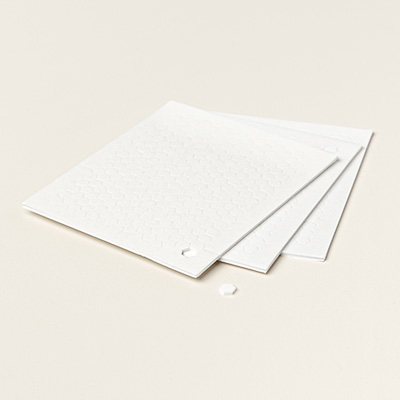
This is one of my favorite sets in the 2019 Holiday Catalog on page 34. Why? Because it can be used not just for Christmas. It can be used for coffee, tea, hot chocolate cards or projects throughout the year. This set is also reversible which means the stamps can be inked on either side. Of course, I love the candy cane and this set coordinates with the Cup of Cheer Dies; even better. My card was inspired by Julie Gibson and I did use the retired Multipurpose Adhesive Sheets. Here are my instructions:
Stamp
Sets: Cup of Christmas, Itty Bitty
Christmas
Cardstock: Real Red, Whisper White, Let it Snow
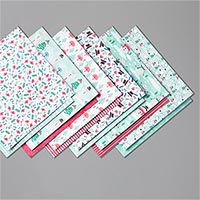
Specialty DSP
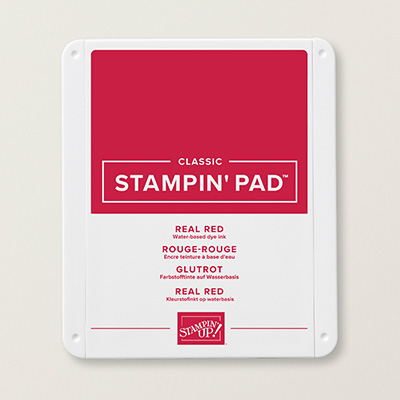
Ink: Real Red
Other: Big Shot, Cup of Cheer Dies, Subtle Embossing
Folder, Multipurpose Glue, Dimensionals, Mini Dimensionals, Sizzix Adhesive
Sheets (retired)
1. The base of the card is Real Red cardstock
cut at 5-1/2” x 8-1/2” and scored at 4-1/4” in the middle.
2. The second layer is Whisper White cut at 4”
x 5-1/4” and inserted into the Subtle Embossing Folder and run through the Big
Shot. Adhere to the front of the card
with Multipurpose Glue.
3. The third layer is 3” x 4-1/4” of Real
Red. The DSP is 2-3/4” x 4”. Layer together and adhere with Dimensionals.
4. Die cut the right handed cup and candy
canes. For the layer over the Whisper
White cup, I used the Sizzix Adhesive sheet, so peel off the backing so that it
will stick to the cup. The candy cane
background is Whisper White (no backing) but the Real Red stripes has the adhesive
on it to so that will stick to the Whisper White candy cane. Use the Mini Dimensionals to adhere the candy
cane. Use the Dimensionals on the back
of the cup to adhere to the card.
5. Ink up “enjoy” with Real Red ink on Whisper
White tag. Layer onto Real Red tag with
Multipurpose Glue. Put a Dimensional on
the back and adhere to the front of the card.
6. For the inside, I used a greeting from Itty Bitty Christmas.
Products I used: