Showing posts with label Suite Seasons. Show all posts

Saturday, September 24, 2016

Halloween Grunge Mummy

This is a card I made using 1" x 4" strips of Whisper White cardstock.  I stamped the "mummy gauze" from the Ghoulish Grunge stamp set on each strip.  Then I tore along one side and sponged it with Smoky Slate and adhered each strip to 4" x 5-1/4" Smoky Slate cardstock.  Then I stamped the mummy from Cookie Cutter Halloween set with Memento Black ink on Whisper White cardstock.  I punched him out with the Cookie Cutter Builder Punch. I used a Smoky Slate marker to give it some dimension and sponged the edges with Memento Black.  I added some googly eyes with the Fine Tip Glue Pen.  Then I stamped the sentiment from Suite Seasons on Whisper White and punched it out with the Decorative Label Punch.  I punched two more Decorative Labels from Basic Black cardstock and trimmed them to fit so that it gave it a layered look.  The base of my card is Basic Black cardstock.  It was such a fun card to make.

Products I used:

Friday, September 23, 2016

Suite Seasons and Jar of Haunts

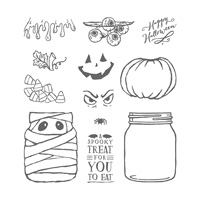
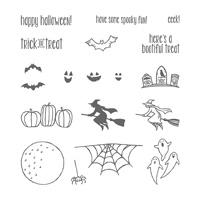
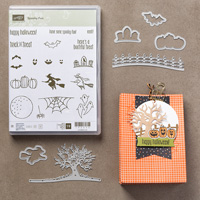
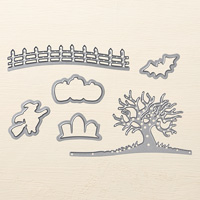
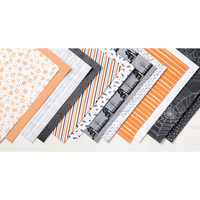
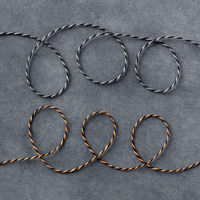
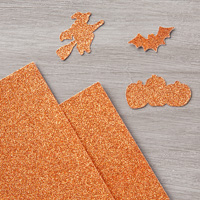
These little treat holder ideas were from a video I watched of Lisa Brown's so I knew I had to make some to insert my little candies.  The sentiments come from Jar of Haunts and Suite Seasons.  I stamped each sentiment on Whisper White cardstock with Memento Black Ink.  Then I used the 1-3/4" Circle Punch to punch them out.  I also used Smoky Slate ink to stamp the ghosts from Spooky Fun, but stamped off once and then stamped over the sentiments.  Then I punched out a 2" circle of Pumpkin Pie cardstock and mounted the sentiment on top.  I used the Pumpkin Pie Glimmer Paper to cut out a bat from the Halloween Scenes Edgelits and attached it with a Glue Dot.  For the bag, I used the Halloween Night Specialty DSP and cut it at 4" x 6" and scored it at 1-1/2" and 4-1/4" on the 6" side, and 1/2" on the 4" side.  Then I folded the score lines and burnished them with a Bone Folder.  I cut off the two end rectangles and trimmed thin wedges to give the bag a nicer finished look.  I applied adhesive to the sides and then the flap to create the bag.  Insert the candy.  Attach the circle with Dimensionals leaving room for the Halloween Night Baker's Twine on the right side.

Products I used:

Easter Basket

Yes, I know Easter isn't until April this year, but as it gets closer, most of the items for this card will probably be hard to get beca...