Showing posts with label Botanical Butterfly DSP. Show all posts

Thursday, April 4, 2019

Best Bunny Suspension Card


This is a card we made at the last workshop called a suspension card.  I learned how to make this card from a video from Barb Mullikin.  Here are my instructions:

1.     The base of the card is Thick Whisper White cardstock cut at 4-1/4” x 11” and scored at 5-1/2” in the middle.

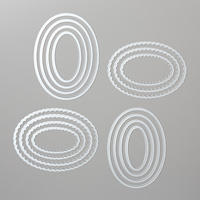
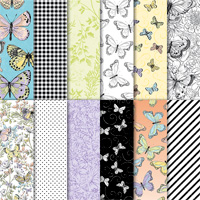
2.    The second layer is Botanical Butterfly DSP cut at 4” x 5-1/4”. Layer onto the front of the card for placement.  Put a small dap of Snail Adhesive in the middle.  Place oval die over center and die cut out in the Big Shot.

3.    Take the scallop oval and the oval you used in 2. to create a nest together on a scrap of Highland Heather cardstock.

4.    On the front of the card place two strips of Tear and Tape at the top of the oval and two at the bottom of the oval.

5.    Lay a strip of Baker’s over the center of the oval.  Then put more Tear and Tape over the other Tear and Tape to hold in place.

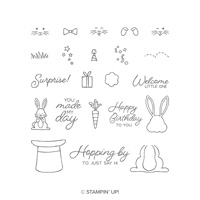
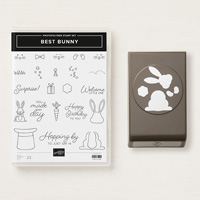
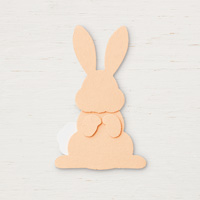
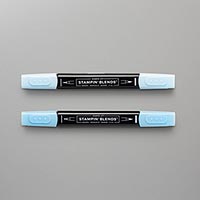
6.    Ink up the bunny pieces with Memento Black ink and punch out with the Bunny Builder Punch.  Color in with the Smoky Slake Stampin’ Blends. 

7.    Stamp the birthday package and fussy cut it out with the Paper Snips.  Color it in with Highland Heather Stampin’ Blends.  The front paws should be attached as though holding the present in front.  Put the tail in the back.

8.    Put the bunny back in the center of the opening with the Baker’s twine down the middle of the bunny.  Add Glue Dots..

9.    Take the front bunny on top of the bunny back.

10.  Ink up the “Surprise” sentiment with Gorgeous Grape on Whisper White 5/8” strip.  Flag it with the Paper Snips to create a banner.

11.   On the inside down at the right bottom, ink up the sentiment “Happy Birthday”.

12.  Optional:  Add sequins to the front.  Spin twine around so when card is opened it spins around.

Products I used:


Thursday, January 31, 2019

Butterfly Gala - Balmy Blue

After the freezing temperatures we've had this week in the Midwest, I'm ready for Spring but it's still only the last day in January.  This card made me think of Spring and made me happy.   It was inspired by a card that I saw on Pinterest by Dawn Griffith.  Blue is my favorite color and I need lots of "thank you" cards.
Here are the instructions for my card:

1. The base of my card is Night of Navy cardstock cut at 4-1/4" x 11" and scored at 5-1/2" in the middle.
2.  The second layer is Whisper White cardstock cut at 4" x 5-1/4" and adhered to the front of the Night of Navy card.  
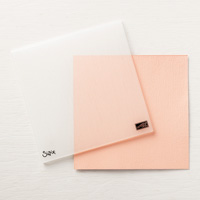
3. The third layer is Balmy Blue cardstock cut at 3-3/4" x 5" but it is first inserted into the Subtle Embossing Folder and run through the Big Shot. 
4.  I then took  2" x 5" of the Botanical Butterfly DSP from the SAB catalog that can be earned FREE with a $50 order.  I colored it in with the Balmy Blue Stampin' Blends.  I inserted it into the Banner Triple Punch at one end.  I then wrapped the Night of Navy Gingham ribbon around it before layering onto the front of my card.
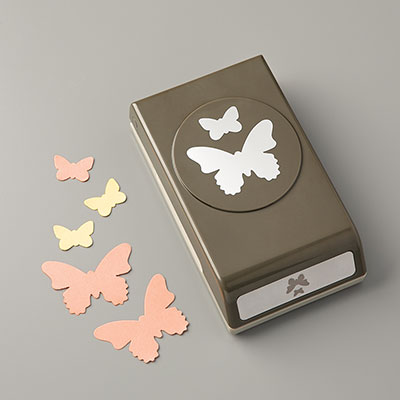
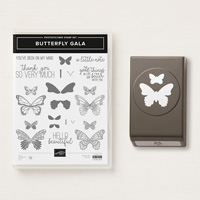
4.  I stamped the double butterfly stamp that matched the DSP with Memento Black ink and colored them in with the Stampin' Blends and their bodies with Memento Black ink.  I then used the Butterfly Duet Punch to punch them out.
5.  I die cut a scallop Night of Navy using the Layering Ovals Framelits.  I stamped the sentiment on Whisper White and die cut it with the Stitched Oval Shapes.  I layered them together and adhered over the ribbon with Dimensionals.
6.  I adhered the small butterfly with a Glue Dot and the larger butterfly with Snail and a Dimensional.

Products I used:


Glow of Harvest with Painted Pumpkins

This is a card using the Designer Series Paper Glow of Harvest, which was $5 with an order of $75 or more.   Then, I used the masks to make ...