Showing posts with label Tear & Tape. Show all posts

Sunday, October 1, 2017

Spooky Cat Halloween Test Tube Treat Holder

This is a test tube treat holder that my club members made at last month's workshop.  I found the pattern on how to make the treat holder on BJ Peter's blog.  I created mine with the cat punch, of course.  Here are the instructions on how I made mine:


1.     The base of the treat holder is Cajun Craze cut at 4” X 7-7/8” and scored at 3”, 3-5/8”, and 4-1/4” on the horizontal side.  Use Bone Folder on scored lines. Cut between scored lines at 1-5/8” and at 2-3/8” on the vertical side to create a slit for the test tube.  Push the middle of the slit outwards to the left side which makes the front side about 3”.  On the inside, add Tear and Tape on the last scored section on either side of the slit, but not the slit.
2.    The second layer for the front is Basic Black cut at 2-3/4” x 3-3/4” and attach to the front with Multipurpose Glue.
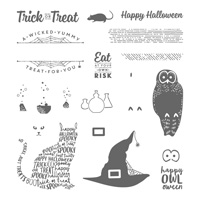
3.    Die cut a Very Vanilla circle with the third largest Layering Circles Framelits for the moon.  Use a Dauber to ink up the edges of the moon with Pumpkin Pie ink.
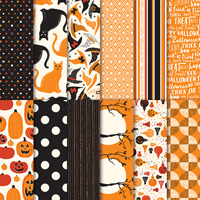
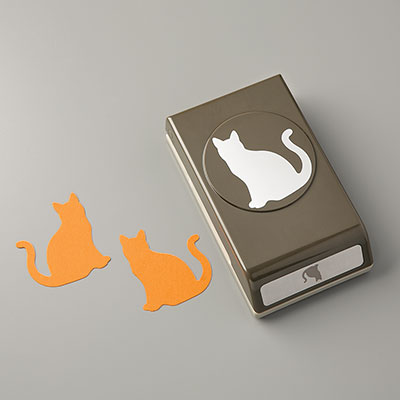
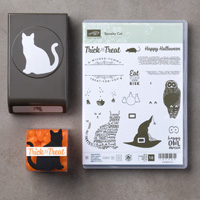
4.    Use the Cat Punch to punch out a cat from the Spooky Night DSP and attach to the moon.  Use Paper Snips to cut out a hat to put on the cat with Mini Dimensionals.
5.    Stamp the sentiment “Happy Halloween” with Black Memento ink on a strip of Pumpkin Pie card stock and punch it out with the Classic Label Punch and attach to the bottom with Multipurpose Glue.
6.    For the inside:  Cut a 2-3/4” x 3-3/4” Very Vanilla card stock.  Ink up the cat stamp with Memento Black and stamp on the upper part of the card stock.
7.     Ink up the “Trick or Treat” sentiment with Memento Black ink and stamp at the bottom. 
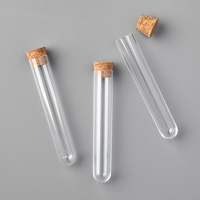
8.    Add the Test Tube with Sixlets wrapped candy inside to the slit on the left.

Products I used: 

Thursday, July 20, 2017

Pocketful of Sunshine Money Pocket

This is the card I made for my swap this month.  It uses the Pocketful of Sunshine stamp set and Pocket Framelits Dies.  I also used the Cupcake Cutouts for the banner.

Directions on how I made my card:


1.      Base of card is Pool Party cut 4-1/4” x 11” and scored at 5-1/2” in the middle.
2.    The second layer is Pool Party cut at 4” x 5-1/4” and inserted into the Sparkle TIEF and run through the Big Shot and adhered to the front of the card with Multipurpose Glue.
3.    Ink up the money stamp with the Basic Black ink onto the Garden Green cardstock.  Ink up the sunglasses with the Basic Black ink and stamp onto the Real Red cardstock.  Ink up the pocket stamp with Dapper Denim ink for the trim.  Use the Pocket Framelit Dies to die cut each item.
4.    Ink up the “Pocketful of Sunshine” sentiment on Whisper White cardstock using Dapper Denim ink.  Use the Cupcake Cutouts banner to die cut the sentiment.
5.    Fold on the score lines of the pocket and banner. Add Tear and Tape.
6.    Add the banner below the pocket trim. (do the sides after adhering the twine)
7.    Wrap the Basic Black Baker’s Twine around the pocket under the sentiment and tie a bow.
8.    Remove the Tear and Tape and adhere the pocket to the front of the card.  Use Multipurpose Glue to do the sides of the banner.
9.    Use Multipurpose Glue on the back of the money and sunglasses and insert into the pocket.
Products I used:

Easter Basket

Yes, I know Easter isn't until April this year, but as it gets closer, most of the items for this card will probably be hard to get beca...