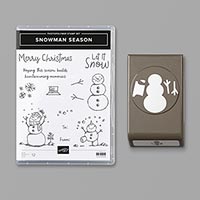
This is a adorable card that I cased it from Cindy Brumbaugh. I love snowmen, but not so much the snow. The paper snowman is so much for fun to make. The stamp set is called Snowman Season in the 2019 Holiday Catalog on page 20. It also bundles up with a snowman punch.
Here are my instructions:
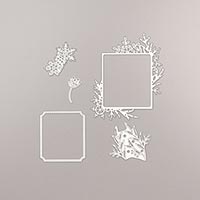
Stamp
Sets: Snowman Season, Snow Front
Cardstock: Pool Party, Basic Black, Whisper White
Ink: Memento Black
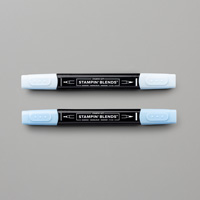
Stampin’
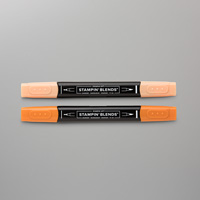
Blends: Pool Party Combo, Pumpkin Pie
Dark
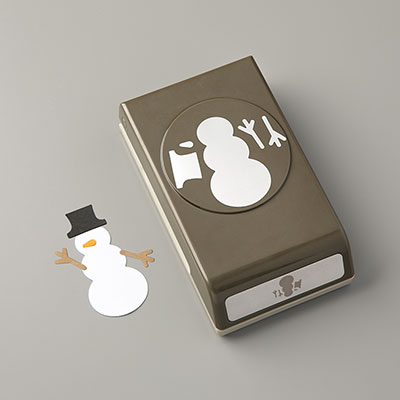
Other: Snowman Builder Punch, Paper Snips, Multipurpose
Liquid Glue, Dimensionals, Rhinestone Basic Jewels
1. The base of the card is
Pool Party cardstock cut at 5-1/2” x 8-1/2” and scored at 4-1/4” in the
middle. (Tip: If making more than one card, use a whole
sheet of 8-1/2” x 11” and first score at 4-1/4” and then cut in half at 5-1/2”
to save time)
2. The next layer is Basic
Black cardstock cut at 4” x 5-1/4” and adhered to the front of the base with
Multipurpose Liquid Glue.
3. The third layer is Whisper
White cardstock cut at 3-3/4” x 5”. Use
the Snow Front landscape stamp in Pool Party ink and stamp at the bottom of the
Whisper White cardstock on the left and then on the right, and then in the
middle.
4. Ink up the sentiment “Let
it Snow” with Memento Black ink and stamp in the very top left corner.
5. Ink up the snowman with
Memento Black ink and stamp three snowmen on Whisper White scrap
cardstock. Remember to leave space in
between each one. Punch each one
out. (Trick for Builder Punches: Punch out on a scrap to use the scrap cardstock
for a negative piece to align your stamps right where the holes are to pick all
the stamps up with one block. This is so
that you can punch out all your pieces at once after stamping instead of
individually).
6. Punch out all pieces, but
we won’t be using the hats. On the first
snowman, use the Paper Snips to cut out the bottom of the snowball but leave
the black at the top. Lay it on the left
of the card. On the second snowman, cut
off the two bottom snowballs leaving the black at the top. For the third snowman, leave him whole but
color his nose with the Pumpkin Pie Blend.
Use the Pool Party Stampin’ Blend on the left side of the snowman and
the snow balls to give dimension. Lay
them on the Pool Party landscape for placement.
7. Ink up the snowflake stamp
with Pool Party and stamp above each snowball and snowman.
8. Attach snowball/snowman
with Dimensionals.
9. Add Rhinestones to the
Pool Party snowflakes.
10. Add the sticks for the
arms on the final snowman with Multipurpose Glue and leave two others on the
ground.
Products I used:


")


")