Monday, July 8, 2024

Hearts & Hugs - Mouse


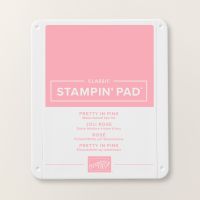
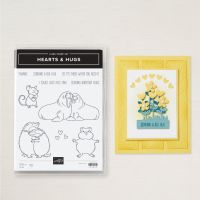
This little mouse is so adorable from the Hearts & Hugs set in the annual catalog. The original card Pretty in Pink card was designed by Lori Pinto.  I tried to change the colors to make the embossing folder look like cheese, but it wasn't nearly as cute.  So, I decided to make the card almost the same, but using Balmy Blue.  I changed my cards a little bit using different sentiments and putting it below the mouse.  I thought these cards would make great baby shower cards.  

Stamp Set:  Hearts & Hugs

Cardstock:  Thick Basic White, Basic Gray, Pretty in Pink/Balmy Blue

Ink:  Tuxedo Black Memento, Basic Gray

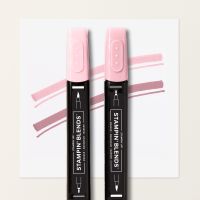
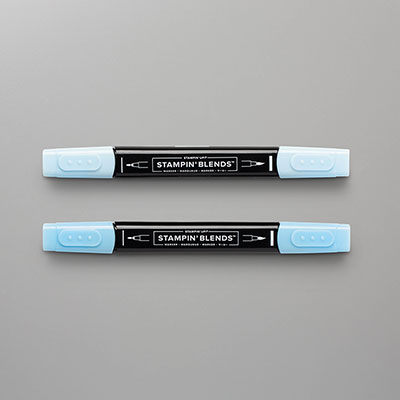
Stampin’ Blends:  Smoky Slate, Pretty in Pink, Balmy Blue

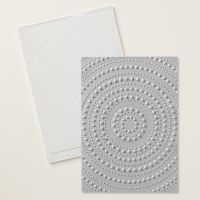
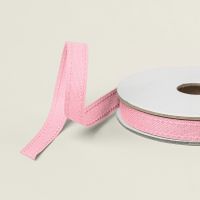
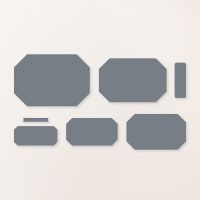
Other:  Stampin’ Cut and Emboss Machine, Dotted Circles Embossing Folder, Spotlight on Nature Dies, Hearts & Hugs Dies, 3/8” Pretty in Pink Bordered Ribbon or the 1/4" White (white was colored with Balmy Blue Blends), Happy Little Things Dies, Basic Gray & Smoky Slate Pearls, Tear and Tape, Multipurpose Liquid Glue, Stampin’ Dimensionals


1.      The base of the card is Thick Basic White cardstock cut at 4-1/4” x 11” and scored at 5-1/2” in the middle.

2.    The second layer is Basic Gray cardstock cut at 4” x 5-1/4” and adhered to the base front with Multipurpose Liquid Glue.

3.    The third layer is Pretty in Pink or Balmy Blue cardstock cut at 3-3/4” x 5” and inserted into the Dotted Circles Embossing Folder and run through the Stampin’ Cut and Emboss Machine.

4.    Wrap ribbon around the Pretty in Pink layer/Balmy Blue layers and secure in back with strong adhesive (like Tear and Tape). Then take another piece of ribbon and tie in a knot on the left side.  Adhere the Pretty in Pink/Balmy Blue layer to the Basic Gray layer with adhesive.

5.    Die-cut a Basic Gray Spotlight on Nature Dies (circle).

6.    Ink up the mouse stamp on Basic White cardstock scrap and color in with the Stampin’ Blends.  Use the Hearts & Hugs die to die-cut the mouse.  Adhere to the circle with Multipurpose and Liquid Glue and pop up the circle with Stampin’ Dimensionals over the ribbon to the right side of the card center.

7.    Add 3 Pearls.

8.    Ink up the sentiment “Sending a Big Hug” or "Congratulations" with Tuxedo Black Memento ink or Basic Gray on Basic White cardstock and die-cut with the Happy Little Things Dies to make it fit.

Products I used:

Product List
Saturday, July 6, 2024

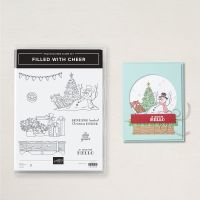
Filled with Cheer - Watercolor Pencils and White Craft ink

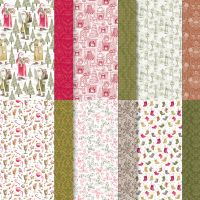
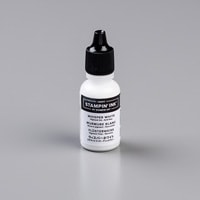
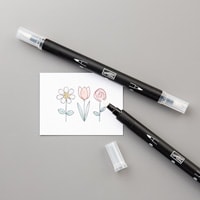
This is card that I created using the Filled with Cheer snowman set.  The Designer Series Paper is carried over from last year and it's from the Traditions of St. Nick.  The dies carried over too but not the stamp set.  The dies cut out some of the Santa's on the DSP, however.  I colored in the tree, sled, hat and scarf with Watercolor Pencils and then used a Blender Pens cleaning it off between each color I blended.  Then I took an old Blender Pen and used White Craft ink refill on a Clear Block to paint in the melting snowman.  I cut it out with the circle from the Spotlight on Nature Dies.

Here are my instructions:

Stamp Set:  Filled With Cheer

Cardstock:  Crumb Cake, 12” x 12” Traditions of St. Nick DSP

Ink: Tuxedo Black Memento, Watercolor Pencils, White Craft ink Refill, Blender Pens

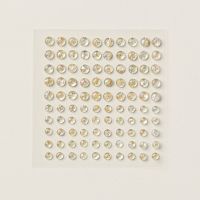
Other:  Stampin’ Cut and Emboss Machine, Paper Trimmer, Spotlight on Nature Dies, and Iridescent Foil Gems


1.     The base of the card is Crumb Cake cardstock cut at 5-1/2” x 8-1/2” and scored at 4-1/4” in the middle.

2.    The second layer is St. Nick DSP cut at 4” x 5-1/4” and adhered to the front of the card base.

3.    Die-cut the large circle from Crumb Cake cardstock with the Spotlight on Nature Dies.

4.    Ink up the stamp with Tuxedo Black Memento ink and stamp on the center of the Crumb Cake circle.

5.    Color it in with the Watercolor Pencils and a Blender Pen.

6.    Use White Craft ink on a clear block and use an old Blender pen to color in the melting snowman.  Let Dry.

7.    Adhere the circle to the front of the card.

8.    Add three Iridescent Foil Gems.

 Products I used:


Product List


Thursday, July 4, 2024

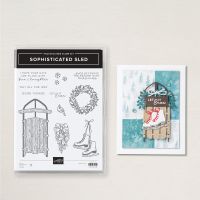
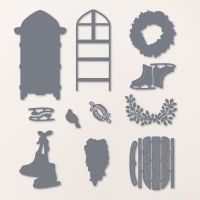
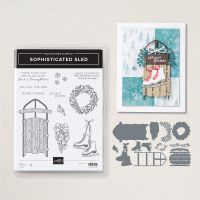
Sophisticated Sled - Country Woods DSP


I know it's the Fourth of July today, so you probably are not thinking about Winter months and sledding, but I just can't get enough of this new Online stamp set called Sophisticated Sled.  It is available to customers as of July 3.  This was a card I somewhat cased from Susan Campfield, but I was having the same idea in my head, but she just made it easier for me.  I'd already cut out the sled using the Country Wood DSP and I liked how well it blended with Misty Moonlight cardstock.  I did use a different banner in the back of the label (Happy Little Things) which was bigger than the Countryside Corners Die that she used in the back, but I did use one for the Basic White label.  The So Swirly Embossing Folder was perfect for this card to make it look like sled tracks in the snow.

My Instructions for making this card:

Stamp Set:  Sophisticated Sled

Cardstock:  Misty Moonlight, Basic White, Silver Foil, Country Woods DSP

Ink:  Tuxedo Black Memento, Misty Moonlight

Other:  Stampin’ Cut and Emboss Machine, So Swirly Embossing Folder, Sophisticated Sled Dies, Happy Little Things Dies, Countryside Corners Dies, Rhinestone Basic Jewels, Multipurpose Liquid Glue, Stampin’ Dimensionals, Mini Stampin’ Dimensionals


1.     The base of the card is Misty Moonlight cardstock cut at 4-1/4” x 11” and scored at 5-1/2” in the middle.

2.    The second layer is Basic White cardstock cut at 4” x 5-1/4” and adhered to the base with Multipurpose Liquid Glue.

3.    Die-cut the sled using Misty Moonlight for the frame and laces, Country Woods DSP for the wood, Basic White for the skates, Silver foil for the blades.  Put the sled together using adhesives and attach to the lower center of the card.

4.    Ink up the sentiment “Let it Snow” with Misty Moonlight ink on Basic White cardstock.  Die-cut with the Countryside Corners dies.  Add Misty Moonlight snowflakes on either side.

5.    Die-cut a Misty Moonlight Happy Little Things Dies and cut in half and attach to each side of the Countryside Corners Dies.

6.    Attach to the top of the card front and add Rhinestone Basic Jewels on either side.

Product List


Glow of Harvest with Painted Pumpkins

This is a card using the Designer Series Paper Glow of Harvest, which was $5 with an order of $75 or more.   Then, I used the masks to make ...