Thursday, January 31, 2019

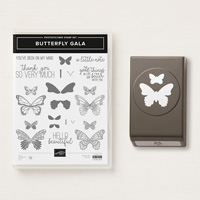
Butterfly Gala - Balmy Blue

After the freezing temperatures we've had this week in the Midwest, I'm ready for Spring but it's still only the last day in January.  This card made me think of Spring and made me happy.   It was inspired by a card that I saw on Pinterest by Dawn Griffith.  Blue is my favorite color and I need lots of "thank you" cards.
Here are the instructions for my card:

1. The base of my card is Night of Navy cardstock cut at 4-1/4" x 11" and scored at 5-1/2" in the middle.
2.  The second layer is Whisper White cardstock cut at 4" x 5-1/4" and adhered to the front of the Night of Navy card.  
3. The third layer is Balmy Blue cardstock cut at 3-3/4" x 5" but it is first inserted into the Subtle Embossing Folder and run through the Big Shot. 
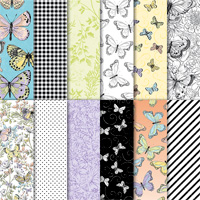
4.  I then took  2" x 5" of the Botanical Butterfly DSP from the SAB catalog that can be earned FREE with a $50 order.  I colored it in with the Balmy Blue Stampin' Blends.  I inserted it into the Banner Triple Punch at one end.  I then wrapped the Night of Navy Gingham ribbon around it before layering onto the front of my card.
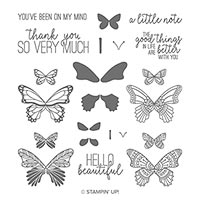
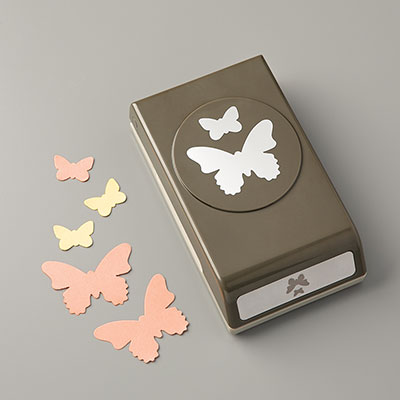
4.  I stamped the double butterfly stamp that matched the DSP with Memento Black ink and colored them in with the Stampin' Blends and their bodies with Memento Black ink.  I then used the Butterfly Duet Punch to punch them out.
5.  I die cut a scallop Night of Navy using the Layering Ovals Framelits.  I stamped the sentiment on Whisper White and die cut it with the Stitched Oval Shapes.  I layered them together and adhered over the ribbon with Dimensionals.
6.  I adhered the small butterfly with a Glue Dot and the larger butterfly with Snail and a Dimensional.

Products I used:


Friday, January 18, 2019

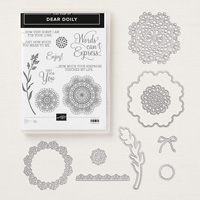
Dear Doily

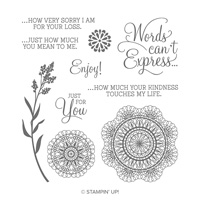
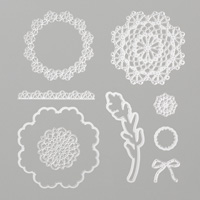
Stampin' Up! had a previous doily stamp set back in 2011 (see photo below) that I just loved but long retired, so I was glad to see the new doily set in the Occasions Catalog called "Dear Doily" and so I wanted to try to recreate the card I did back in 2011 but with different colors.  Here are the instructions for my current card:  
Stamp Set:  Dear Doily (2019 Occasions) Page 47
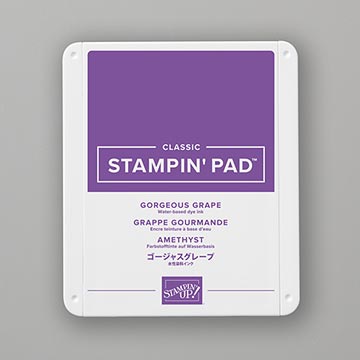
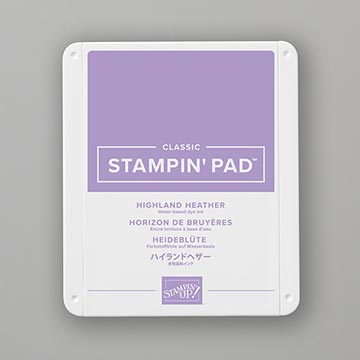
Cardstock:  Thick Whisper White, Gorgeous Grape, Highland Heather
Ink:  Gorgeous Grape, Versamark Ink Pad, White Embossing Powder
Other:  Big Shot, Heat Tool, Quilt Top TIEF, Doily Builder Thinlets Dies, Rectangle Stitched Framelit Dies, Decorative Ribbon Border Punch, Multipurpose Glue, Embossing Buddy, Snail Adhesive, Glue Dots, Dimensionals

1.     The base of the card is Thick Whisper White cardstock cut at 4-1/4” x 11” and scored at 5-1/2” in the middle.
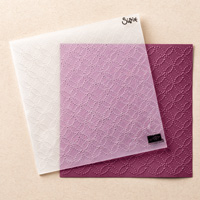
2.    The second layer is Highland Heather cardstock cut at 4” x 5-1/4” and inserted into the Quilt Top TIEF and run through the Big Shot.
3.    The third layer is Gorgeous Grape cardstock at 4” x 2-3/4” with the Embossing Buddy rubbed over it before inking up the doily with Versamark ink before embossing with White Embossing Powder with the Heat Tool.
4.    Use the Decorative Ribbon Border Punch on Whisper White cardstock and add lengths to the top and bottom of the Gorgeous Grape cardstock with Snail Adhesive.
5.    Use Multipurpose Glue to attach to the front of the card.
6.    Die cut bows in the Big Shot using the Doily Builder Thinlets Dies and attach to the center of each doily with a Glue Dot.
7.    Use the Rectangle Stitched Framelit Die for the sentiment “Just For You” inked up with Gorgeous Grape ink.  Attach in the upper right-hand corner of Gorgeous Grape with Dimensionals.

Products I used:


Saturday, January 5, 2019

Lasting Lily

Can you believe it's January, 2019?  Well, I stamped lots of Christmas cards in December, but never found the time to put them on my blog.  So, I'm going to try to do better this month.  It is Sale-a-Bration time so that means for every $50, you earn free product from the Sale-a-Bration Catalog.
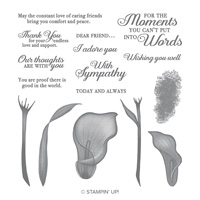
I love lilies, so this set "Lasting Lily" is a FREE set earned by spending $100 that I decided to get right away.  I also made it into a Sympathy card because a club member has lost several friends recently and although, sympathy cards are not my favorite to make, this set actually comes with the sentiment "With Sympathy" but it could also be a Get Well, Thank You or Birthday card as well.
Here are my instructions for my card:

Stamp Set:  Lasting Lily (2019 SAB)

Cardstock:  Gorgeous Grape, Whisper White

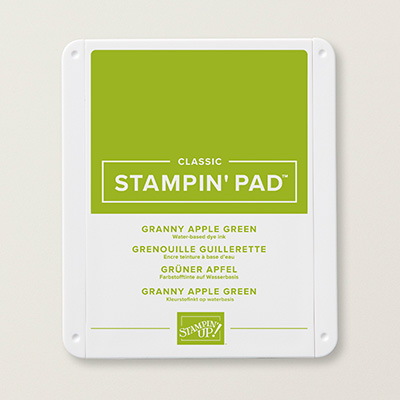
Ink:  Highland Heather, Granny Apple Green

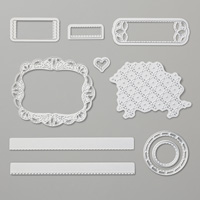
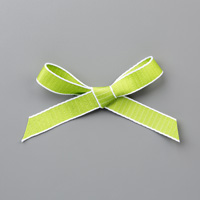
Other:  Big Shot, Stitched Label Framelits, Rectangle Stitched Framelits Dies, ½” Granny Apple Green Textured Ribbon, Paper Snips, Stamparatus, Dimensionals


1.     The base of the card is Gorgeous Grape cardstock cut at 5-1/2” x 8-1/2” and scored at 4-1/4” in the middle.

2.    The second layer is Whisper White cardstock inserted into the Big Shot using the largest Stitched Rectangle Framelit Die.

3.    Ink up the lily stamps with Highland Heather ink and stamp onto the Whisper White rectangle.  Ink up the leaves using Granny Apple Green ink and stamp the leaves to the flowers (May use Stamparatus to align them.)

4.    Stamp flowers again on Whisper White cardstock scrap with Highland Heather ink and cut them out with the Paper Snips.  Adhere with Dimensionals over the flowers already stamped on the Whisper White rectangle.

5.    Wrap ½” Granny Apple Green Textured Ribbon around the rectangle and use Scotch tape on the back to hold in place.

6.    Die cut a Stitched Label Framelit.  Ink up “With Sympathy” with Gorgeous Grape ink onto the label.  Attach over the ribbon with Dimensionals.

Products I used:


Documenting the Day

This is a 2025 Sale-a-Bration card I made with Documenting the Day and the 12" x 12" Bloom Impressions DSP which is also a SAB fre...