Showing posts with label Halloween Scenes Edgelit Dies. Show all posts

Wednesday, October 5, 2016

Cookie Cutter Halloween Earrings

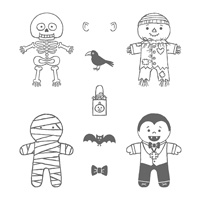
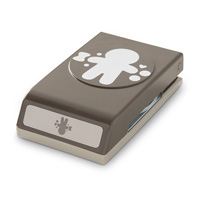
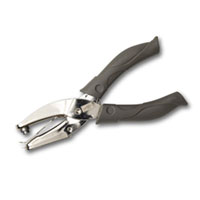
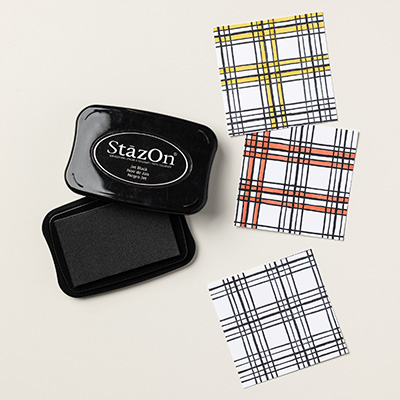
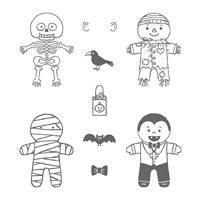
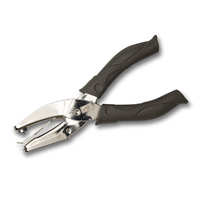
I had so much fun making the Santa earrings, that I had to make some mummy earrings with the Shrinky Dinks. The mummy is from the Cookie Cutter Halloween set. It comes in wood mount #142252 or clear mount #142255.   I stamped it with Black Stazon and punched them out with the Cookie Cutter Builder Punch.  I colored them in with a gray Sharpie and punched a hole at the top with the 1/8" Handheld punch before heating them with the Heat Tool.  The box is made with Basic Black and Pumpkin Pie cardstock as well as Halloween Night Specialty DSP.  The bat is from the Halloween Scenes Edgelit Dies.  Underneath the flap, I stamped a sentiment from the Suite Seasons stamp set.  Again, I watched the video from Julie Davison on how to make the earrings and the box for them.

Products I used:


Sunday, September 18, 2016

Spooky Fun


Spooky Fun

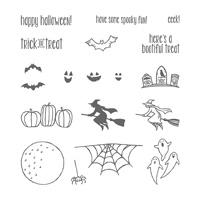
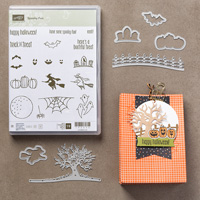
Stamp Set:  Spooky Fun
Cardstock:  Basic Black, Crumb Cake, Smoky Slate, Whisper White
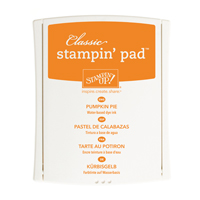
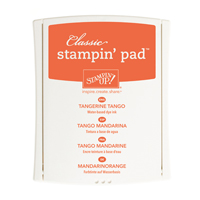
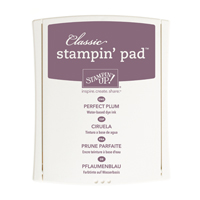
Ink:  Pumpkin Pie, Tangerine Tango, Delightful Dijon, Perfect Plum, Elegant Eggplant, Rich Razzleberry, Daffodil Delight, Basic Black Archival
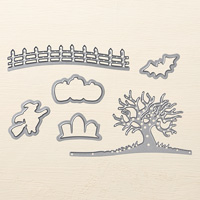
Other:  Big Shot, Halloween Scenes Edgelits Dies, Multipurpose Glue, Sponges, Dimensionals


1.     The base of my card is Basic Black cut at 4-1/4” x 11” and scored at 5-1/2” in the middle.
2.    Cut out a 2” Circle from a post-it note to use for the moon on the 4” x 5-1/4” Whisper White cardstock.  With a sponge and Pumpkin Pie ink, sponge Whisper White cardstock across the middle, and then add Tangerine Tango, and Delightful Dijon.
3.    At the top of the Whisper White cardstock, sponge it with Perfect Plum, then Elegant Eggplant, then Rich Razzleberry.
4.    Remove the post-it note and sponge it with Daffodil Delight.  Ink up the witch and the “Happy Halloween” stamp and stamp inside the moon.
5.    With the Big Shot and Halloween Scenes Edgelits, cut out the tree out of Basic Black cardstock and the fence out of Crumb Cake cardstock.
6.    Adhere to card with Multipurpose Glue.
7.    Stamp the tombstones with Basic Black onto Smoky Slate and cut out with the die from the Halloween Edgelits.
8.    Adhere to the front of the card with Dimensionals.

Products I used:

Thursday, September 8, 2016

Cookie-Cutter Halloween Scene

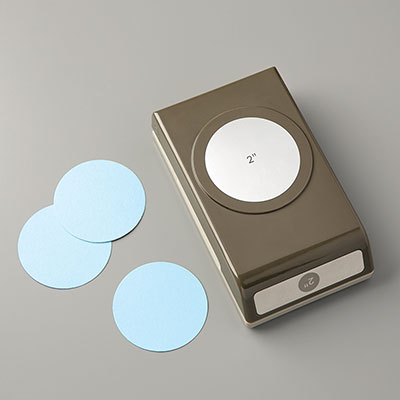
This week, some of my new Halloween stamps arrived and I have been having fun creating some cute Halloween cards and projects.  This card uses a combination of the Spooky Fun set and the Cookie-Cutter Halloween set.  The Spooky Fun set has some Halloween Scenes Edgelits that can be purchased as a bundle.  The Cookie-Cutter Halloween is another cute set that you can use the Cookie Cutter Builder Punch which is what I used to punch out my little scarecrow.   Then I colored him in with ink and Blender pens.  The base of my card is Daffodil Delight.  I used the 2" Circle Punch for the moon.   I sponged the sky with Basic Black and Smoky Slate.  So much fun to create a beautiful Halloween scene with both sets and dies.

Products I used:


Glow of Harvest with Painted Pumpkins

This is a card using the Designer Series Paper Glow of Harvest, which was $5 with an order of $75 or more.   Then, I used the masks to make ...