Showing posts with label Halloween Night Specialty DSP. Show all posts
Friday, October 7, 2016
Cookie Cutter Halloween - Fake Needle Syringe
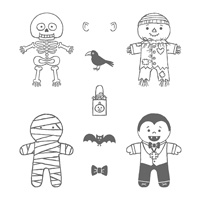
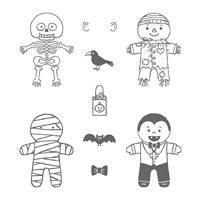
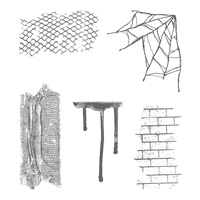
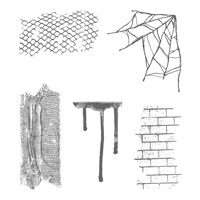
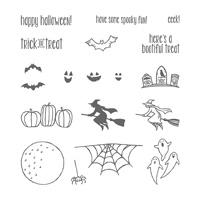
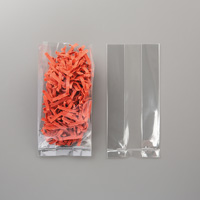
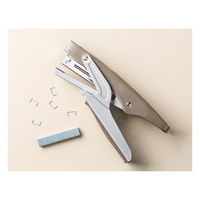
These were too fun to make and such a great idea for a gag gift for someone. I was inspired by this idea from from Erica Cerwin and Lisa B. Harvey-Reber. I used the new 3" x 6" gusseted cello bag. The stamp sets I used were Cookie Cutter Halloween (Dracula), Ghoulish Grunge for the blood dripping stamp and Gorgeous Grunge for the blood drops. I also used Spooky Fun stamp set for the sentiment. The Whisper White cardstock is cut at 6-1/4" x 2" and scored at 1-1/2", 2-1/4" and 3". Then fold and use the 1/2" Circle Punch to insert the needle syringe. I purchased the fake needle syringe on Amazon. HERE . There are 24 all red, but a few of mine were broken. Insert pen into the hole. Add a tag topper with the Dracula stamp and staple shut.
Products I used:
Wednesday, October 5, 2016
Cookie Cutter Halloween Earrings
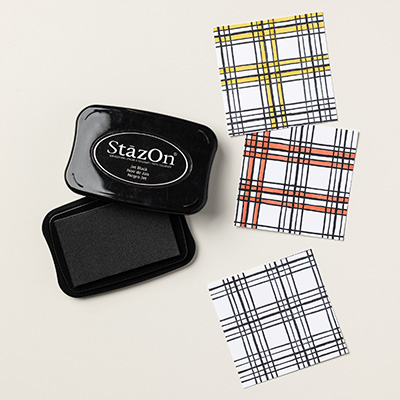
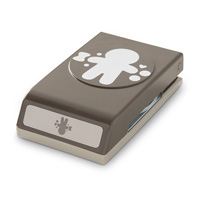
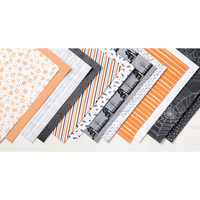
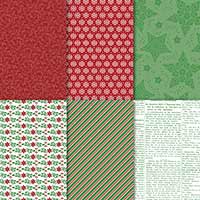
I had so much fun making the Santa earrings, that I had to make some mummy earrings with the Shrinky Dinks. The mummy is from the Cookie Cutter Halloween set. It comes in wood mount #142252 or clear mount #142255. I stamped it with Black Stazon and punched them out with the Cookie Cutter Builder Punch. I colored them in with a gray Sharpie and punched a hole at the top with the 1/8" Handheld punch before heating them with the Heat Tool. The box is made with Basic Black and Pumpkin Pie cardstock as well as Halloween Night Specialty DSP. The bat is from the Halloween Scenes Edgelit Dies. Underneath the flap, I stamped a sentiment from the Suite Seasons stamp set. Again, I watched the video from Julie Davison on how to make the earrings and the box for them.
Products I used:
Products I used:
Thursday, September 29, 2016
Cookie Cutter Halloween Treats
I watched a video of BJ Peters over the weekend on how to make these adorable little Halloween treat bags using 2" x 8" Cello bags. Of course, I used the Cookie Cutter Halloween stamp set and pretty much copied the way she made them. They couldn't be any cuter, so I've already started making them with the Cookie Cutter Christmas set and I will post those at a later date after I show my club members how to make them.
Sunday, September 25, 2016
Pumpkin Pie Glimmer Baby Bear
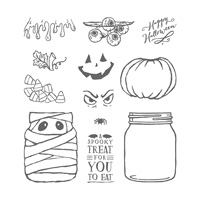
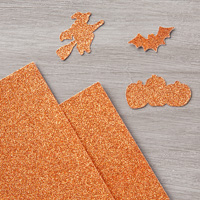
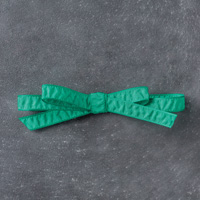
Year's ago I made a pumpkin costume for Halloween. My sister-in-law wore it at a Halloween costume contest and won first prize. So I thought why not dress up Baby Bear in a pumpkin costume using the Pumpkin Pie Glimmer paper. I stamped the pumpkin from Jar of Haunts on the back of the Pumpkin Pie Glimmer paper and cut them out for the body and the hat. I used the In-Color Emerald Envy for the stem, label, and the ribbon is the same color in the 3/8" Ruched Ribbon. The base of my card is Pumpkin Pie with a layer of Basic Black and then a layer of the Halloween Night Specialty DSP. I stamped Baby Bear with Crumb Cake and Soft Suede and then attached the ribbon at his neck by punching two holes to make a mock bow. Then added the Pumpkin Pie Glimmer for his body and his hat. I popped him up with Dimensionals. I stamped the sentiment from Spooky Fun with Memento Black ink and punched it out with the Classic Label Punch.
Products I used:
Subscribe to:
Posts (Atom)
Glow of Harvest with Painted Pumpkins
This is a card using the Designer Series Paper Glow of Harvest, which was $5 with an order of $75 or more. Then, I used the masks to make ...
-
Just couldn't resist making another card using the Swirly Scribbles Thinlets to make a snowman. Seongsook Duncan had posted her vers...
-
This card uses a lot of the new products in the 2016-2017 Annual Stampin' Up! Catalog. The new stamp set is called Seaside Shor...
-
Just finished making this fun waterfall card this morning. I love making waterfall cards, so I had to play around with thi...