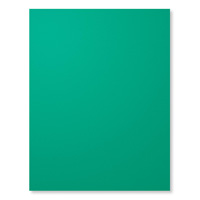
1. The base of the card is Emerald Envy cardstock cut
at 5-1/2” x 8-1/2” and scored at 4-1/4” in the middle.
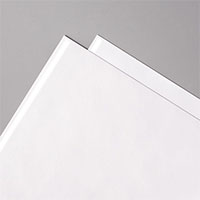
2. The Glossy cardstock is cut at 2-1/2” x
4-3/4”.
3. To do the Polished Stone onto the Glossy
Cardstock:
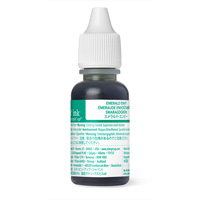
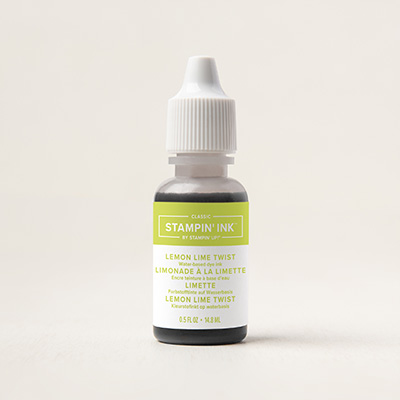
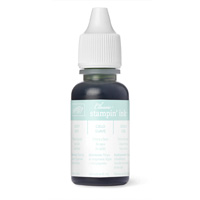
Saturate
a cotton ball with rubbing alcohol and set on the E clear block. Add 3 drops each of the reinkers (Emerald Envy, Soft Sky and if you wish Lemon Lime Twist) to the
cotton ball that is saturated with alcohol.
Now, dab the Glossy cardstock with it until you like the desired
look. You may take another dry cotton
ball to dab off the excess and/or use the Heat Tool to dry the ink.
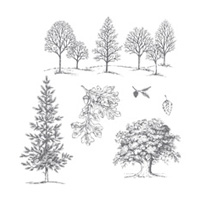
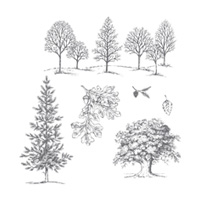
4. Once it is dry, ink up the Lovely as a Tree
stamp with Black Memento ink. Let dry or use Heat Tool again before adhering to
the 2-3/4” x 5” Basic Black cardstock with Adhesive.
5. Attach to the top of the Emerald Envy base
card leaving room for the “Happy Birthday” message from Happy Birthday Gorgeous or Milestone Moments
stamp set at the bottom that will be stamped with Black Memento ink.
Products I used: