This is a card that I created using Tanya Bell's instructions for this technique using the Scalloped Tag Topper Punch #133324 into a card, but I wanted to use the Sale-a-Bration set Petal Parade.
My club customers wanted to know how to make these, so I showed them how at the workshop today. Here are the instructions for my card.
1. Pool Party cardstock is
cut at 8½” x 5½”. (Do not score like the usual card).
2. Line up the 5½” edge side
of the cardstock at the top of the Stampin’ Trimmer at the 1” mark on the right
side of the cutting area.
3. With a pencil, make a
little mark at the top of the cardstock at the 1” mark. Flip it over and make another pencil mark on
the other side.
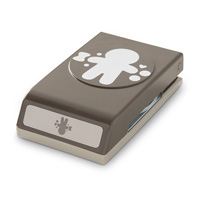
4. Gently push your cardstock
into the Scalloped Tag Topper all the way back and line up pencil mark at the
edge of the punch. Now Punch!
5. Make a score mark over
this scallop and fold it in and crease with the Bone Folder.
6. On the other side do the
same, but do not score it.
7. Instead, line the folded
scallop at the 4¼” line on the trimmer and with the scoring blade score and use
the Bone Folder to crease it. Now the
two scallops should meet on the right side of your card.
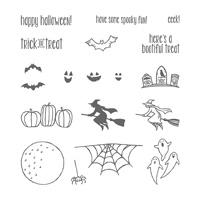
8. Stamp the 5¼” x 4” Whisper
White cardstock with Bermuda Bay ink and the leafy flower three times on the
one side. Attach to inside of card with
Snail Adhesive.
9. Use 1/8” Bermuda Bay
Taffeta Ribbon to tie scallops together.
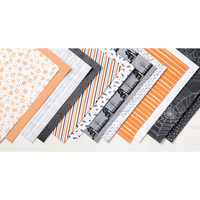
10. On the outside, attach the
2” x 5” Sweet Sorbet DSP to the 2¼” x 5¼” Bermuda Bay cardstock with Snail Adhesive. Attach to left side of card with Snail
Adhesive.
11. Stamp flower on Whisper
White scrap and punch out with 1¾” Circle Punch. Attach with Dimensionals.
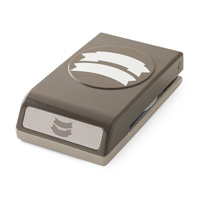
12. Punch out large Bermuda
Bay butterfly with Elegant Butterfly Punch.
Stamp little butterfly with Bermuda Bay ink on Whisper White cardstock
and punch out with Bitty Butterfly punch.
Attach with Glue Dot or Dimensional.