Showing posts with label 2" x 8" Cellophane bag. Show all posts

Thursday, October 13, 2016

Merry Tags Nugget Bag

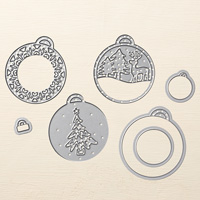
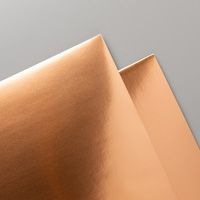
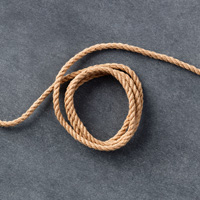
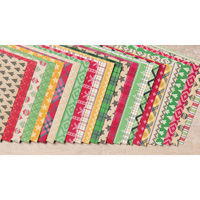
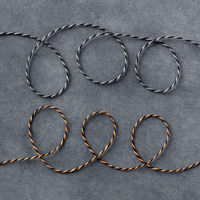
This is another Nugget bag idea I made, and it was inspired by a demonstrator catalog I receive each quarter called Stampin' Success.  I used the Warmth & Cheer DSP cut at 1" x 3" to wrap my candy nuggets.  The Kraft Rope Trim is from the Holiday Catalog, but I unraveled mine and then tied a bow to the top of the 2" x 8" bag.  I used the Merry Tags Framelit Die to cut out  my tag from Copper Foil, Whisper White cardstock, and Cucumber Crush cardstock.  I cut off the foil trees and added Cucumber Crush trees with a Rhinestone at the top of the tree with Whisper White being the background. I used some Linen Thread to tie the tag onto the Kraft Rope Trim.

Products I used:


Tuesday, October 11, 2016

Snow Place Nugget Bag

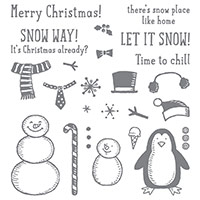
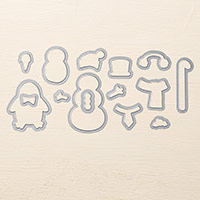
I love snowmen!  Thought this little snowman would be a cute gift idea using the Snow Place stamp set.   I stamped his face on a white Avery Label and colored his nose with a Pumpkin Pie marker.  I wrapped the labels around the nuggets.  I punched out Basic Black cardstock buttons and attached them with Glue Dots using the Owl Builder Punch.  Then I made a Real Red tray cut at 1-1/2" x 5-1/2" and scored at 1/4" on each side to insert into a 2" x 8" Cello Bag.  I unraveled the Kraft Rope Trim and tied it in a bow at the top of the bag.  Then I stamped the scarf in Real Red ink on Whisper White.  I stamped his hat with Basic Black and colored his trim with a Real Red marker.  I stamped the holly in Real Red and Garden Green.  I used the Snow Friends Framelits Dies to cut them out and attach to the front of the bag.

Products I used:

Friday, September 16, 2016

Halloween Glow Sticks in a Bag

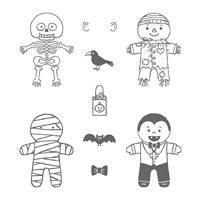
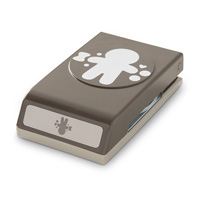
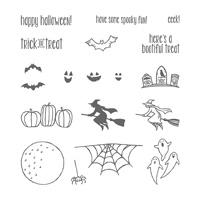
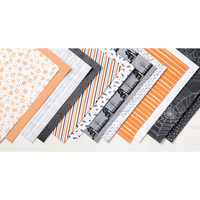
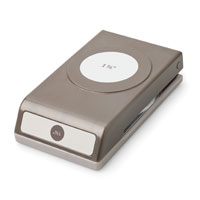
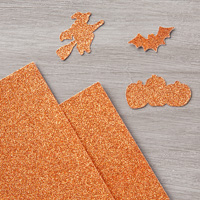
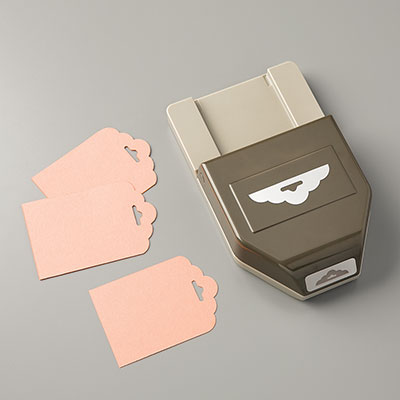
These are little glow sticks that I found at one of my favorite stores where I shop that had these $1 Halloween items when you first walk in.  I thought they would be perfect for our 2" x 8" bags that Stampin' Up! carries.  I put in some of the Halloween Nights Specialty DSP cut at 1-3/4" x  7-1/4" inside the bag. The toppers are made with the Scalloped Tag Topper cut at approximately 2" x 5" and scored at about 2".  Then, I added the Cookie Cutter Halloween skeleton and the mummy punched out with the Cookie Cutter Builder Punch and attached with Dimensionals. I also punched out their little bow ties from the Pumpkin Pie Glimmer paper.   I add a Daffodil Delight" moon cut out with the 1-3/4" Circle Punch and stamped bats from the Spooky Fun set and a Happy Halloween banner using the Duet Banner.

Products I used:
Monday, September 12, 2016

Jar of Haunts Caramel Apple

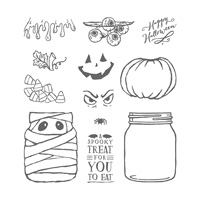
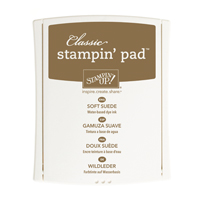
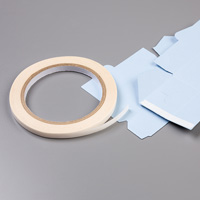
This is a similar card I saw on Julie Pitta's website so wanted to try to make one of my own. The base of my card is Basic Black Cardstock cut at 4-1/4" x 11".  I then cut a 4" x 5-1/4" of the Halloween Night Specialty DSP for the second layer.  The stamp set I used was Jar of Haunts.  I stamped the pumpkin stamp on Pear Pizzazz card stock.  It cut it out with the Paper Snips,  and then turned it over and used a Blender Pen to color the "green apple" with Wild Wasabi ink, and then I stamped the oozing stamp on Crumb Cake and colored in with Soft Suede.  I then attached it to the top my apple to create a "caramel apple" but it is more like a spooky treat. I placed a cut off skewer stick behind the apple. I put it inside a 2" x 8" Cellophane bag and wrapped the Halloween Night Baker's Twine around it.  I attached the wrapped apple to the front using Tear and Tape.  Then I stamped the sentiment in Memento Black on 1-1/2" x 2-1/4" Whisper White cardstock and layered it on 1-3/4" x 2-1/2" Basic Black cardstock.  Now I'm starting to feel hungry for a delicious caramel apple.  I may have to run to the apple orchard!

Products I Used:
Glow of Harvest with Painted Pumpkins

This is a card using the Designer Series Paper Glow of Harvest, which was $5 with an order of $75 or more.   Then, I used the masks to make ...