Showing posts with label Stitched Shapes. Show all posts

Sunday, October 11, 2020

Christmas Means More


.

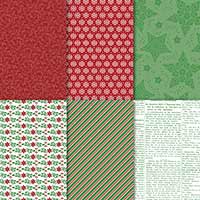
 I love this sentiment from the movie "It's a Wonderful Life" with Jimmy Stewart.  This stamp set is called Christmas Means More and there are other sentiments in this set that I like too. This card was inspired by Mary Fish, although I didn't have the same ribbon she had which was the Shaded Spruce Wonder of the Season Ribbon Combo Pack.  I used her measurements for my card.  

1.     The base of the card is 4-1/4” x 11” and scored at 3-1/2” and 9.

2.    Cut the Tis the Season DSP at 3-1/4” x 4” and 1-3/4” x 4.

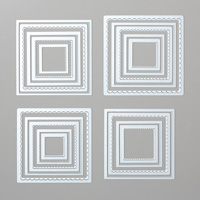
3.    Whisper White cardstock is die cut with the Stitched Shape Dies at 2-5/8” Square and with the Stitched Rectangle Dies at 3-3/8” x 4-3/4”.

4.    Cut the Shaded Spruce cardstock at 3-1/8” square and the Cherry Cobbler cardstock at 2-7/8” square.

5.    Adhere the DSP to outside flaps of the cards with Stampin’ Seal Adhesive.

6.    Adhere half the Shaded Spruce square to the left side with Stampin’ Seal Adhesive.

7.    Cut the Silver Metallic Edge Ribbon about 14”.  Use Stampin’ Seal to attach the ribbon on the Shaded Spruce square and then wrap around the entire card.

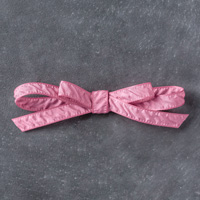
8.    Attach two Jingle Bells to some Metallic Mesh Ribbon and tie it all together in a bow on the side.

9.    Ink up the sentiment with Shaded Spruce ink and stamp on the Whisper White Stitched Shape Square.  Adhere to the Cherry Cobbler Square with Seal Adhesive.

10.  Attach to Shaded Spruce Square with Seal Adhesive or Dimensionals.

11.   Color the bells with Smoky Slate Blends.  Add Wink of Stella.


Products I used:  

Product List

Wednesday, May 13, 2020

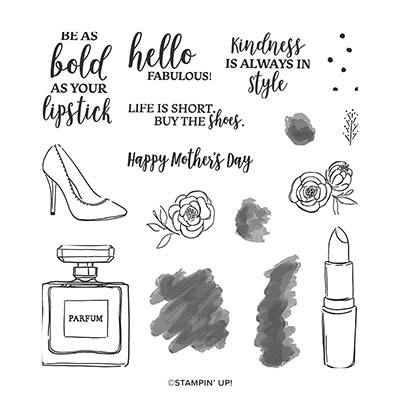
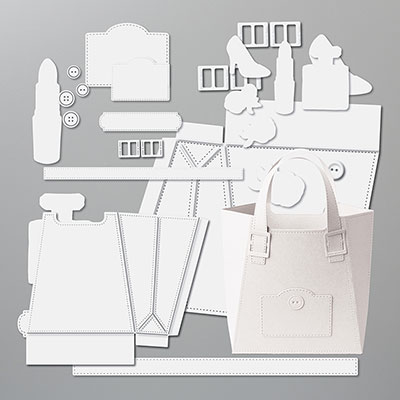
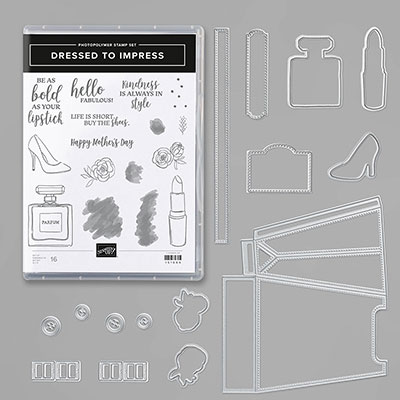
Dressed to Impress Gift Card Holder

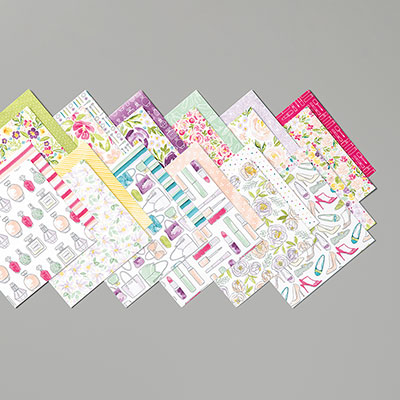
Sometimes I like to case a card from another demo if I really like it and this is one from Stampin' Annie.  It's a gift-card holder and I hadn't had a chance to play with this set yet.  I love the colors in the Best Dressed Designer Series Paper.  Sometime, we just don't have enough time to play with our DSP or we tend to hoard it.    Here are my instructions for making this card:
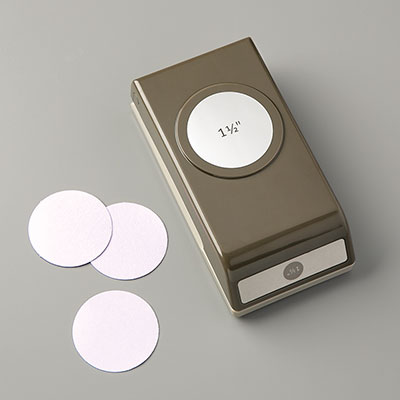
1.     The base of the card is Pretty Peacock cardstock cut at 4-1/4” x 10-3/8” and score at 5-1/2” and 8-3/8”.  For the gift card holder, punch a little half circle with the 1-1/2” Circle Punch.    Cut Mint Macaron cardstock at 2-5/8” x 4” and adhere to the front.  Cut the Best Dressed DSP (stripes) at 2-1/2” x 3-7/8” to adhere to the Mint Macaron on the front.
2.    For the inside, cut Whisper White cardstock at 4” x 5-1/4” and then cut a strip of the Mint Macaron (shoes) DSP for the right side.
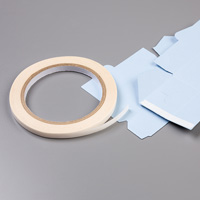
3.    For inside, before adhering the gift card holder section with Tear and Tape to leave room for a gift card, add another Mint Macaron (shoes) DSP cut at 1-3/4” x 4”.
4.    Die cut 2-7/8” Circle Stitched Shapes die from Whisper White cardstock.  Ink up the sentiment “life is short, buy the shoes” with Memento Black ink at the top of the white circle.
5.    On a scrap of Whisper White, ink up two shoes with Memento Black ink and color them in with the Purple Posy Stampin’ Blends.  Die cut with the All Dressed-Up Dies.  Use the Wink of Stella on them.
6.    Cut one Scallop Circle from Mint Macaron cardstock using Scalloped Circle from Layering Circles Dies.  Adhere together.
7.    Add the die cut shoes to the circle and use Dimensional on the one in front.
8.    Adhere glue to the side that will attach to the front of the card.

Products I used except for some of the dies that will be carried over are not on this list, but will be in the new catalog but reconfigured with different codes:


Saturday, April 8, 2017

Basket Bunch Mini Egg Carton with Chocolate Bunny


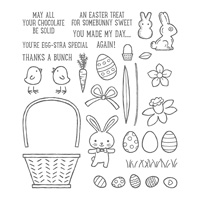
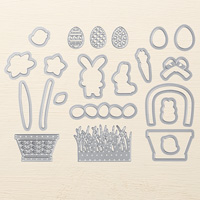
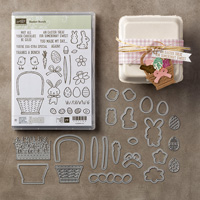
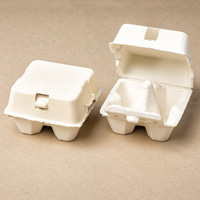
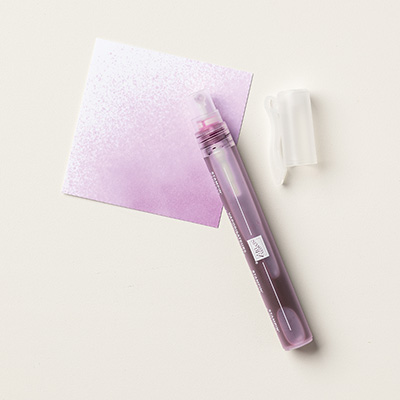
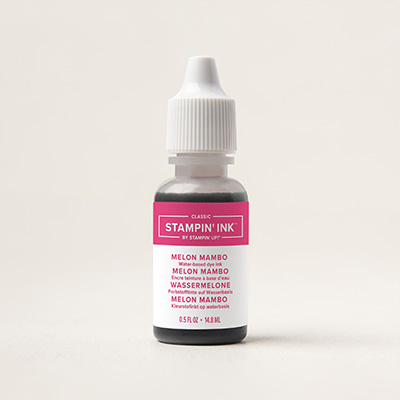
This is another Mini Egg Carton that I made but this time I made it using Melon Mambo Ink Refill in my Spritzer with rubbing alcohol.  Once again, I used the Layering Squares Framelits using Melon Mambo and Blushing Bride card stocks.  I also used the square Stitched Framelits.  The basket is made from Crumb Cake cardstock and Early Espresso ink.  I put Cucumber Crush grass cut from the Basket Builder Framelit Dies, and also the chocolate bunny from Soft Suede card stock with Early Espresso ink.  The eggs were stamped on Whisper White cardstock and colored in with Stampin' Write markers.  I then die cut the eggs.

Products I used:


Fern & Flora - "You Make the World a Better Place"

Here is another card that I made using the Moonlit Flora Designer Series Paper.  It is so beautiful that it really makes the card without pu...