Friday, November 15, 2019

Perfectly Plaid Banner Card

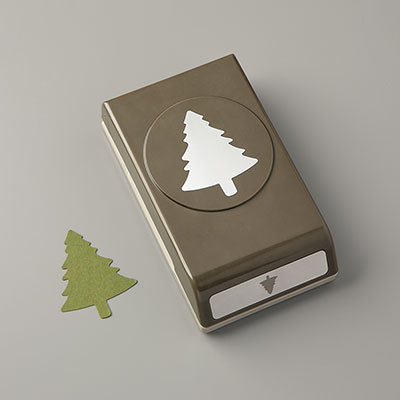
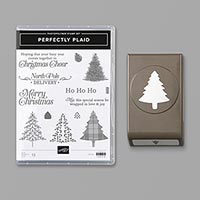
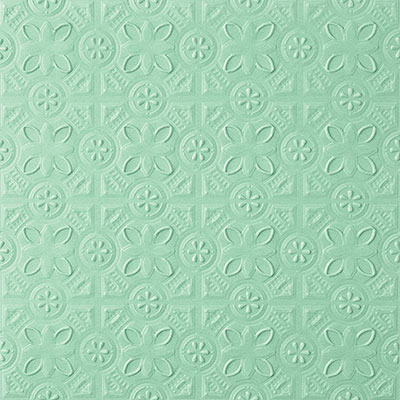
Another Perfectly Plaid card but I used the Tin Tile 3D Embossing Folder for the background.  I love the Shaded Spruce and Cherry Cobblers colors together.  The Pine Tree Punch is a must with the Perfectly Plaid set.  The Gold Foil scallop circle really adds glitz to the card.

Here is the instructions for my card:


Stamp Sets:  Perfectly Plaid

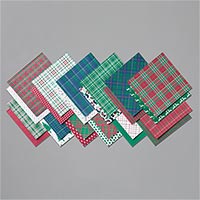
Cardstock:  Cherry Cobbler, Shaded Spruce, Gold Foil, Whisper White, Wrapped in Plaid DSP

Ink:  Shaded Spruce, Cherry Cobbler

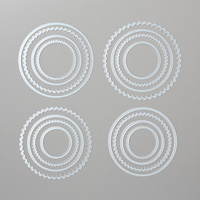
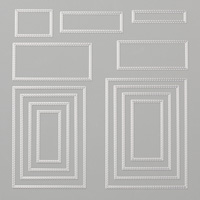
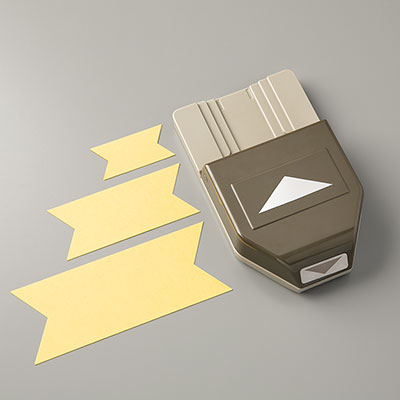
Other:  Big Shot, Pine Tree Punch, Tin Tile Dynamic TIEF, Layering Circles Dies, Triple Banner Punch, Rectangles Stitched Framelit Dies, Multipurpose Glue, Snail Adhesive, Dimensionals


1.     The base of the card is Cherry Cobbler cardstock cut at 5-1/2” x 8-1/2” and scored at 4-1/4” in the middle.

2.    The second layer is Shaded Spruce cardstock cut at 4” x 5-1/4” and inserted into the Tin Tile Dynamic TIEF and adhered to the front of the card with Multipurpose Glue.

3.    The third layer is 2” x 5” of Wrapped in Plaid DSP and inserted into the Triple Banner Punch to create a banner for the middle of the card.  Attach with Multipurpose Glue.

4.    Next, die cut a Whisper White circle (3rd largest)  and a Gold Foil Scalloped circle with the Layering Circles Dies in the Big Shot to layer them together.  Attach with Snail Adhesive.

5.    Die cut a rectangle from Whisper White using the Rectangles Stitched Framelit Dies in the Big Shot.  Ink up “Merry Christmas” sentiment in Cherry Cobbler.  Add Dimensionals to the back and adhere below the layered circles.

6.    Ink up the Christmas tree stamp with Shaded Spruce on Whisper White scrap paper.  Punch out with the Pine Tree Punch and attach to the Whisper White circle with Dimensionals.

7.    Add 3 to 5 Real Red Rhinestones to the card.

Products I used:
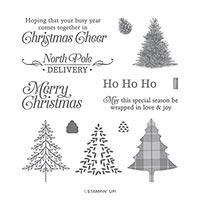

Perfectly Plaid - Old Olive

Plaid is in!  This plaid Christmas tree stamp from Perfectly Plaid goes great with the Old Olive Toile Tidings DPS,  I love to use the Subtle Embossing Folder in the background which it makes it look like linen.  Here are my instructions for this card.


Stamp Set:  Perfectly Plaid

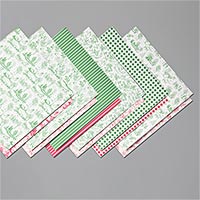
Cardstock:  Old Olive, Thick Very Vanilla, Very Vanilla, Toile Tidings DSP.

Ink:  Old Olive

Other:  Big Shot, Subtle Embossing Folder, Stitched Nested Labels Dies, Pine Tree Punch, Linen Thread, Star Designer Elements, Multipurpose Glue, Dimensionals, Glue Dot


1.     The base of the card is Thick Very Vanilla cardstock cut at 4-1/4” x 11” and scored at 5-1/2” in the middle.

2.    The second layer is Old Olive cardstock cut at 4”x 5-1/4” and inserted into the Subtle Embossing Folder and run through the Big Shot.

3.    The third layer is Toile Tidings DSP cut at 4” x 2-1/2” and adhered to the middle of the Old Olive cardstock with Multipurpose Glue.

4.    Use Very Vanilla cardstock to die cut using the second largest die from the Stitched Nested Labels Dies.  Ink up the “Merry Christmas” with Old Olive ink and stamp at the bottom of the Very Vanilla Die.  Use Dimensional to pop up on the card front.

5.    Ink up the plaid Christmas tree stamp with Old Olive and stamp on a scrap of Very Vanilla cardstock.  Use the Pine Tree Punch to punch it out.  Attach Dimensionals on the back and adhere above the Merry Christmas sentiment.  Attach a bow made from Linen Thread with a Glue Dot at the bottom of the tree and add a gold star at  the top using the Star Designer Elements.


Products I used:


Peaceful Boughs

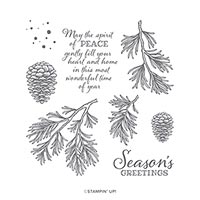
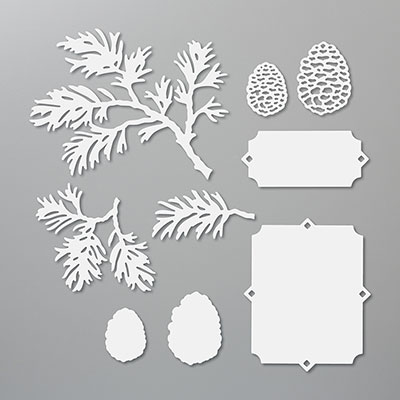
This is another beautiful set from the 2019 Holiday Catalog.  I just love pine boughs and pinecones.  As a matter of fact I bought a 4" artificial tree with pinecones on it at a craft fair this year that I can't wait to decorate for Christmas.  Garden Green is perfect for this set as well as the Soft Suede or the Early Espresso ink on the Crumb Cake cardstock for the pinecones.  Then I was able to die cut them out with the Beautiful Boughs Dies that go with it.


Stamp Set: Peaceful Boughs

Cardstock:  Early Expresso, Very Vanilla, Crumb Cake

Ink:  Early Espresso, Soft Suede, Garden Green, Cherry Cobbler

Other:  Big Shot, Beautiful Boughs Dies, Multipurpose Glue, Dimensionals


1.     The base of the card is Early Espresso cardstock cut at 4-1/4” x 11” and scored at 5-1/2” in the middle.

2.    The second layer is Very Vanilla cardstock cut at 4” x 5-1/4”.

3.    Ink up the pine bough stamp with Garden Green ink.  Stamp full strength on the upper left-hand corner of the Very Vanilla cardstock.  Stamp again without reinking on a few of them.

4.    Ink up the large and small pine cone stamps with Early Espresso ink or Soft Suede ink and stamp on Crumb Cake cardstock.  Die cut with the Beautiful Bough Dies and attach the two small cones with Multipurpose and a Dimensional on the back of the large one to put between the two small ones.

5.    Ink up the sentiment with Cherry Cobbler on the label and attach with Dimensionals.

Products I used:


Free Skate in Night of Navy

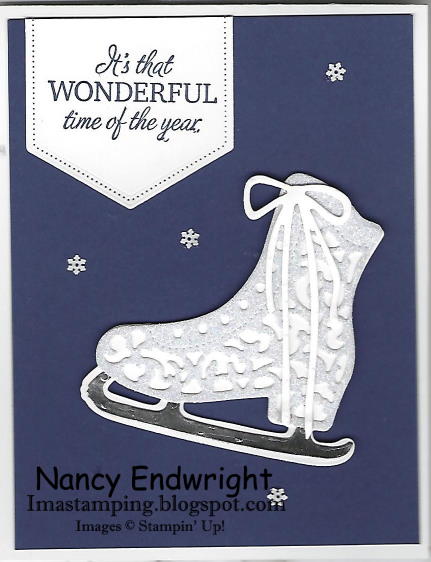
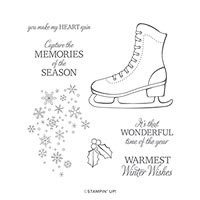
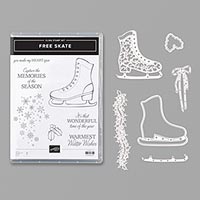
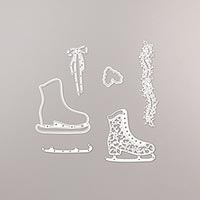
When I was a little girl, I learned to skate with hand-me down black boy skates.  I am the youngest of four siblings (two boys and two girls), so I got a lot of hand-me downs.  Those were fun and fond memories, but my skating days are over.  I'm at an age where I think it would be fun, but I'm more apt to break a bone or something.  So this is a reason I purchased this Free Skate set because it reminded me of those fun memories.  I eventually got my very own white skates.  This is such a beautiful set and I love the Detailed Skate Dies that can be purchased with this set in a bundle to save 10%.
Here are my instructions:


Stamp Set:  Free Skate (Page 44 of the Holiday Catalog)

Cardstock:  Thick Whisper White, Night of Navy, Whisper White, Silver Foil, Sparkle Glimmer Paper

Ink:  Night of Navy

Other:  Big Shot, Detailed Skate Dies, Stitched Nested Labels, Snowflake Sequins, Shimmery Crystal Effects, Paper Snips, Dimensionals, Multipurpose Glue, Glue Dots


1.     The base of the card is Thick Whisper White cardstock cut at 4-1/4” x 11” and scored at 5-1/2” in the middle.

2.    The second layer is Night of Navy cardstock cut at 4” x 5-1/4”.

3.    The third layer is Whisper White half banner die cut from the Stitched Nested Labels and stamped with the sentiment “It’s that Wonderful Time of Year” with Night of Navy ink.

4.    The skate die is from Detailed Skate Dies.  The first die is cut from Whisper White cardstock.  The second die is cut from the Sparkle Glimmer Paper and attached with Multipurpose Glue.  Die cut the silver foil skate blade and be careful not to get glue on it when attaching.  Add the die cut bow at the top with a Glue Dot.  Adhere the skate to the card with Dimensionals.

5.    Add the Snowflake Sequins using the Shimmery Crystal Effects sparingly.  Let dry!

Products I used: 


Christmas Mice

  This is a card I made for a recent swap.  I love the Christmas Mice bundle.  It is so adorable.  Stamp Set:   Christmas Mice Cardstock: ...