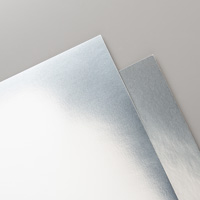
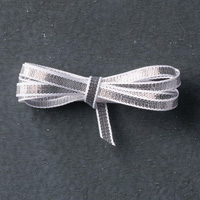
Here is another version of the card I previously made but this time using Smoky Slate cardstock for the base of my card. and Night of Navy for the second layer. I used Silver Glimmer paper for the trees and Silver Foil for the deer and attached him with a Glue Dot. The ribbon is 1/8" Silver Ribbon and I embossed "Peace on Earth" with Silver Embossing Powder. The Whisper White circle is die cut with the Stitched Shapes Framelits. This is also the card that I made for my swap this month.
Products I used:
Friday, August 25, 2017
Wednesday, August 16, 2017
Carols of Christmas
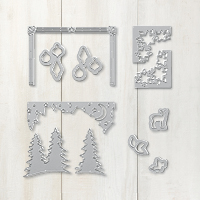
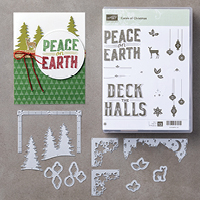
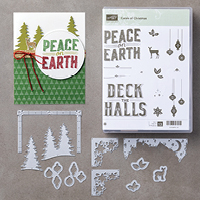
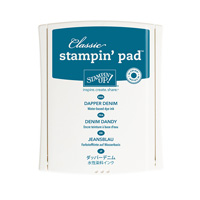
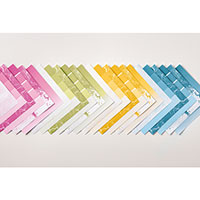
I've been away from home for nearly 3 weeks visiting my sister and then taking care of the twins, so now it is time to get back to stamping. I bought the Carols of Christmas set back in July when it first became available to demos to preorder. For this card, the base is Dapper Denim. The second layer is using the Color Theory DSP. I used the Card Front Builder Framelits that are the framelits that bundle with the Carols of Christmas. I put Silver Foil Paper behind the moon and stars and also die cut the trees. I used the Dapper Denim Baker's Twine to wrap around the DSP. "Peace on Earth" is the main vocal point of the card stamped on Whisper White card stock with Dapper Denim ink and die cut with the largest circle from the Layering Circles Framelits and adhereing with Dimensionals.
I popped the Silver Foil trees with Mini Dimensionals.
Products I used:
I popped the Silver Foil trees with Mini Dimensionals.
Products I used:
Thursday, July 20, 2017
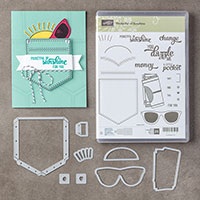
Pocketful of Sunshine Money Pocket
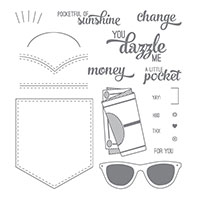
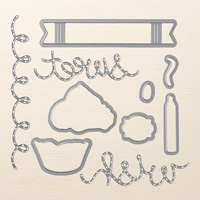
This is the card I made for my swap this month. It uses the Pocketful of Sunshine stamp set and Pocket Framelits Dies. I also used the Cupcake Cutouts for the banner.
Directions on how I made my card:
1. Base
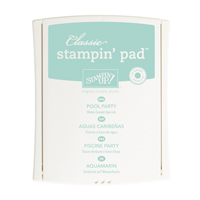
of card is Pool Party cut 4-1/4” x 11” and scored at 5-1/2” in the middle.
2. The second layer is Pool Party cut at 4” x
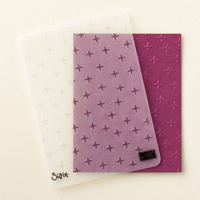
5-1/4” and inserted into the Sparkle TIEF and run through the Big Shot and
adhered to the front of the card with Multipurpose Glue.
3. Ink up the money stamp with the Basic Black
ink onto the Garden Green cardstock. Ink
up the sunglasses with the Basic Black ink and stamp onto the Real Red
cardstock. Ink up the pocket stamp with
Dapper Denim ink for the trim. Use the
Pocket Framelit Dies to die cut each item.
4. Ink up the “Pocketful of Sunshine”
sentiment on Whisper White cardstock using Dapper Denim ink. Use the Cupcake Cutouts banner to die cut the
sentiment.
5. Fold on the score lines of the pocket and
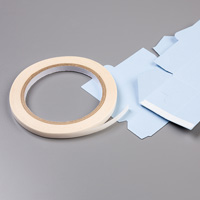
banner. Add Tear and Tape.
6. Add the banner below the pocket trim. (do
the sides after adhering the twine)
7. Wrap the Basic Black Baker’s Twine around
the pocket under the sentiment and tie a bow.
8. Remove the Tear and Tape and adhere the
pocket to the front of the card. Use
Multipurpose Glue to do the sides of the banner.
9. Use Multipurpose Glue on the back of the
money and sunglasses and insert into the pocket.
Products I used:
Wednesday, July 19, 2017
Pocketful of Sunshine
This was a card that I made the other day almost casing the card on page 64 of the catalog but had to change it somewhat when I made a black ink smudge on the right side. Here are my instructions:
1. The base of the card is Pool Party cut at 5-1/2” x 8-1/2” and scored at 4-1/4” in the middle.
2. Ink up the pocket stamp with Pool Party and stamp randomly on the front of the card.
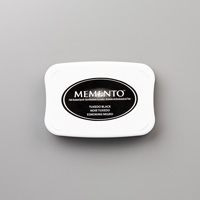
3. Ink up the pocket stamp again with Memento Black and cut out 3 pockets. Cut them out with scissors instead of the framelits.
4. Ink up the sun stamp with Memento Black and stamp on Daffodil Delight cardstock.
5. Ink up the sunglasses stamp with Memento Black and stamp on Real Red cardstock.
6. Use the Pocket Framelits Die to die cut them out in the Big Shot.
7. Adhere to the front of the card using adhesive and Dimensionals. Trim off the excess pockets on either side with Paper Snips.
8. Use Baker’s Twine around the middle pocket and tie a bow.
9. Ink up sentiment “Pocketsful of Sunshine” with Island Indigo ink and stamp on ½” x 2-1/2” Whisper White cardstock strip. Attach to the middle pocket with adhesive.
Products I used:
Subscribe to:
Posts (Atom)
Christmas Mice
This is a card I made for a recent swap. I love the Christmas Mice bundle. It is so adorable. Stamp Set: Christmas Mice Cardstock: ...
-
Just couldn't resist making another card using the Swirly Scribbles Thinlets to make a snowman. Seongsook Duncan had posted her vers...
-
This card uses a lot of the new products in the 2016-2017 Annual Stampin' Up! Catalog. The new stamp set is called Seaside Shor...
-
Just finished making this fun waterfall card this morning. I love making waterfall cards, so I had to play around with thi...