Tuesday, October 23, 2018

Alpine Adventure

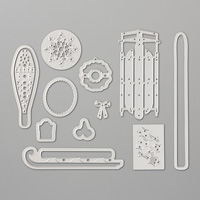
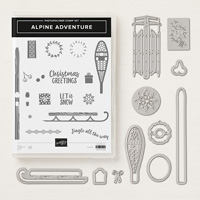
Just got this set "Alpine Adventure" yesterday and I already wanted to play with it and create a card that was similar to one I did in 2015 called Warm Wishes. 
Here are the instructions for my Alpine Adventure card:
1.     The base of the card is Early Espresso cardstock cut at 5-1/2” x 8-1/2” and scored at 4-1/4” in the middle.
2.    The second layer is Soft Suede cardstock cut at 4” x 5-1/4” and inserted into the Pinewood Planks Dynamic TIEF and run through the Big Shot.
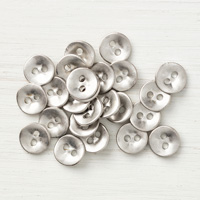
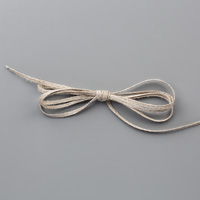
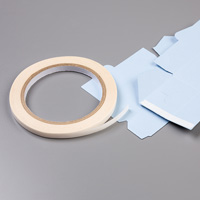
3.    The next layer is Crumb Cake cut at 1-3/4” x 4-1/4” and inserted into the Corrugated Dynamic TIEF and run through the Big Shot.  May need to trim to fit four inches across the card.  Attach to the front of the card with Tear and Tape. Take a Galvanized Button with 3/16” Braid Linen Trim inserted into the holes and frayed. Attach to the left side of the card with Glue Dots on the corrugated cardstock.
4.    Die cut the sled from the Country Lane DSP using the Alpine Sports Thinlets Die in the Big Shot.  Attach to 2” x 4-1/4” Very Vanilla Cardstock and then layered onto a 2-1/4” x 4-1/2” Early Espresso cardstock.  Attach with Dimensionals to the right side of the card.
5.    Ink up the sentiment “Let it Snow” with Early Espresso ink and stamp onto Crumb Cake cardstock.  Die cut it out using the Alpine Sports Thinlets Die and attach to the sled with a Dimensional.
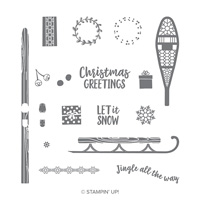
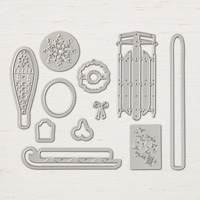
Here are the products I used for the new card:
Wednesday, October 10, 2018

Christmas Traditions


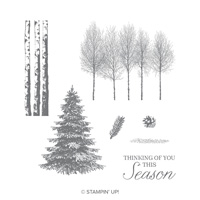
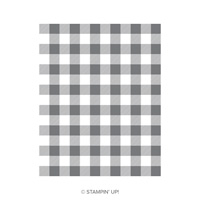
This is another Christmas Traditions card that I made also using the new Winter Woods and the Buffalo Check background stamps which are all in the 2018 Holiday Catalog.  The base of my card is Crumb Cake and I used Old Olive and Early Espresso to make the Buffalo Check layer, but I used the Stamparatus a couple of times to get it inked well. I tore the Crumb Cake cardstock after stamping the trees with Early Espresso and sponged the edges.  For the punch, I punched two from the Old Olive cardstock and one in Crumb Cake and attached to the front with Linen Thread.

Products I used:

Tuesday, October 9, 2018

Christmas Traditions

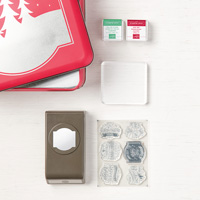
The Christmas Traditions Punch Box is a beautiful tin filled with a 6-piece photopolymer stamp set, a punch. a stamp block and two Classic Stampin' Spots (Call Me Clover and Real Red).  The cardstock base I used on this card is Shaded Spruce.  The second layer is Early Espresso.  For the third layers I used Shaded Spruce and inserted into the new Tin Tile Dynamic Textured Impressions Embossing Folder.  The DSP is from the annual catalog called Under the Mistletoe.  The 5/8" Polka Dot Ribbon is also from the annual catalog as well as the Linen Thread.

Products I used: 


Tuesday, September 18, 2018

Candy Cane Season

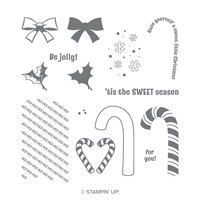
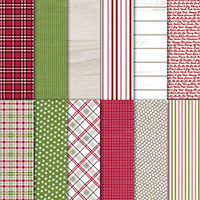
Who doesn't love candy canes?  Years ago, I made a similar card that I just loved and so I decided to try to re-create it using the Candy Cane Season stamp set from the 2018 Holiday Catalog.  The colors are Cherry Cobbler and Whisper White.  The Designer Series Paper is Festive Farmhouse.  Here are my instructions and I'll post the card from years ago.


1.     The base of the card is Cherry Cobbler cardstock cut at 5-1/2” x 8-1/2” and scored at 4-1/4” in the middle.

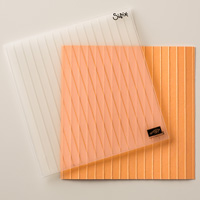
2.    The second layer is Whisper White cardstock cut at 4” x 5-1/4” and inserted in the Simple Stripes Embossing Folder and run through the Big Shot.  The Festive Farmhouse DSP (stripes) is cut at 2-9/16” x 4” and adhered to the bottom of the Simple Stripes second layer.

3.    Wrap the ¼” Double Stitched Cherry Cobbler Ribbon around the middle of the card and adhere with tape on the back.  Adhere to the base of the card.

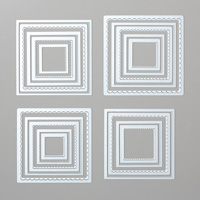
4.    Die cut a Cherry Cobbler scallop with the Layering Squares Framelits and a Whisper White square.

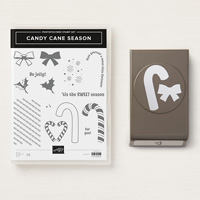
5.    Stamp two candy canes on Whisper White cardstock and punch out with the Candy Cane Builder Punch.  Ink up the bow outline stamp and the image stamp with Cherry Cobbler ink and punch out with the Cane Builder Punch

6.    Adhere one candy cane on the Whisper White Square with Multipurpose Glue.  Attach the second one over the first one with Mini Dimensionals.  Add the bow with a Dimensional.

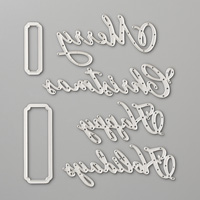
7.    Ink up the sentiment “tis the sweet season” with Cherry Cobbler ink on Whisper White cardstock.  Cut out with Paper Snips and adhere to a Cherry Cobbler layer cut from the Merry Christmas Thinlets Dies.  Use Dimensionals to attach to the front of the card.
This is the card I created in 2012 using Chock Full of Cheer stamp set.


Products I used:


Fall Pumpkins and Sunflowers card

Fall is in the air!  Yes, it is finally sweater weather here in Indiana.  It has been a hot summer, so it's nice to have cooler weather....