Showing posts with label Baby Bear. Show all posts
Sunday, September 25, 2016
Pumpkin Pie Glimmer Baby Bear
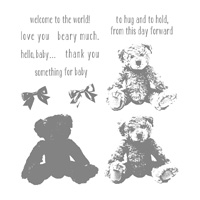
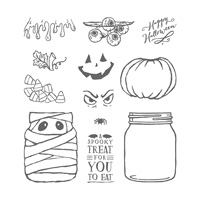
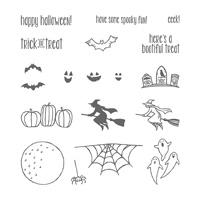
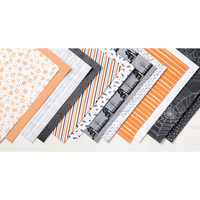
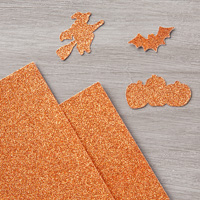
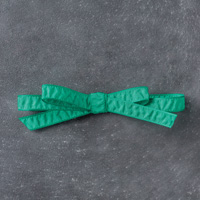
Year's ago I made a pumpkin costume for Halloween. My sister-in-law wore it at a Halloween costume contest and won first prize. So I thought why not dress up Baby Bear in a pumpkin costume using the Pumpkin Pie Glimmer paper. I stamped the pumpkin from Jar of Haunts on the back of the Pumpkin Pie Glimmer paper and cut them out for the body and the hat. I used the In-Color Emerald Envy for the stem, label, and the ribbon is the same color in the 3/8" Ruched Ribbon. The base of my card is Pumpkin Pie with a layer of Basic Black and then a layer of the Halloween Night Specialty DSP. I stamped Baby Bear with Crumb Cake and Soft Suede and then attached the ribbon at his neck by punching two holes to make a mock bow. Then added the Pumpkin Pie Glimmer for his body and his hat. I popped him up with Dimensionals. I stamped the sentiment from Spooky Fun with Memento Black ink and punched it out with the Classic Label Punch.
Products I used:
Friday, July 15, 2016
Baby Bear in Dapper Denim
Baby Bear looks so realistic, doesn't he? This is one of the cards we made at my club workshop on Sunday using the new set Baby Bear set. It is a 3-set stamp set using Chocolate Chip, Soft Suede and Crumb Cake in that order. I gave my club members a choice for "thank you" or "celebrate" for their banner from the new set Thoughtful Banners. Thoughtful Banners also has a matching Duet Banner Punch which can be purchased as a Bundle or sold separately. The base of my card is Chocolate chip and the next layer is Crumb Cake but inserted into the Happy Hearts TIEF and run through the Big Shot twice so that the hearts are horizontal. The Dabber Denim DSP is the next layer which covers the seam of where the hearts meet. The little bow is a 2-step with Marina Mist first and then Dapper Denim and then cut out with Paper Snips.
Products I used:
Products I used:
Sunday, June 19, 2016
Baby Bear Z-Fold Card
Happy Father's Day to all the father's out there today. It also would have been our 40th wedding anniversary if my husband was still living. Miss him a lot, so in honor of my husband I made this card today. I used the new set Baby Bear and made a Z-fold card. I saw some videos on how to make the Z-fold card. My bear was a little too big to fit in the middle, so that is why I put him over on the right on the inside. I would have needed 12" x 12" cardstock to make him fit inside the Z, but I didn't own any that size of the Flirty Flamingo cardstock, although Stampin' Up! carries it. I wanted to use the In-Color Flirty Flamingo DSP, The base of my card is cut at 4-1/4" x 11" and scored at 2-3/4" and 5-1/2". Then I cut a strip at 1-1/4" x 11" and scored it at 4-1/2" and then 8-1/2". The Designer Series Paper is cut with one piece at 1" x 5-1/4" and two pieces at 4" x 1-1/2" and attached to each panel with an adhesive. I also used the Sweet & Sassy Framelits to cut out a heart for the front panel. On the Whisper White panels, I stamped "love you" on the front and "beary much" on the inside. I stamped the bear first with Crumb Cake, then Soft Suede and then Early Espresso and cut him out with Paper Snips to attach to the far right of my card.
Products I used:
Subscribe to:
Comments (Atom)
Easter Basket
Yes, I know Easter isn't until April this year, but as it gets closer, most of the items for this card will probably be hard to get beca...
-
Just finished making this fun waterfall card this morning. I love making waterfall cards, so I had to play around with thi...
-
Do you like to chew gum? Have you bought the gum holders with the plastic case? What do you do with the empty case when you are done with ...
-
Who would like to receive a birthday card with a wobble inside? My club remembers had fun making this card last Sunday and I decided to use...


