Attach the bunny tails with Multipurpose Glue on the back but let dry before moving them.
Tuesday, March 28, 2017
Bunny Treat Box Holder
Attach the bunny tails with Multipurpose Glue on the back but let dry before moving them.
Wednesday, March 22, 2017
High Tide and Bermuda Bay
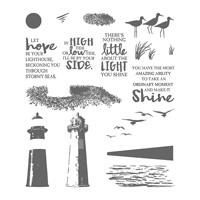
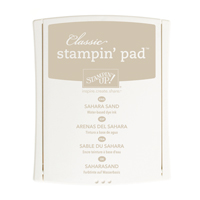
This is one of my favorite new sets from the Occasions Catalog. It is called High Tide. If you like the beach, the ocean, birds and lighthouses, you will love this set. The base of my card is Basic Black cut at 5-1/2" x 8-1/2", The second layer is Bermuda Bay cut at 4" x 5-1/4" and stamped with Bermuda Bay ink with the stamp in the set that creates the water in the background. The set includes a two-step technique to make the lighthouse and also a stamp to create sand. First I stamped Basic Black ink on a 2" x 3-1/2" piece of Whisper White cardstock with the first part of the lighthouse Then I stamped it with the other part with Bermuda Bay. The sand was stamped with Sahara Sand. It is a photopolymer set and comes with 16 stamps on page 25 of the Occasions Catalog.
Products I used:
Products I used:
Tuesday, March 14, 2017
Monday, March 13, 2017
Tie Dyed Custom Tees
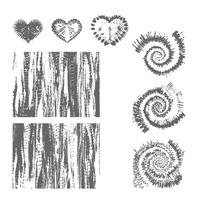
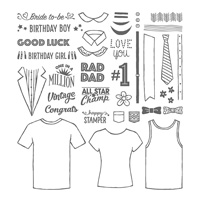
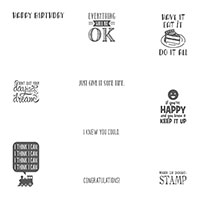
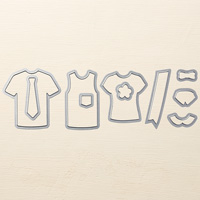
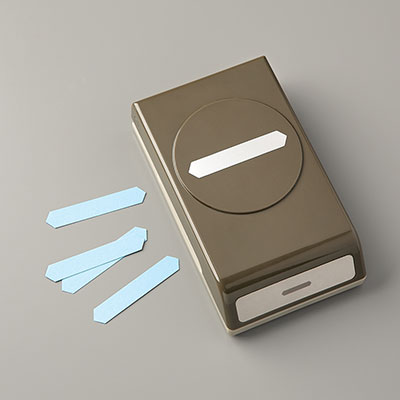
Playing around yesterday with some different color combinations for the Tie Dyed set and Custom Tee set. The colors I used were Smoky Slate, Pool Party, and Island Indigo. I love the color combination. I used Whisper White cardstock but sprayed it with water before I stamped on it so that the colors would bleed into each other. After stamping the three colors and I let it dry, I inked up the T-shirts with Basic Black ink. Then I used the T-Builder Framelits Dies to cut them out in the Big shot. I popped them up with Dimensionals on 4" x 5-1/4" Island Indigo cardstock and layered them on a Pool Party card. I inked up Happy Birthday from the Designer Tee Sale-a-Bration set with Basic Black ink. Then I punched it out with the Classic Label punch. My neighbor has a birthday this weekend and thought she might get a kick out of this birthday card I made for her.
Products I used:
Wednesday, March 8, 2017
Swan Lake
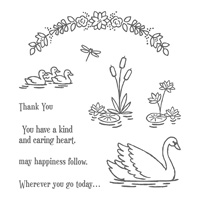
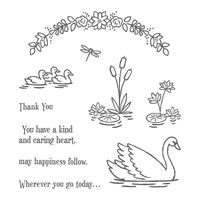
This card was made with the set Swan Lake which I think is absolutely a beautiful set. The technique is called mirror image and it is a little different than the usual way I've done this technique in the past because both swans were cut out. This technique was inspired by Michelle Zindorf's tutorial that I purchased. The base of my card is Whisper White cut at 5-1/2" x 8-1/2" but then I used Island Indigo cardstock and the Seaside TIEF cut at 4-1/4" x 5-1/2" and ran it through the Big Shot before adhering to the front of my card base. The other colors include Soft Sky, Tempting Turquoise, and markers for shading.
Products I used:
Products I used:
Monday, March 6, 2017
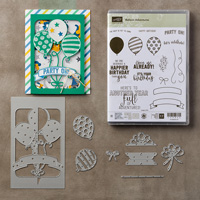
Balloon Adventures Gift Card
1. The base of my card is Emerald Envy cut at 4-1/4” x 11” and scored at 5-1/2” and 2-1/4.”
2. The Party Animal DSP is cut at 3” x 4” and adhered to the front with Multipurpose Glue.
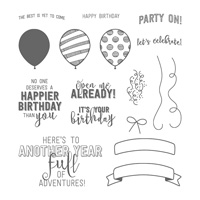
3. Ink up the sentiment “Open Me Already” with Emerald Envy ink and stamp on a 1” x 3” Whisper White cardstock and layer onto a 1-1/4” x 3” Emerald Envy cardstock. Adhere over the DSP in the center.
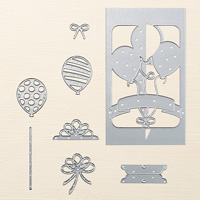
4. To make the slot for the gift card, use the thinlet in the Balloon Pop-Up Thinlets Die twice to create the slit using the Big Shot.
5. Use Tear and Tape on either side of the slit to create the pocket for the gift card.
6. On the inside, ink up the sentiment “No one deserves a Happier Birthday Than you” with Pacific Point ink and stamp to the left on the Whisper White cardstock.
7. Ink up the balloons with Pacific Point and Emerald Green and stamp to the right of the Whisper White cardstock. Ink up the strings with Pacific Point.
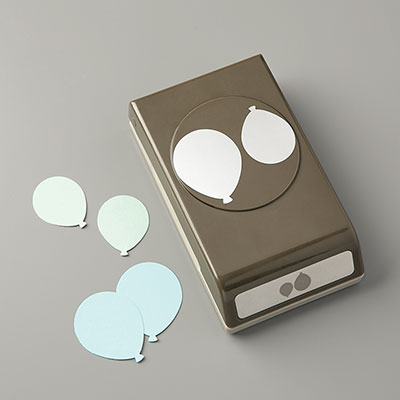
8. Punch out a Crushed Curry balloon using the Balloon Bouquet Punch. Attach a Dimensional on the back and place it in front of the other two balloons.
Products I used:
Products I used:
Subscribe to:
Comments (Atom)
Valentine Kisses - Shaker Card
This shaker card was inspired by Erica Cerwin, but I changed the ribbon and colored it with a Real Red Blend instead of keeping the Bubble B...

-
Just finished making this fun waterfall card this morning. I love making waterfall cards, so I had to play around with thi...
-
Do you like to chew gum? Have you bought the gum holders with the plastic case? What do you do with the empty case when you are done with ...
-
Who would like to receive a birthday card with a wobble inside? My club remembers had fun making this card last Sunday and I decided to use...


