Monday, January 23, 2017

Beautiful You - Reverse Image


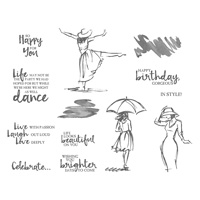
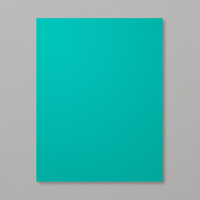
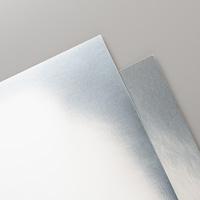
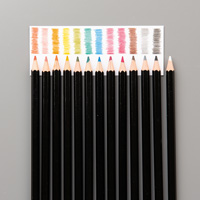
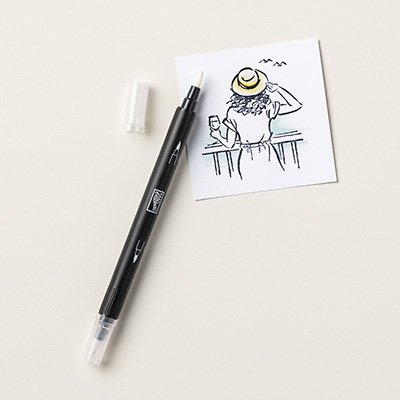
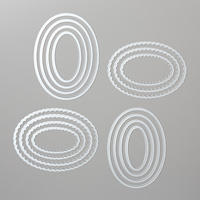
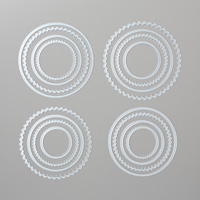
This is one of the cards that I had my club members make on Sunday.  I also used it for my swap this month with other demos.  I was inspired by Monique Fielder's reverse-stamping card with this set.  Although, she did paper-piecing which I have also done with this card (see below).  I thought it would be too much to learn in one day for my club members.  Also, I wanted them to have a chance to play with the new Watercolor Pencils using a Blender Pen.  The base of the card is Bermuda Bay, cut at 4-1/4" x 11" and the Whisper White card stock layered on the front is 4" x 5-1/4".  I used the Layering Ovals to cut out ovals to represent the mirror with a scalloped frame. Be sure to glue the frame onto the card with Multipurpose Glue before you add anything else.  I used Memento Black ink on the lady and then stamped on a 3" x 4" Window Sheet and immediately transferred it down on a scrap of Whisper White.  Very carefully, rub it with your fingers to get the image onto a scrap of Whisper White card stock.  I used a baby wipe to remove Memento Black ink off of the window sheet.   Let it dry and then place the window sheet on the inside of the oval window with Snail Adhesive on the cardstock around the edges of the oval.  Cut out a larger Silver Foil image.  Open the card and lay it over the cut-out oval with the foil side down for placement.  Put adhesive on the other side of the foil and fold the back side of the card over it so that it will adhere to the inside of your card.  Use the Bermuda Bay Watercolor Pencil and Blender Pen to color in the lady and then cut her out with the Paper Snips.  Adhere her to the front of the window sheet with Snail adhesive.  Stamp another lady on the right side of the card and color her in exactly as the other lady.  On the inside, ink up the sentiment "Happy Birthday, Gorgeous" with Memento Black ink or "Life Looks Beautiful on You" which are from the same set called "Beautiful You" in the 2017 Occasions Catalog.  Here is my other card:


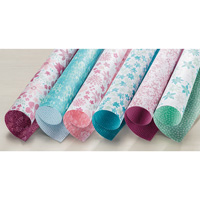
For the paper piecing, you basically do the same thing except for the using the Bermuda Bay watercolor pencil, you stamp onto the DSP and cut out the dress and hat with Paper Snips and glue them onto the lady.  I did use the Cameo Coral watercolor pencil for her skin tone.

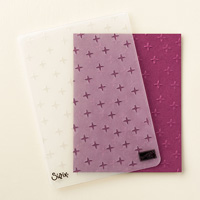
Other Products I Used:


Thursday, January 19, 2017

Hey, Chick!


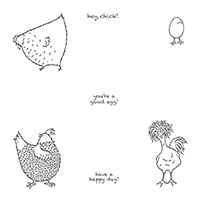
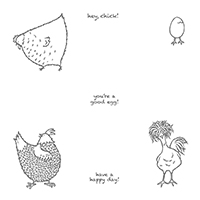
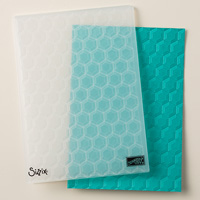
Chicken Wire!!  Where is this stamp in the catalog you might want to know.  Well, I used the new Hexagons Dynamic Textured Impressions Embossing Folder to make the chicken wire.  I used a 2" x 5" piece of Very Vanilla cardstock.  Then, I used a brayer and Soft Suede ink on the logo side and then ran it through the Big Shot.  The chicken is from the Sale-A-Bration set called Hey, Chick! which can be earned FREE with a $50 order.   My card was inspired by Kim Peck's. Here are the full instructions for my card:  

Stamp Set:  Hey, Chick!
Cardstock:  Real Red, Soft Suede, Very Vanilla
Ink:  Memento, Soft Suede
Stampin’ Write Markers:  Real Red, Soft Suede Pumpkin Pie
Other:  Big Shot, Sparkle TIEF, Hexagons Dynamic Textured TIEF, Layered Circle Framelits, Multipurpose Glue, Snail Adhesive, Dimensionals, Banner Triple Punch, brayer

1.     Base of the card is 4-1/4” x 11” of Real Red cardstock and scored at 5-1/2” in the middle.
2.    The second layer is Soft Suede cut at 4” x 5-1/4” and inserted into the Sparkle TIEF and run through the Big Shot.
3.    Ink up the sentiment “Hey, Chick! with Memento Black ink, and stamp onto the right side of the Soft Suede layer.
4.    The third layer is a Very Vanilla strip cut at 2” x 5”.  Insert it into the Triple Banner Punch to create the banner.
5.    Ink up the brayer with Soft Suede ink and roll it across the logo part of the Hexagons Dynamics Textured TIEF.
6.    Insert the Very Vanilla banner into the TIEF and with the logo side up, run it through the Big Shot with only a top cutting plate. It will look like chicken wire!  Attach to the left side of the card over the Soft Suede layer with adhesive.
7.    Ink up the chicken stamp with Black Memento ink and stamp it on Very Vanilla cardstock.  Using the Big Shot and the Layering Circles Framelit, cut it out and then die cut a Real Red scallop circle that is larger. 
8.    Color the chicken with the markers.  Layer onto the Real Red scallop with Multipurpose Glue and attach with Dimensionals over the chicken wire banner.

Thursday, January 12, 2017

Hey, Chick! Waterfall Card


 Just finished making this fun waterfall card this morning.  I love making waterfall cards, so I had to play around with this one to get the measurements I needed. This is the new set called Hey, Chick! which is FREE with a purchase of Stampin' Up! products during Sale-A-Bration.   I did add a bit of an extension for the last part of my waterfall card and used an old retired stampin' Up! set for the feet (Best of Cluck 2005).  I used a combination of the Classic markers and the new Watercolor Pencils.  The embossing folder is the new Hexagons Dynamic TIEF in the Occasions catalog.  The colors are Basic Black, Delightful Dijon, and Whisper White.  Each chicken is stamped on 2" x 2-1/2" Whisper White and layered onto Basic Black at 2-1/4" x 2-3/4".  I attached to Basic Black cut at 2-1/4" scored at 2", 2-3/4", 3-1/2" and 4-1/4.  I then added an extension to the bottom of Delightful Dijon at 2-1/4" x 5-1/2".  I rounded the corners.
Products I used:


Monday, January 9, 2017

Watercolor Pencils by Stampin’ Up!

Tasty Trucks

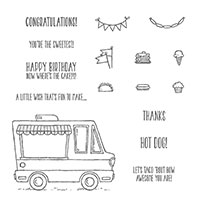
This is another card I did for a swap which uses the Tasty Trucks stamp set from the Sale-A-Bration catalog that I earned FREE with the purchase of $50 in Stampin' Up! products.  The base of my card is Whisper White with a layer of Pacific Point using the Sparkle Embossing Folder in the Big Shot.
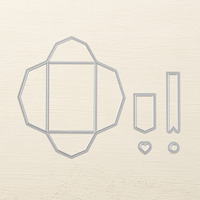
I colored in the truck using the new Watercolor Pencils and a Blender Pen.  You can also use an Aqua Painter when using these new pencils.  I also used the Layering Circle Framelits and cut out a Melon Mambo scallop circle, and I used the Gift Card Envelope and Trims Thinlets Dies to die cut the banner which I stamped with Memento Black ink.

Products I used:


Custom Tee and Designer Tee

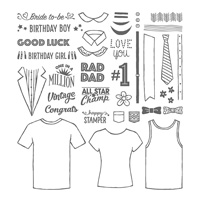
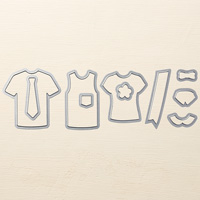
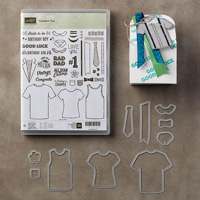
It has been several weeks since I have posted.  That was because I was so busy with the holidays, so going to try to get back into my blogging and card making.  I also did a few swaps recently and this is one of them made with a couple new sets.  Custom Tee is from the Occasions catalog and because it says "happy stamper" I used a black marker to add the smiley face from the Designer Tree stamp set from the Sale-a-Bration catalog.  The base of my card is Real Red with Whisper White cardstock and Sending Love DSP.  I used the Oval Stitched Shapes Framelits, T-Shirt Builder Framelit Dies, and the Layering Oval Framelits.

Products I used:


Glow of Harvest with Painted Pumpkins

This is a card using the Designer Series Paper Glow of Harvest, which was $5 with an order of $75 or more.   Then, I used the masks to make ...