Wednesday, August 31, 2016
Swirly Bird Pumpkins
This is a card that was inspired by a card I saw on Pinterest. The Swirly Bird and Swirly Scribbles Thinlets are just so versatile. I think it is one of my favorite sets in the catalog. This is a Fall card with the Swirly circles made to look like pumpkins. The base of my card is Pumpkin Pie with a layer of Pear Pizzazz. The Very Vanilla cardstock was also stamped first with Gorgeous Grunge and the sentiment is from The Tin of Cards. Then after stamping, I inserted into the Woodlands TIEF for the background. Then I added the pumpkins. It such a fun card!
Monday, August 29, 2016
Cookie Cutter Christmas - Reindeer
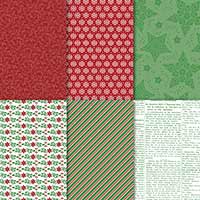
This is another Cookie Cutter Christmas card that I made using the reindeer stamp this time. Did you know that reindeer are the only species that the male and female both have antlers? The base of my card is Real Red cardstock. The reindeer are stamped on Crumb Cake card stock with Early Espresso ink and I colored in their antlers with an Early Espresso marker. Of course, I used Real Red ink for Rudolph's nose. Then I punched them out with the Cookie Cutter Builder Punch. I cut two more out of Crumb Cake for their legs. The background paper is from the new Warmth & Cheer Designer Series Stack layered onto Crumb Cake card stock. I added another card which is similar but used the set Oh, What Fun from the annual catalog. I like it better than the other one.
Thursday, August 25, 2016
Cookie Cutter Christmas - Chenille Bear
Here is another Cookie Cutter Christmas card I that I made, but this time, I used the teddy bear stamp. First I stamped him on Crumb Cake cardstock. Then I punched him out with the Cookie Cutter Builder Punch and inserted him to the Elegant Dots Embossing Folder. I thought it made the teddy bear look as though he was made out of Chenille. The base of my card is the new In-Color Sweet Sugarplum which is cut 5-1/2" x 8-1/2" and scored in the middle at 4-1/4". Then I used the Layered Circle Framelits in the Big Shot using Rich Razzleberry and Sweet Sugarplum. The Designer Series Paper is Blooms & Bliss. I stamped the sentiment "Have Yourself a Beary Merry Christmas" with Rich Razzleberry ink on Whisper White and punched it out with the Classic Label Punch.
Tuesday, August 23, 2016
Cookie Cutter Christmas - Igloo
Monday, August 22, 2016
Cookie Cutter Christmas Santa - Z-Fold
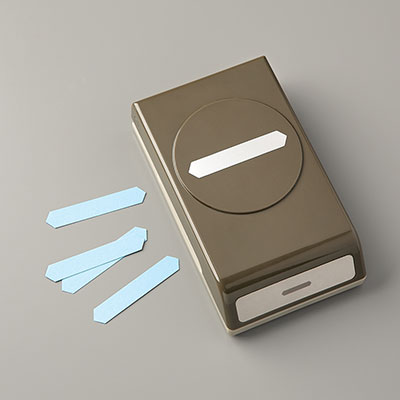
This is another card I made with the Cookie Cutter Christmas set from the Holiday Catalog. It is a Z-Fold card so the bottom picture shows what it looks like when it is open. The base of my card is Real Red cardstock cut at 5-1/2" x 8-1/2" and scored at 4-1/4" and 1-1/4". The Designer Series Paper is the new Candy Cane Lane DSP cut at 3" x 5-1/2" and 1-1/4" x 5-1/2". The little gingerbread house is also from this new DSP paper and I cut it out with my Paper Snips to put on the inside of my card. The sentiment says "Happiness is Coming to Town" which is from another stamp set in the new catalog called Hang Your Stockings. First I stamped the Santa and colored him in with markers. Then I punched him out with the new Cookie Cutter Builder Punch that can be purchased as a bundle with the Cookie Cutter Christmas set. I used the Layering Ovals Framelit Dies from the Annual Catalog using Whisper White and Crumb Cake.
Thursday, August 18, 2016
You Can't Catch Me, I'm the Gingerbread Man
Just made this fun spinner card last night using the Sliding Star Framelit with the new Cookie Cutter Christmas set from the 2016 Holiday Catalog. It made me thing of the Gingerbread Man story "You Can't Catch Me, I'm the Gingerbread Man." The base of my card is Real Red and the paper is Candy Cane Lane DSP which has lots of "visions of sugarplums" on it with colors of Crumb Cake, Real Red, Early Espresso and Whisper White. He is attached to two pennies with a rounded Dimensional between them and one on top to attach the punched out Gingerbread man that was stamped on Crumb Cake with Early Espresso. The Cookie Cutter Builder Punch makes it so easy to make tons of Gingerbread men and any of the other four stamps that come with this set. I'm having so much fun making these spinner cards.
Tuesday, August 16, 2016
Spinner Bee
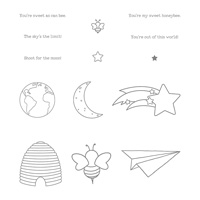
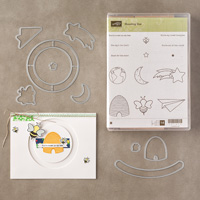
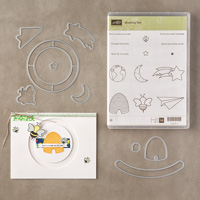
Yesterday, I taught my club members how to make this spinner bee card. The base of my card is Basic Black and layered with Daffodil Delight. The stamps are from the stamp set Shooting Star which coordinates with the Sliding Star Framelits. I colored the small bees in with a Basic Black marker and the large bee is Basic Black and Daffodil Delight with a touch of Clear Wink of Stella.
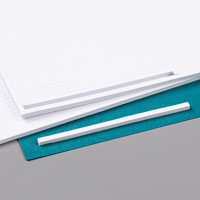
I showed them how to use a Dimensional between two pennies by trimming the points of the Dimensionals with scissors to make it more round for easier spinning. I used the Foam Adhesive Strips on the back side of the Daffodil Delight but not too close to the edge of the circles to allow the pennies to circle around without getting stuck.
Products I Used:
Thursday, August 11, 2016
Seaside Shore Spinner
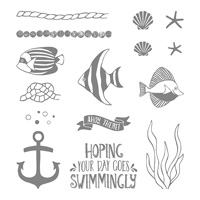
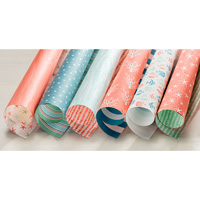
This is another spinner card that I made with the Sliding Star Framelits, but this time, I used the Seaside Shore stamp set. I think you could use just about any stamp set to use with the Sliding Star Framelits. I stamped the fish with Calypso Coral and also used the Soft Sky marker. Using two pennies with a rounded Dimensional inserted into the circle so that the fish can swim around. I stamped the verse "Hoping your Day Goes Swimmingly" in the center. I layered the By the Shore DSP to the Calypso Coral and used the new Foam Adhesive strips to attach to the front of my Soft Sky card.
Products I used:
Wednesday, August 10, 2016
Swirly Bird and Shooting Star Spinner
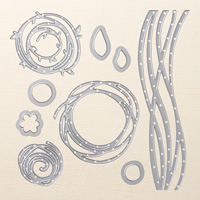
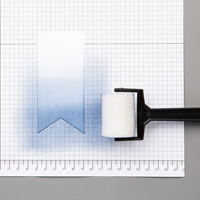
Finally found some time to play with my Sliding Star Framelits. I decided to make some sailboats using the Swirly Bird set. The base of my card is Dapper Denim. Then I used a Post-it note to cover the sky. I used the Sponge Brayer for the water and cut out Dapper Denim using the Swirly Scribbles Thinlet.. Then I made the sky Daffodil Delight with the Sponge Brayer. The sailboats are Dapper Denim, Real Red and Marina Mist. I rounded up a Dimensional between two pennies and attached the one sailboat inside the Sliding Star Framelit to create a spinner card.
Products I used:
Monday, August 1, 2016
Jar of Love
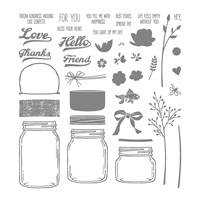
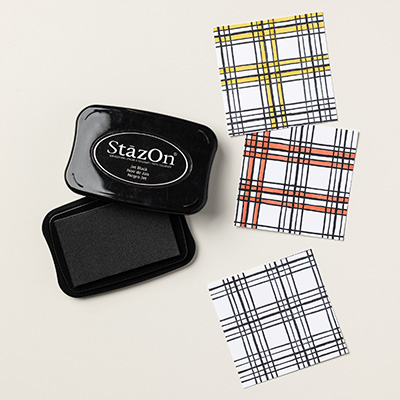
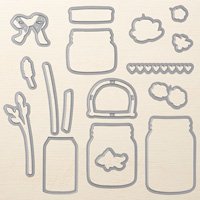
I've always enjoyed canning jars. We used to have huge gardens and I loved to can so many delicious garden vegetables. I felt like a prisoner in a canning factory many summers. My days of canning are over, but I've collected a lot of antique jars throughout my lifetime, and I like to decorate with them now. So I couldn't wait to order the set Jar of Love in the new 2016-2017 Annual Catalog. The base of my card is Pool Party that is 4-1/4" x 11" and scored at 5-1/2" in the middle. I've attached a Serene Scenery DSP cut at 4" x 5-1/4" to the front of my card. The doily is sponged with Crumb cake to give an antique or tea-stain look. I stamped the jar on vellum with Stazon Black and let it dry completely before using a Pool Party marker on the back for the water inside my jar. I stamped the stems and leaves with Pear Pizzazz, the flowers are Pool Party, Bermuda Bay and Black Stazon for the centers. I cut them all out with the Everyday Jar Framelits in the Big Shot. I attached the flowers with Dimensionals and Glue Dots. The bow is Bermuda Bay.
Products I used:
Products I used:
Subscribe to:
Comments (Atom)
Boardwalk Fun - Spinner
My grandtwins turn 11 this month, and they love things that spin so when I saw a card that Tracy McDonnell from the Paper Craft Studio mad...

-
Just finished making this fun waterfall card this morning. I love making waterfall cards, so I had to play around with thi...
-
Do you like to chew gum? Have you bought the gum holders with the plastic case? What do you do with the empty case when you are done with ...
-
Who would like to receive a birthday card with a wobble inside? My club remembers had fun making this card last Sunday and I decided to use...


